
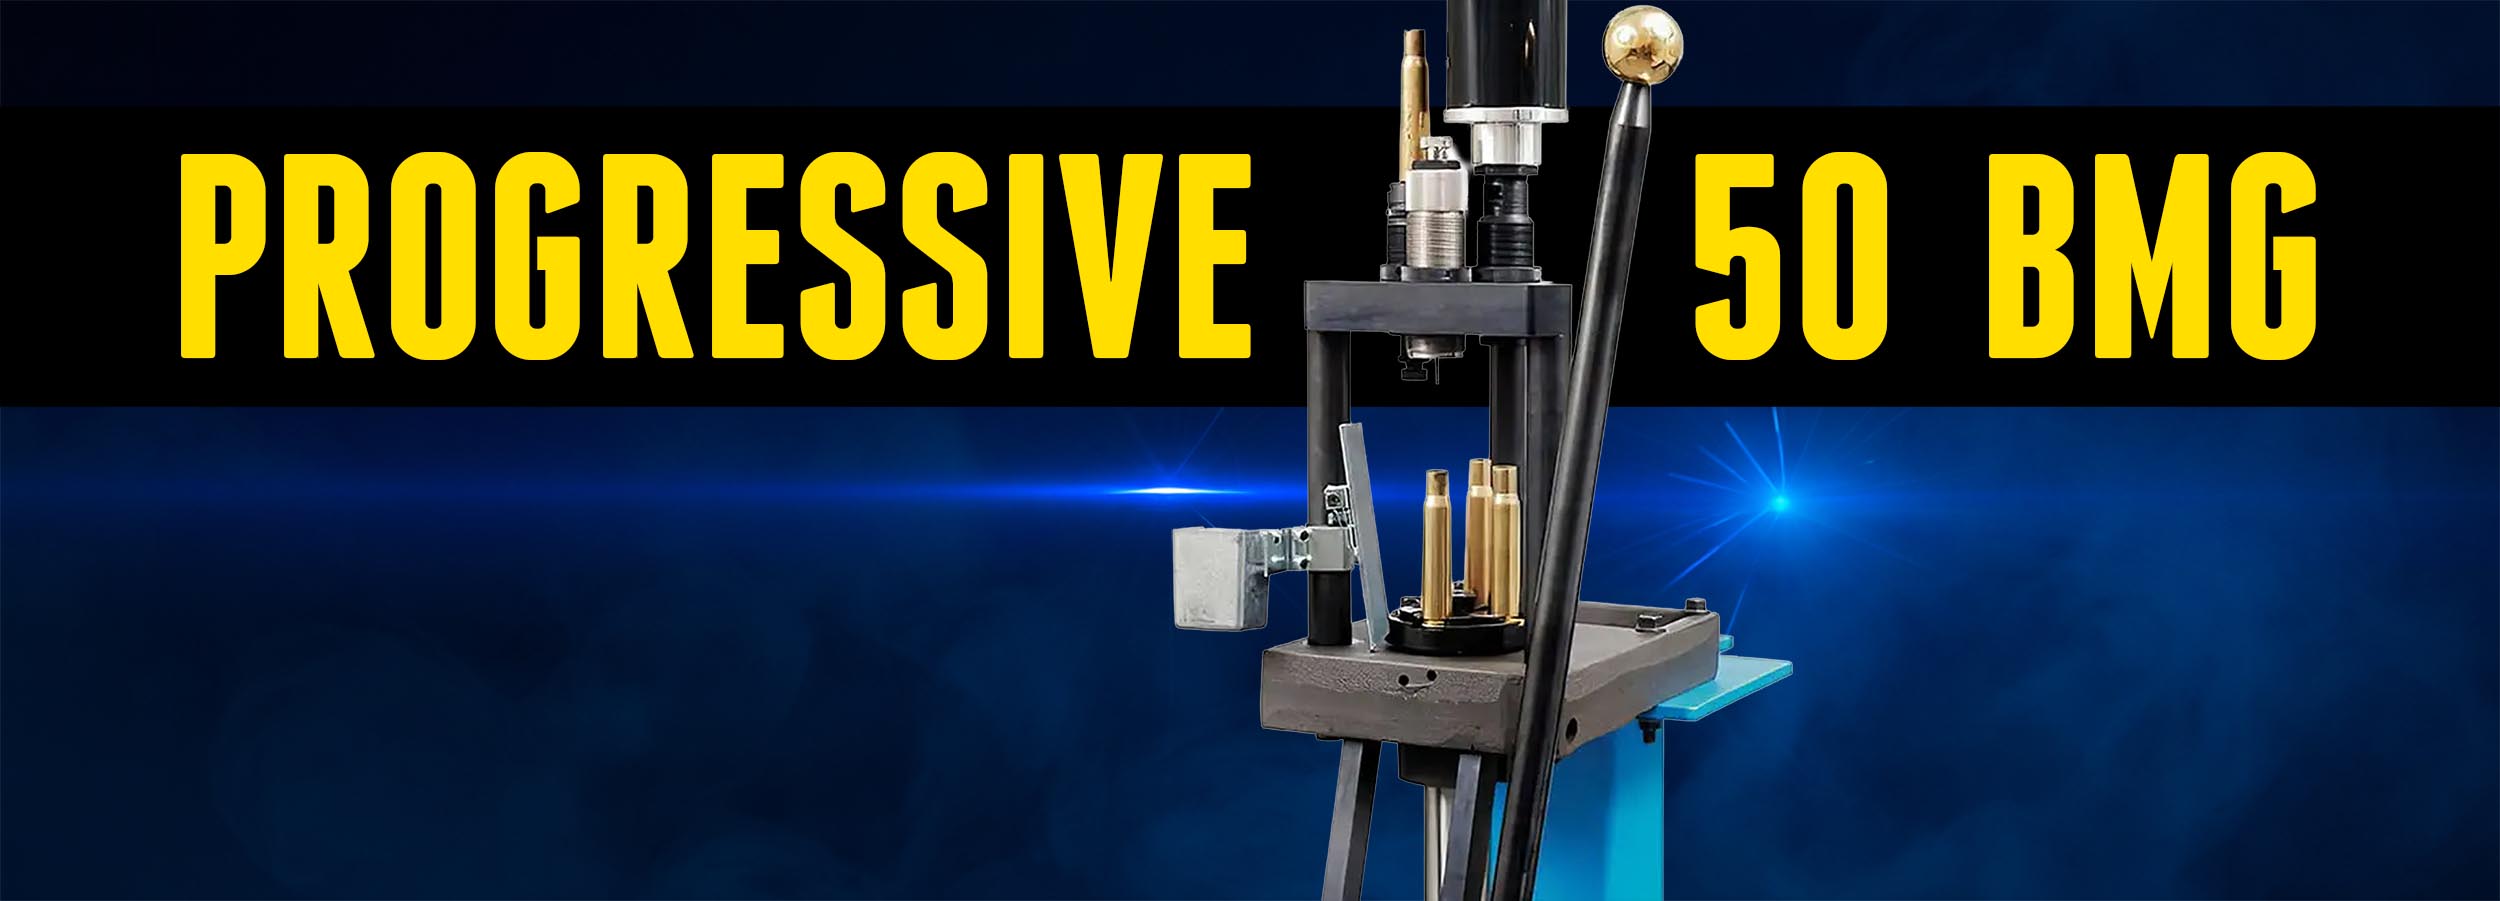
In the past, we have gone really big with our reloading in terms of quantity—processing 50,000 to 90,000 pieces of brass at a time. This time, we are going really big in terms of cartridge size. Kyle Shields and I partnered up for an absolute monster of a project: progressive loading .50 BMG with the massive Dillon Big 50 progressive reloader.
Disclaimer
Ultimate Reloader LLC / Making with Metal Disclaimer: (by reading this article and/or watching video content you accept these terms). The content on this website (including videos, articles, ammunition reloading data, technical articles, gunsmithing and other information) is for demonstration purposes only. Do not attempt any of the processes or procedures shown or described on this website. All gunsmithing procedures should be carried out by a qualified and licensed gunsmith at their own risk. Do not attempt to repair or modify any firearms based on information on this website. Ultimate Reloader, LLC and Making With Metal can not be held liable for property or personal damage due to viewers/readers of this website performing activities, procedures, techniques, or practices described in whole or part on this website. By accepting these terms, you agree that you alone are solely responsible for your own safety and property as it pertains to activities, procedures, techniques, or practices described in whole or part on this website.
The Dillon Big 50 Overview
The Dillon Big 50 is essentially a scaled-up Dillon 550, built specifically for the massive .50 BMG cartridge. The sheer size of this machine is comical—even the box is a team lift.
When you order the Big 50, you receive the giant press itself, a primary ejection chute, a conversion kit featuring a massive shell plate, and surprisingly tiny locator buttons. Because the operations are so heavy and complex for .50 BMG, you do not typically run this as an all-in-one process like loading 9mm on an RL1100. Instead, we break it down into two phases using two separate tool heads:
- Phase 1 (Processing): Full-length sizing, decapping, and trimming.
- Phase 2 (Loading): Priming, powder charging, and bullet seating.
Between these phases, we perform off-press primer pocket swaging.
Phase 1: Sizing, Decapping, and Trimming
Setting up this press requires a serious bench. We mounted the press to our 1/2-inch thick aluminum Ultimate Reloader bench plate. Because the throw of the giant, cheater-bar-style handle is so long, we built a 6-inch wooden riser for the press to sit on to make operation much more comfortable.
Kyle set up the first tool head with the Dillon full-length sizing/decapping die and the Dillon RT1500 case trimmer.
Sizing/Decapping: Setting the sizing die is a bit different than standard cartridges. Instead of threading it down until it touches the shell plate and locking it, you touch the plate and back it off about 1.75 to 2.5 turns. From there, you dial it down half a turn at a time, checking your brass with a case gauge until the headspace is perfect. Once set, you lock the ring and set the decapping pin depth so it bottoms out on the case web, backing it out one turn.
Trimming: We ran a piece of sized and lubed brass into the trim die. Because the die heavily supports the neck and shoulder area to prevent crushing, you set the trim die so the case neck protrudes past the top. Then, thread the RT1500 trimmer down until it just touches the case mouth. We set our trim-to length right at 3.905 inches. Kyle even 3D-printed a custom vacuum adapter to catch the massive amount of brass shavings this process generates.
Swaging Primer Pockets
Before moving to the loading phase, we had to swage our brass. Because we are using 1952 military machine-gun brass, those primer crimps have to go. We utilized Dillon’s stand-alone bench tool, converting it for swaging. It operates incredibly smoothly and removes the crimp effortlessly.
Phase 2: Priming, Powder, and Seating
We swapped the tool head—torquing the three retaining bolts to 40 foot-pounds—to begin the loading phase.
Priming on the Press: Unlike standard Dillon presses where priming happens at the bottom of the stroke, the Big 50 primes from the top, acting almost like a ram-prime system. We dialed the die down and adjusted the internal seating punch until our primers were seated perfectly.
Powder Charging: We utilized a massive RCBS High Capacity Powder Measure, which easily holds our massive powder drop, sitting atop Dillon’s powder die adapter. Our load was 200.0 grains of Hodgdon H50BMG. Throwing this much powder manually yielded consistency within about a half-grain. While an ELR competitor might drop, trickle, and use a precision funnel, this volumetric setup is excellent for bulk .50 BMG loading.
Seating the Bullet: Referencing a dummy cartridge from a previous project, setting up the seating die was incredibly straightforward. We topped the brass with Hornady 750-grain A-MAX bullets.
Once the machine was set, operating it required deep mental focus to remember the manual powder charge and the top-mounted priming system rhythm, but the time savings compared to single-stage .50 BMG reloading was massive.
Range Results
With our progressive ammo loaded, we took the Ultimate Reloader custom .50 BMG rifle—built on a BAT EXS action sitting in an Accurate Rifle Solutions chassis—out to the 100-yard range.
I fired a three-shot group measuring just 0.40 inches. Kyle followed up with his own three-shot group hovering right at half-MOA. Achieving 0.4-inch accuracy out of 1952 surplus brass run through a volumetric progressive powder measure is absolutely astounding.
Conclusion
This project truly took our .50 BMG loading to the next level!
Get the Gear
Dillon “Big Fifty” 50 BMG Reloading Machine
Don’t miss out on Ultimate Reloader updates, make sure you’re subscribed!
Thanks,
Gavin Gear
About the author