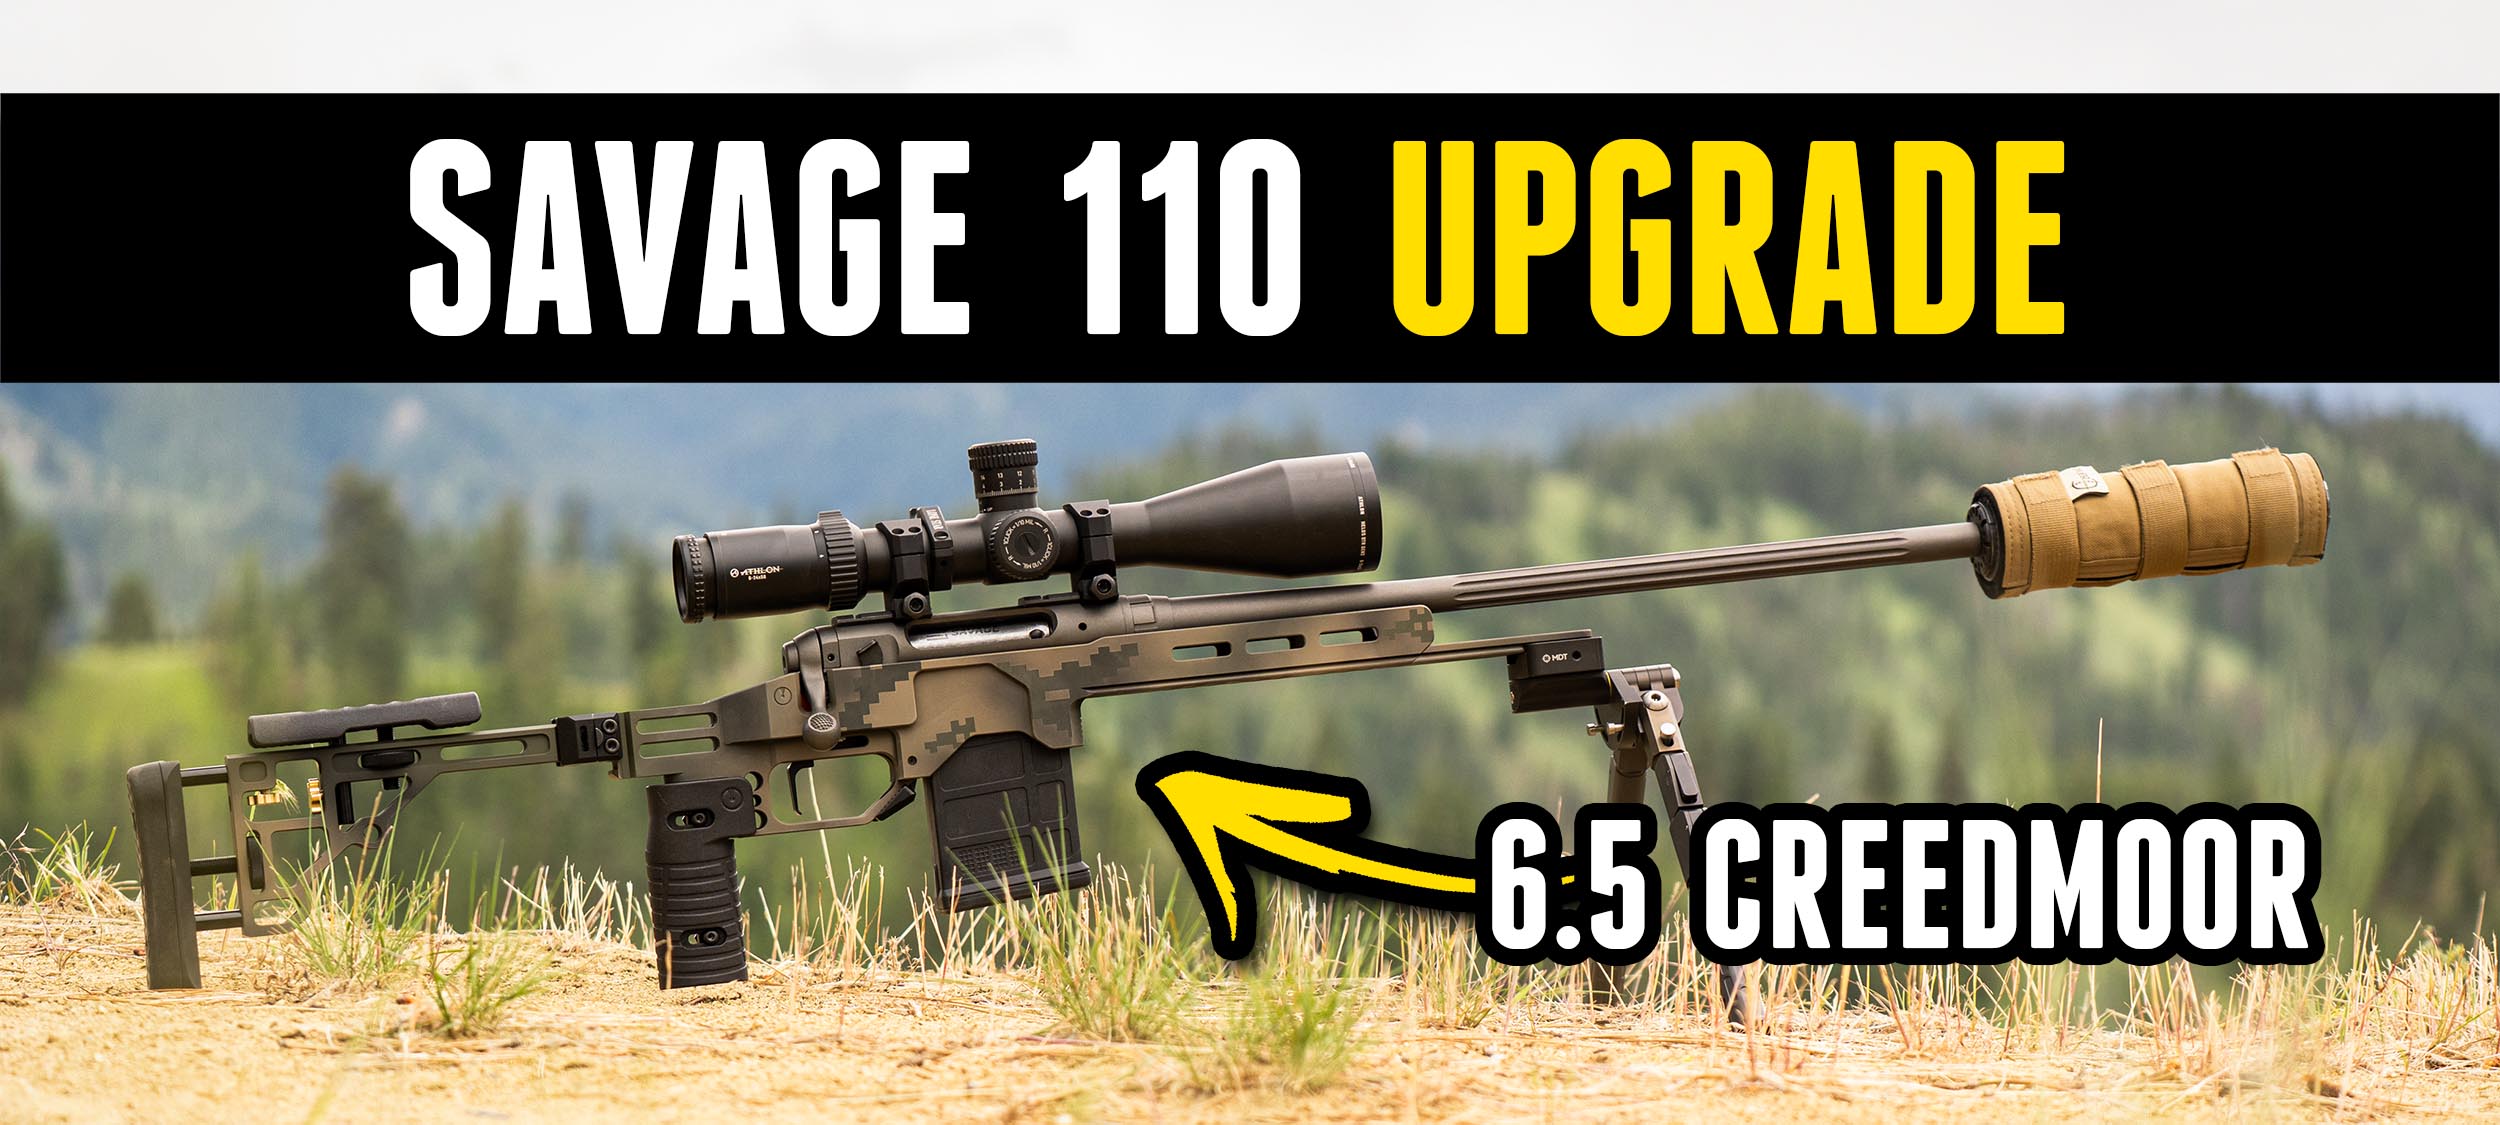
The Savage 110 is a great platform, but our 6.5 Creedmoor was ready for a new look. I transformed a factory rifle into a compact, rigid, precision-ready field rifle with an Ultradyne Picatinny chassis system, complete with a custom digital camo Cerakote finish. From blasting and spraying to final assembly and shooting, watch the entire process step-by-step and dive into Cerakote techniques, chassis setup, ergonomics, and some hard-earned lessons from the Built American booth. The final result? A Savage 110 makeover that looks incredible and performs even better. Check it out!
Disclaimer
Ultimate Reloader LLC / Making with Metal Disclaimer: (by reading this article and/or watching video content you accept these terms). The content on this website (including videos, articles, ammunition reloading data, technical articles, gunsmithing and other information) is for demonstration purposes only. Do not attempt any of the processes or procedures shown or described on this website. All gunsmithing procedures should be carried out by a qualified and licensed gunsmith at their own risk. Do not attempt to repair or modify any firearms based on information on this website. Ultimate Reloader, LLC and Making With Metal can not be held liable for property or personal damage due to viewers/readers of this website performing activities, procedures, techniques, or practices described in whole or part on this website. By accepting these terms, you agree that you alone are solely responsible for your own safety and property as it pertains to activities, procedures, techniques, or practices described in whole or part on this website.
About the Project
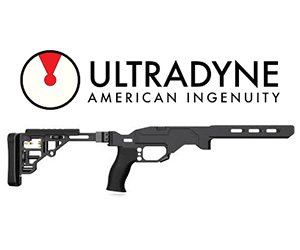
Ultradyne’s new Picatinny chassis system is available for several inlets, including the Remington 700 SA and clones, Savage SA, Ruger American SA, and the 10/22.
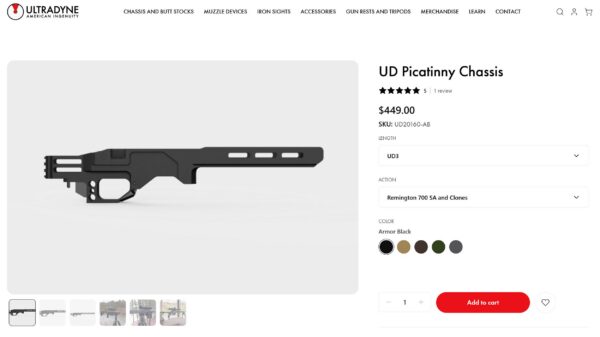
This presents a number of opportunities for from-scratch builds and factory upgrades!
I requested a Savage SA UD-3 chassis in the white so that I could apply a digital camouflage Cerakote without having to remove any finishes.
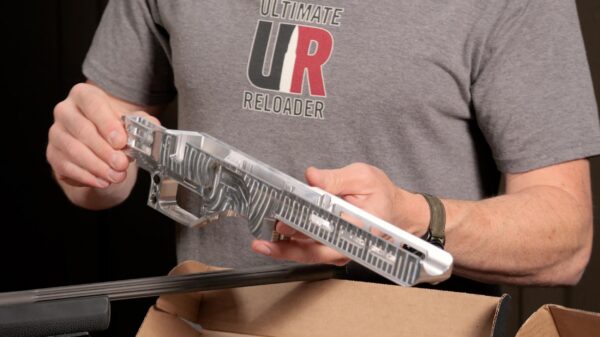
I also have a UD Gen 2 adjustable/foldable Picatinny buttstock, UD spigot, chassis bridge, and vertical, adjustable grip.
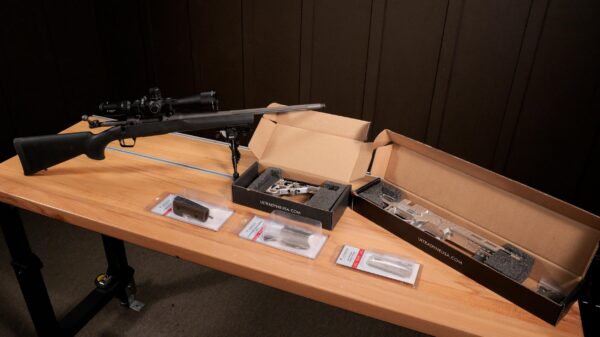
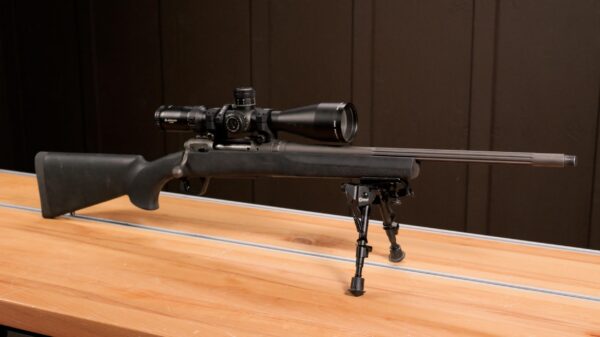
While the new trigger and scope made a world of difference, they didn’t fix the floppy, fixed stock.
Cerakote
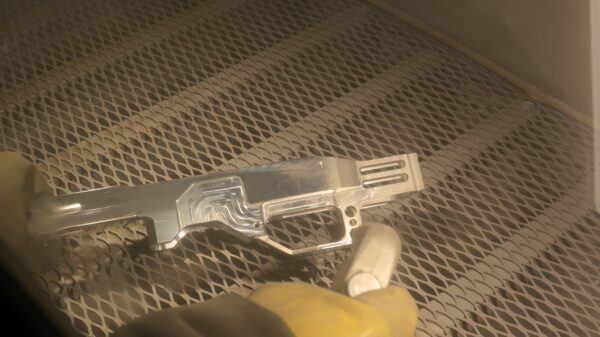
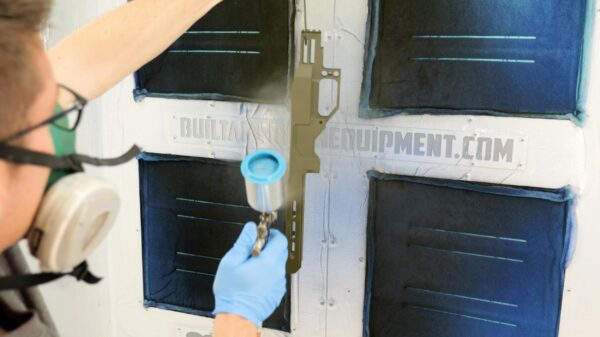
I started with a light sandblasting on the chassis, stock (disassembled), bridge, and spigot to promote mechanical adhesion before applying a base coat in the Built American GS3-457 spray booth.
Use code UR5 to save 5% off one item at Built American and UR10 to save 10% off two or more items!
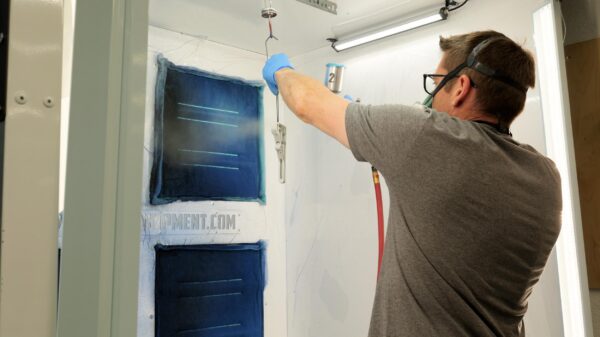
After reviewing my stencil inventory and scouring the Cerakote website for inspiration, I drafted a plan.
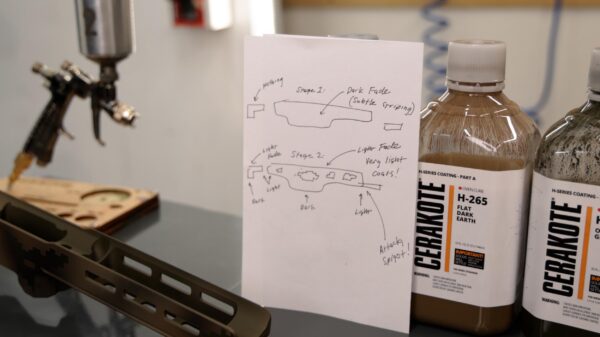
Camouflage Cerakote jobs require multiple layers and I noticed that often, they are overly contrasted. I settled on a subtler approach, incorporating very light coats with fades throughout.
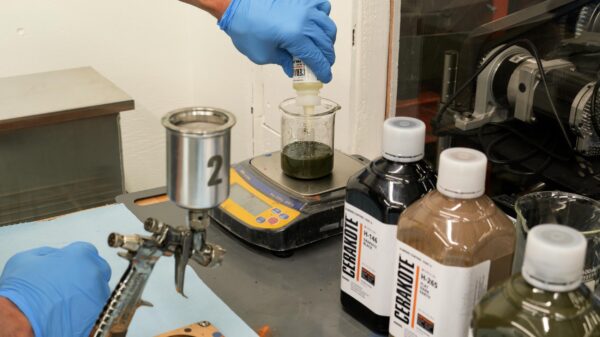
I selected OD Green as a base color, sprayed all of the pieces, and set them to flash in my BAE-0200 oven.
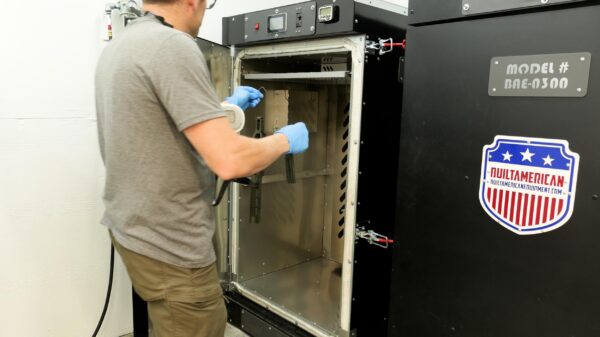
Once they had cooled, I applied a second coat.
Next, I carefully added patches of high-temperature vinyl — Cerakote had sent some digital files for our vinyl cutter—and followed up with Flat Dark Earth Cerakote.
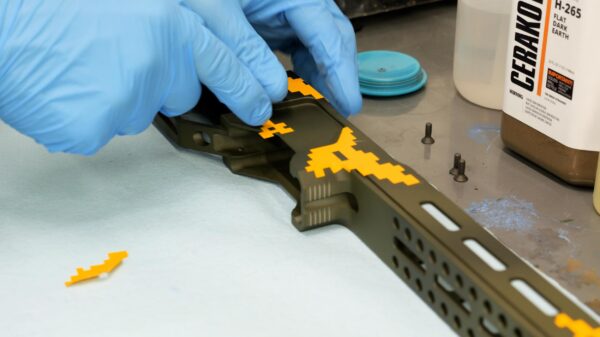
By starting with the darkest colors first, they would show through the following lighter coats. Carefully-timed flashes are important.
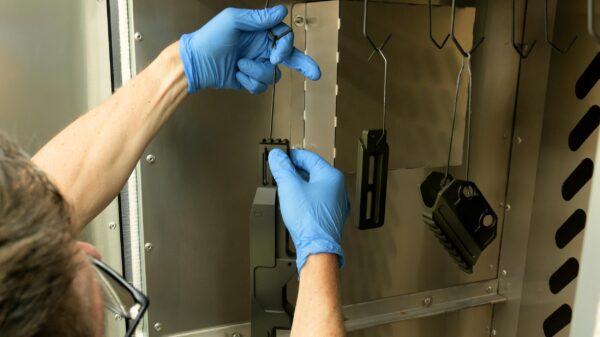
You need to be able to touch the Cerakoted parts without leaving a fingerprint or leaving the pieces in the oven too long.
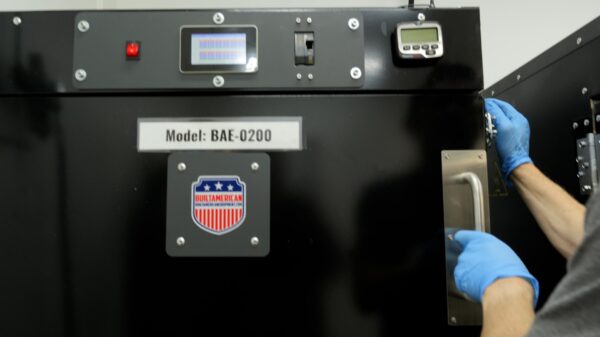
Having two ovens at two different temperatures (flash and cure) is a highly-efficient way to manage multiple pieces and multiple Cerakote colors, particularly in a production environment.
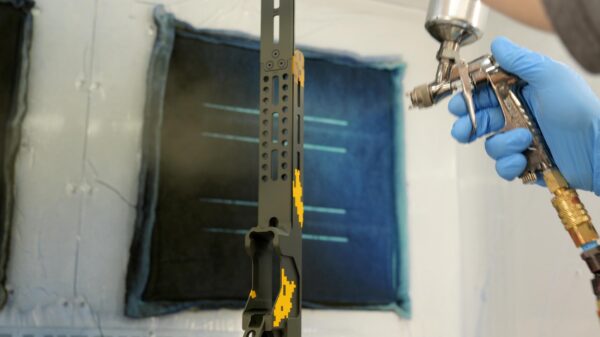
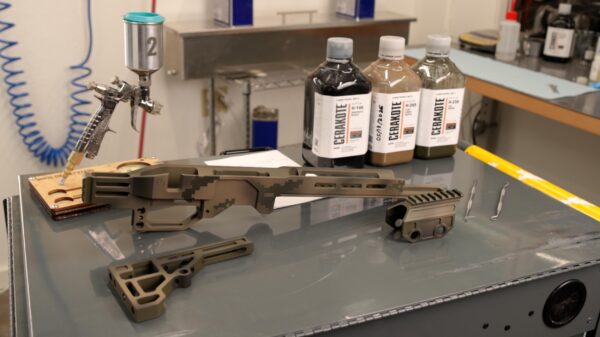
I finished off the coating with black Cerakote shadowing near the camo blocks for contrast. Watch the video to see all of the steps in detail!
Assembly and Shooting
I had attached the spigot to the chassis earlier in the project, so reassembly began with the buttstock.
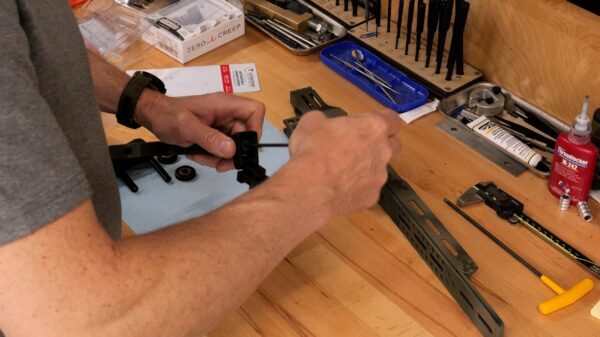
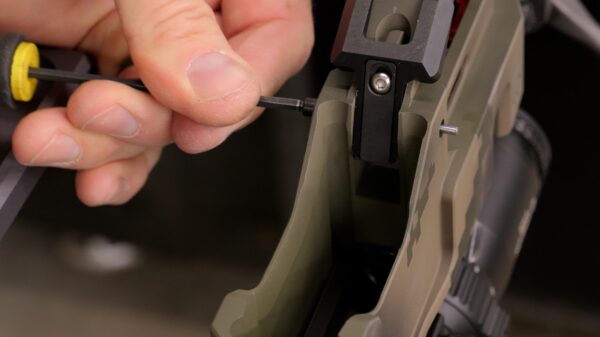
The magazine catch and grip followed this along with installing the barreled action.
I also added a SilencerCo Hybrid 46 suppressor with Cole-Tac cover.
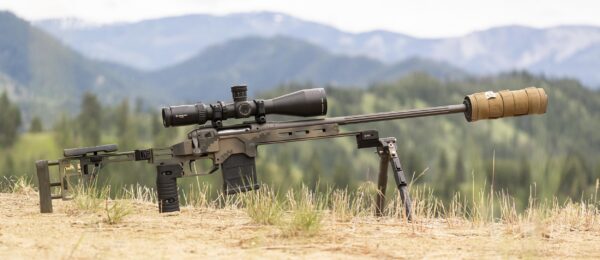
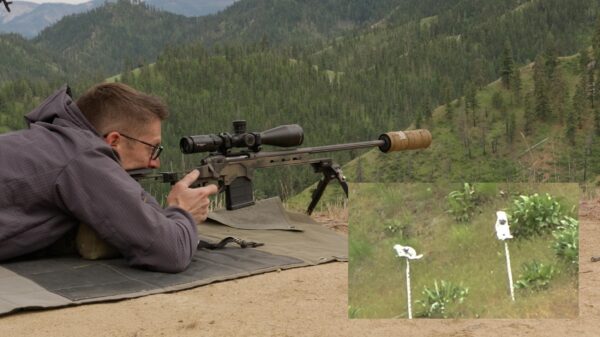
Eager to try out my “new” rifle, I headed to the ridgeline to engage some steel targets out to 706 yards.
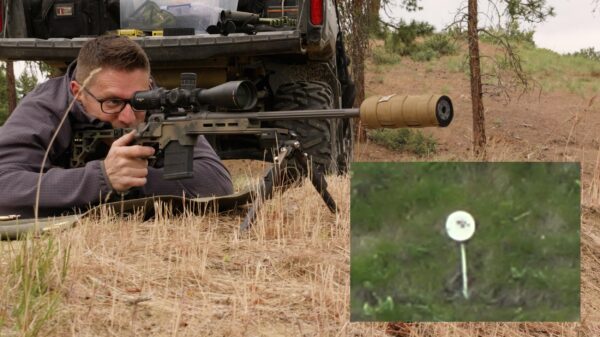
I had great success and was quickly reminded of how much I appreciate the ergonomics of the UD chassis.
Conclusion
I was extremely pleased with how my first digital camo Cerakote project came out. I had decided on larger “pixels” so that it could be seen from a distance.
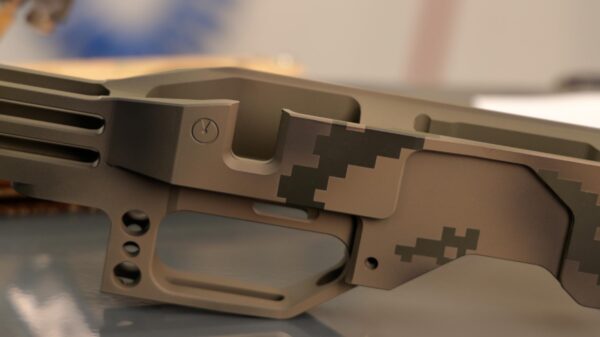
The UD chassis is extremely robust—much more so than the factory stock.
Folding the stock in made the rifle much more portable without compromising strength when fully extended.
Get the Gear
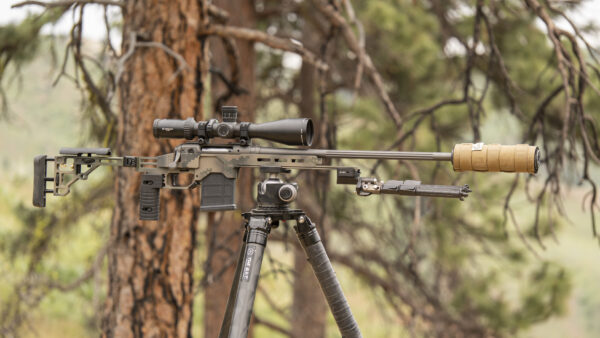
Ultradyne Gen 2 Picatinny Folding Buttstock
Use code UR5 to save 5% on any one item and UR10 to save 10% on 2+ items!
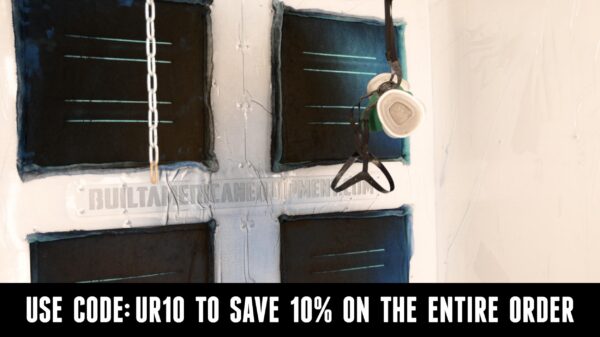
Built American GS3-457 Spray Booth
BAE-0300 Standup Capacity Cerakote Circulation Oven
BAE-0200 Standup Capacity Cerakote Convection Oven
Bix’n Andy Savage TacSport Pro-X Trigger with 90-Degree Shoe from Bullet Central
Athlon Optics Helos BTR Gen 2 6-24×56
Don’t miss out on Ultimate Reloader updates, make sure you’re subscribed!
Thanks,
Gavin Gear
About the author