
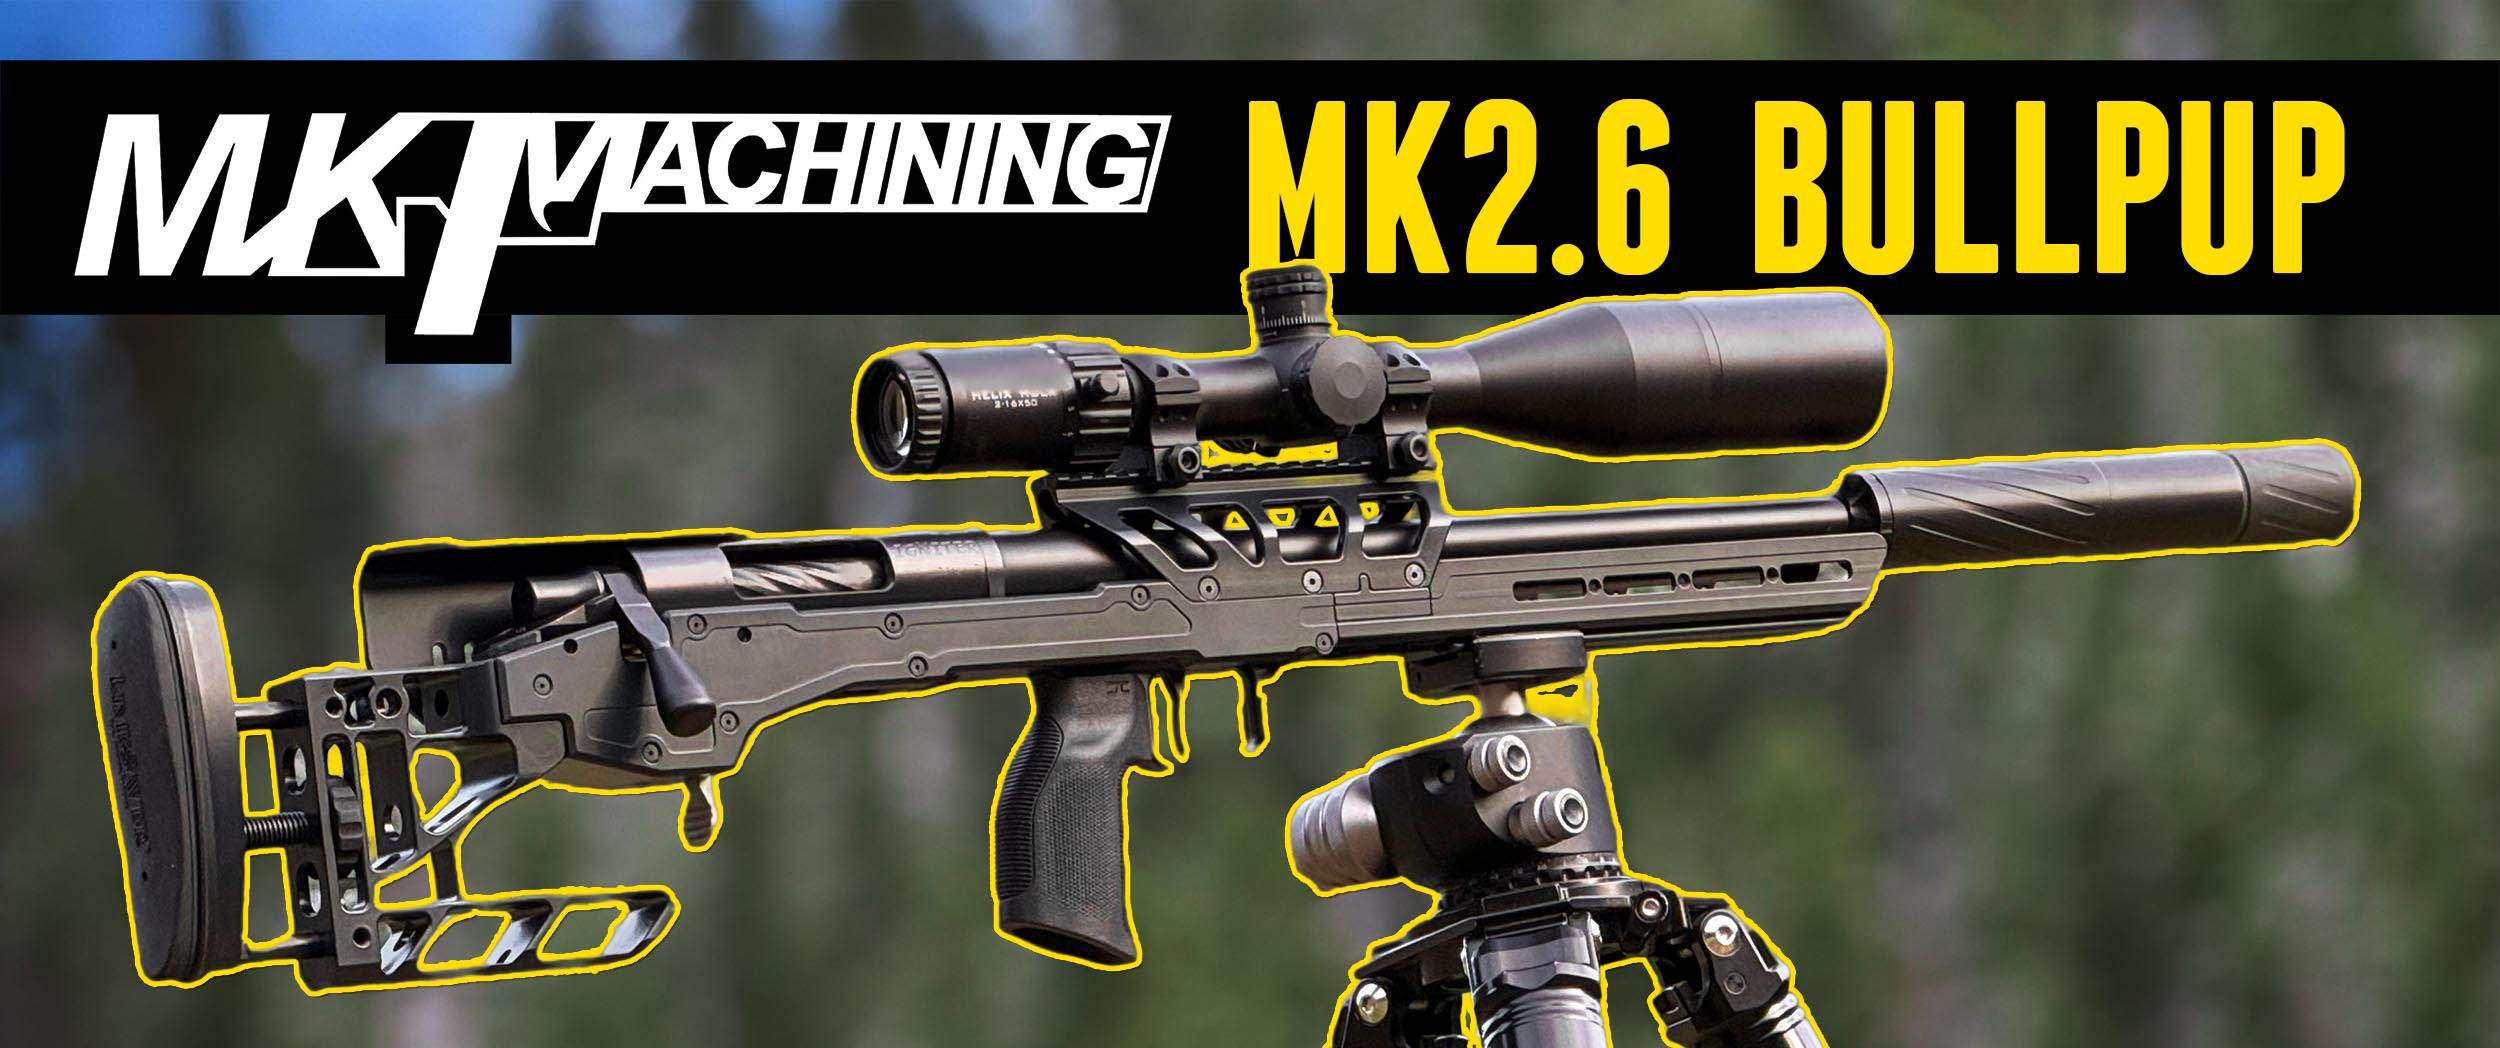
MK Machining recently launched the MK2.6 version of their bullpup chassis for bolt-action rifles. In this video, we’re going to get it out of the box, review what’s included, and put together a rifle. Then, we’ll run a trigger scan, compare the ergonomics to traditional-style rifles, and put it to work in the field. Check it out!
Disclaimer
Ultimate Reloader LLC / Making with Metal Disclaimer: (by reading this article and/or watching video content you accept these terms). The content on this website (including videos, articles, ammunition reloading data, technical articles, gunsmithing and other information) is for demonstration purposes only. Do not attempt any of the processes or procedures shown or described on this website. All gunsmithing procedures should be carried out by a qualified and licensed gunsmith at their own risk. Do not attempt to repair or modify any firearms based on information on this website. Ultimate Reloader, LLC and Making With Metal can not be held liable for property or personal damage due to viewers/readers of this website performing activities, procedures, techniques, or practices described in whole or part on this website. By accepting these terms, you agree that you alone are solely responsible for your own safety and property as it pertains to activities, procedures, techniques, or practices described in whole or part on this website.
About the MK Machining MK2.6 Bullpup Chassis
Have you ever wanted to convert your bolt-action to a bullpup? MK Machining’s MK2.6 chassis makes this possible for Remington 700-pattern short and long actions as well as Tikka T3 actions!
This chassis costs just under $2,000, but includes a Timney Calvin Elite Trigger—over a $300 value all on its own!
From MK Machining:
Born from the chassis project that launched MK Machining, the MK2 platform has been continuously refined for years through real-world feedback and relentless iteration. The MK2.6 is our flagship evolution—moving the action rearward to dramatically shorten overall length while maintaining full barrel performance, and bringing the balance back over the grip for steadier handling in positional and field shooting.
Designed for Remington 700-pattern Short and Long Actions (including compatible custom actions) and Tikka T3 actions, the MK2.6 installs with no gunsmithing and runs AICS-pattern magazines. A custom Timney single-stage trigger pairs with our patent-pending linkage to deliver a crisp, repeatable pull, with the safety relocated forward alongside an integrated barricade stop. An integrated 20 MOA top rail, ARCA forend, M-LOK slots, and 10-32 accessory points make it easy to configure your setup, while the multi-adjustable cheekpiece and tool-free length-of-pull adjustment help you lock in a consistent fit behind the optic.
What’s in the Box
The MK2.6 Bullpup Chassis kit consists of three main pieces: a buttstock, forend, and center chassis. It also comes with all needed hardware and a Timney Calvin Elite trigger – all packaged in individual, labeled bags. This may seem like a small thing but makes setup so much easier!
The major components are:
- Buttstock
- Main chassis components
- Forend
- Hardware bags
The hardware bags are individually labeled with what’s inside. You’d think everybody would do that, but this is a really, really nice touch. The bags include:
- Spare hardware
- Timney Calvin Elite trigger
- Rear action shim, to support the back of the action if needed
- Buttstock hardware
- Linkage components for the bullpup trigger assembly
- Action screws
- Forend hardware
That’s right, it comes with the Timney Calvin Elite trigger! So you can deduct that from the cost of your build and count it as part of the cost of the chassis, which is just under $2,000.
Rifle Assembly
For this build, I used Shorty, our 16-inch barreled 308 Winchester built on a BAT short action. I took the rail off, since we won’t need it.
Trigger and Linkage
First, I installed the trigger on the barreled action, which is a matter of pounding in the two pins. Make sure you get it oriented correctly; without a trigger shoe, it would be easy to install it backwards.
Next, I removed the Picatinny rail scope hood, since it covers the area of the chassis where the barreled action drops in, along with the side plates. The side plates cover the operation rods (op rods), and we need access on both sides to hook everything up.
The safety rod goes on top, and a clamp block there can free float and actuate the safety. With the safety lever back, the safety is on; pushing it forward takes the safety off. Clamping the block down rocks the safety lever.
Then it’s a matter of installing the trigger actuation linkage on both sides and getting it set. With the bolt in, you can put the safety on, take it off, and see the trigger blade actuate the trigger. (I kept wanting to reach for a trigger in the conventional spot. It’s kind of funny!)
MK Machining provides detailed instructions. The key is getting the linkage at 90 degrees and setting the trigger travel and the lateral position of the rod correctly in the rear and front clamping blocks.
With the barreled action in place, the front and rear action screws that come with the chassis clamp it in, just like a regular stock. I did use the shim that supports the rear tang over the back of the chassis center section.
Final Assembly
After putting the side plates back on, I installed the buttstock, Picatinny rail scope hood and forend.
For optics, I selected an Element Optics Helix HDLR , which I thought would be a good scope to try this out. I also fired a couple of test shots and confirmed that a Magpul PMAG 5 7.62×51 feeds just fine. The mag fits well, and the mag release is right there.
Range Testing
At 100 yards, I started with my usual through-the-barrel bore sight. I’m literally looking down the bore, creating a perfectly concentric relationship between the rear and front of the barrel, and centering that on an 8.5×11 piece of paper. Then I hold the rifle real steady and adjust the scope turrets until the point of aim matches the bore alignment. It’s a pretty simple process, and in no time, we were on paper and made quick adjustments to zero.
One note: to look straight down the bore on this chassis, loosen the two 5/32 screws that lock the buttstock length-of-pull adjustment, and slide the rear section of the buttstock off the butt pad and rods. That, plus removing the bolt, lets you look straight down the bore. Then just reinstall the butt pad and rear section of the buttstock and tighten it back down.
I shot from a bipod and rear bag, since the unique setup would have interfered with our benchrest. I just decided to keep it simple.
- Cartridge: 308 Winchester
- Brass: New Peterson
- Bullet: Sierra 175 grain MatchKing
- Powder: 43 grains of Varget
That’s a pretty typical load, and with a lightweight setup like this, 308 Winchester is a little bit snappy. It was definitely something you could feel, but definitely manageable. Just be aware that your rifle will likely weigh a lot less in the Mark 2.6 than it would with a conventional stock, hardware and accessories.
My three-shot group looked like it was about 0.6 inches, and I made sure I was completely zeroed before leaving the 100-yard range.
Next, we went up behind the Ultimate Reloader cabin, where we have a coyote target and a couple of square targets up on the hill at 400 yards. I dialed my dope, and I was a little high initially, but then it was no problem stacking shots on steel.
Handling and Ergonomics
Then we moved down to the industrial yard, which is literally an industrial yard, with a flatbed truck, a snow plow, a road sander and all that kind of stuff. It makes a great shooting environment, with a bunch of steel targets on the hill where we can stand and shoot offhand at 50 to 75 yards. It’s a really good environment for handguns and for shooting offhand with lever guns, or a setup like this. And it was pretty fun!
By this point, I was pretty much used to the unique ergonomics of running the bolt. You reach back and down to the bolt, and you really have to work on getting used to moving your hand forward from the bolt to the grip and trigger. Once you do it a bit, it’s really not a big deal, and it’s actually kind of fun for something different.
MK Machining has also worked with Curtis, whose actions are available with a forward-swept bolt handle. That minimizes the difference between a conventional bolt setup and an MK Machining bullpup setup, so it would be a curious thing to try if I put together another one of these rifles.
Trigger Performance
After getting back from the range, we tested the Timney Calvin Elite trigger on the world’s premier trigger testing setup, the TriggerScan TS-11 from Dvorak Instruments. We ran three scans.
The scans looked incredibly clean, without any of the little jaggy marks you get with gritty creep. We’re right around 0.42 to 0.43 lb average peak force. That is awesome, and it’s pretty amazing to get a clean pull down to about half a pound. It’s an adjustable trigger, so you can adjust it to suit your preference.
MK Machining was wise to put a really high-quality trigger in this setup. The Timney Calvin Elite is specially modified for the mechanics I showed during assembly. Posts come out each side and connect to control arms, which pivot on a pin to pull the trigger. On the other side, another linkage has a post that goes into the slot for the safety actuation. Overall, it’s a pretty simple setup.
Suppressor Clearance
MK Machining advertises this chassis as compatible with 16-inch barrels, which is exactly what we have with Shorty. But if you look carefully at the fore end, we couldn’t quite fit a full-diameter suppressor without a sweep on the cross-section, because of how far forward the fore end ears are.
Our BANISH 30 had no problem, because it has that flare and a smaller diameter. It looks like it would fit even if it were completely flush on the end. I know not a lot of you have 16-inch bolt guns, but if you do, keep the fore end clearance in mind. The fore end could be modified easily, though you probably wouldn’t want to do that either.
Conclusion
The Mark 2.6 runs smoothly, and we had 100% feeding with no problems. That’s a real kudos to MK Machining for getting the feeding sorted out.
At the end of the day, this is a totally unique take on a bolt-action rifle. You can use your existing Tikka, Remington 700 long action or Remington 700 short action in this platform and completely transform its dynamics. If you want something different, this is definitely worth a look, and I had a lot of fun shooting it.
What do you think about the MK Machining Mark 2.6 bullpup? Tell me what you like and what you don’t. If you were going to put a rifle into this platform, would it be a Tikka, Remington 700 long action or Remington 700 short action, and what cartridge would you be shooting? Let me know in the comments!
Get the Gear
MK Machining MK2.6 Bullpup Chassis
Element Optics Helix HDLR 2-16×50
Peterson Cartridge 308 Brass at Creedmoor Sports
Athlon RangeCraft Velocity PRO Radar Chronograph at Midsouth Shooters Supply
Don’t miss out on Ultimate Reloader updates, make sure you’re subscribed!
Thanks,
Gavin Gear
About the author