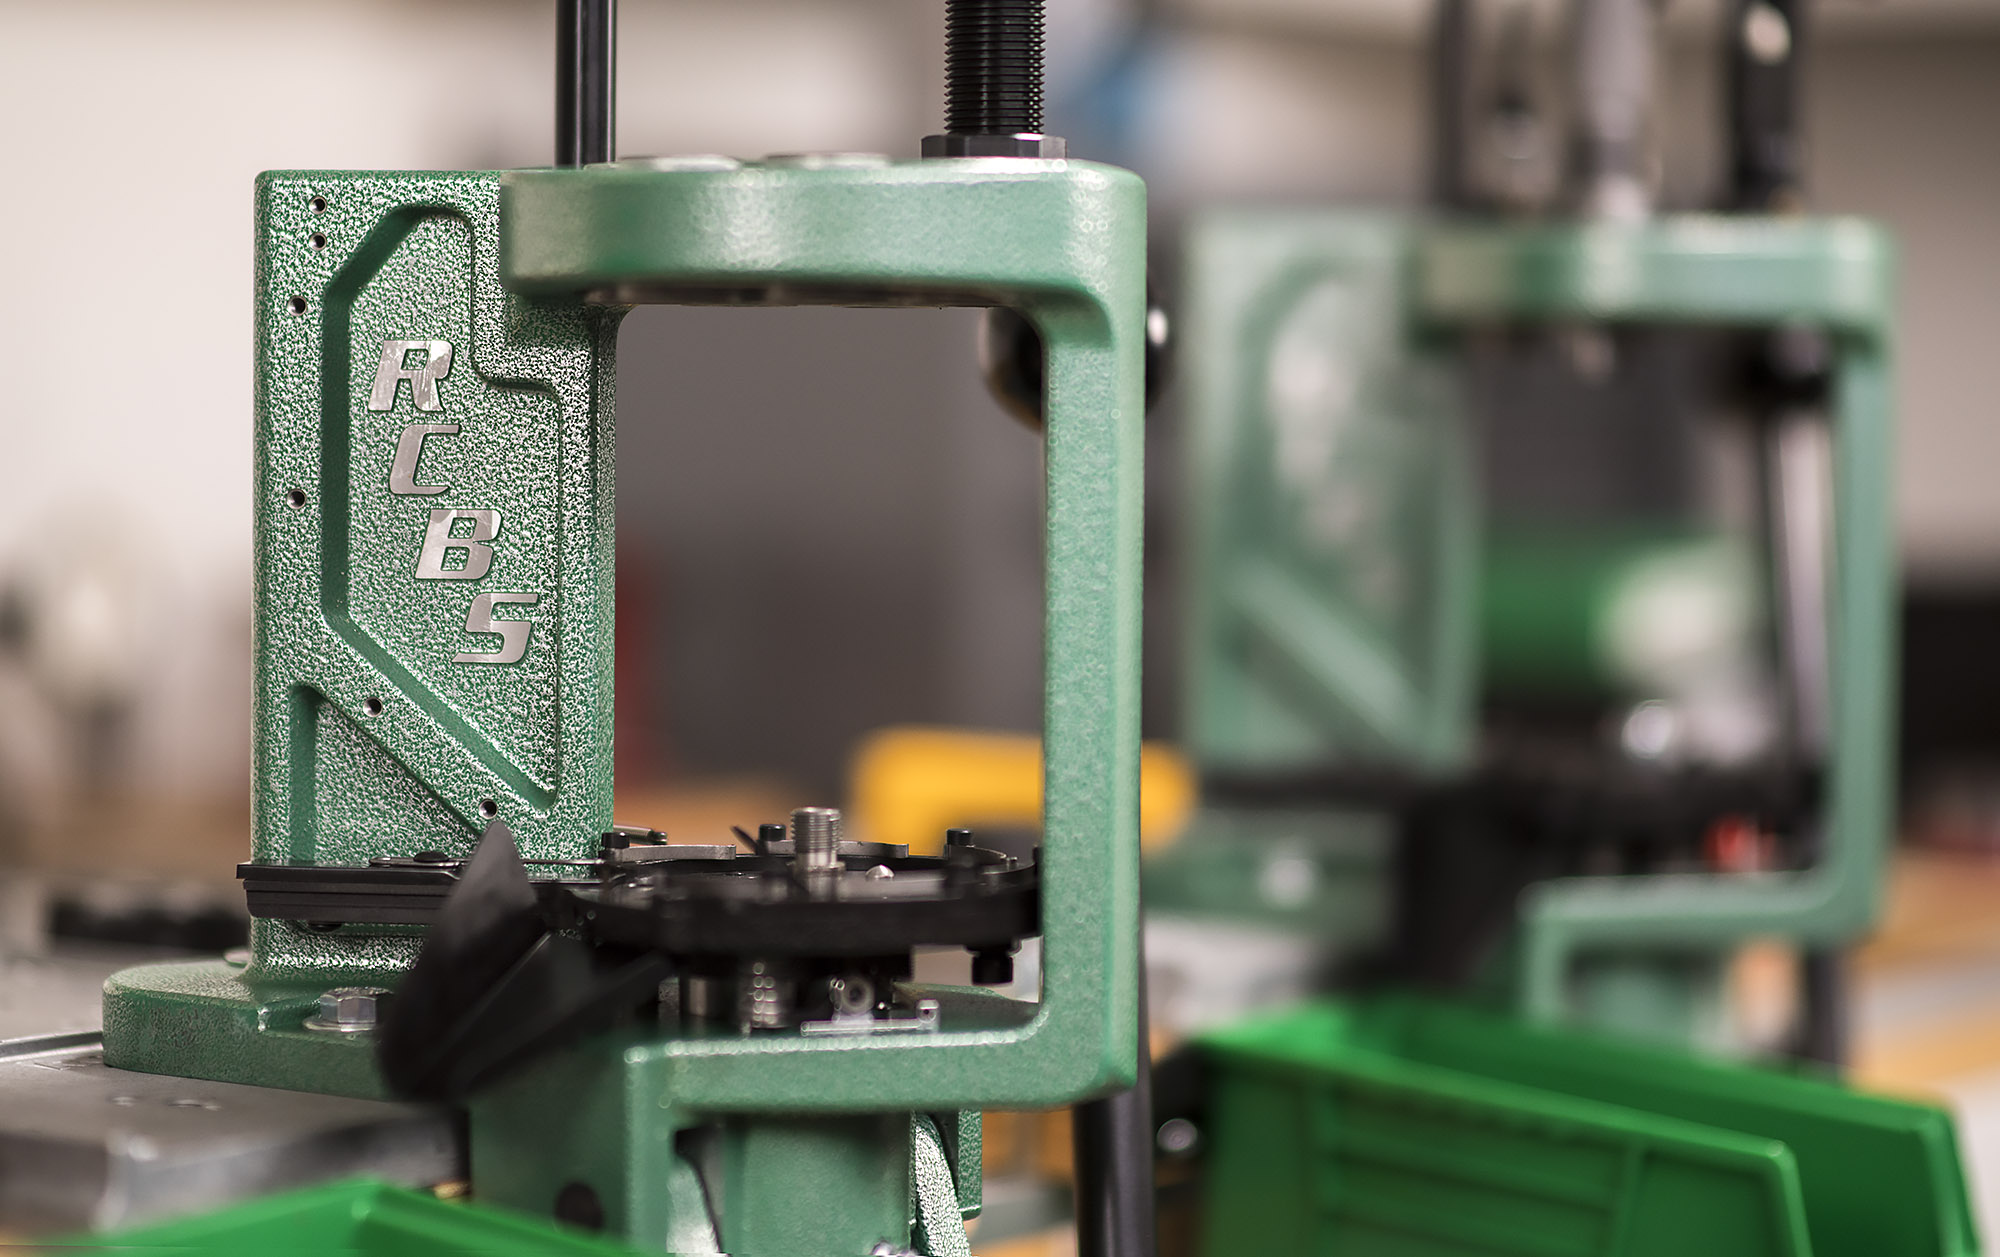
It’s been fun working with the new RCBS Pro Chucker 5, but things are about to get even more exciting. Yes, it’s time to add the RCBS Pro Chucker 7 into the mix! This 7-station progressive auto-indexing is the “big brother” of the RCBS Pro Chucker 5, and is built on the same frame. While it shares most of the same “internals” – there are a few differences:
- A 7-station shellplate and sub-plate and related components.
- 7-station die plates (toolheads- instead of 5-stations on the Pro Chucker 5)
- Slight differences in the priming system
- A larger (much larger) powder hopper (more capacity for powder measure)
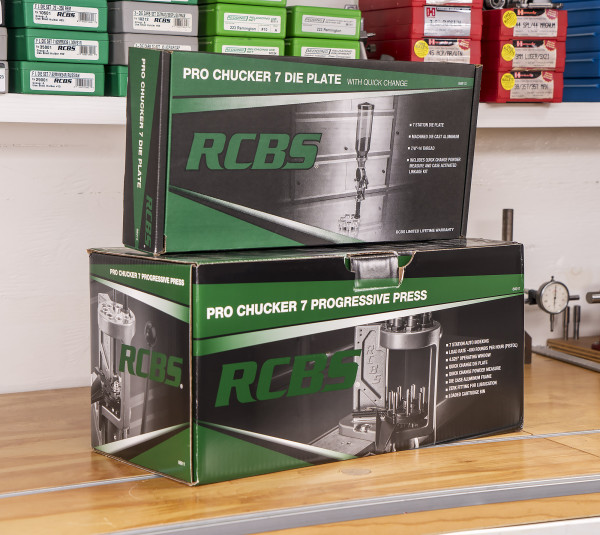
Except for these differences, the presses are basically the same. In this article, I’ll walk through the unboxing and setup process for both the RCBS Pro Chucker 7 press, and the “Pro Chucker 7 Die Plate with quick change” caliber changeover kit.
If you are curious, the RCBS Pro Chucker 5 unboxing post may be good reading (these presses are largely the same, so most information applies between the presses). I also split some of the bench integration and setup content into multiple posts/videos for the Pro Chucker 5:
- RCBS Pro Chucker 5: Integration with Ultimate Reloader Bench System
- RCBS Pro Chucker 5: Press Assembly Part I
- RCBS Pro Chucker 5: Press Assembly Part 2
For the RCBS Pro Chucker 7 I have put together a single video covering both unboxing and setup:
As you saw in the video, here’s what’s included for both the RCBS Pro Chucker 7 press, and the “Pro Chucker 7 Die Plate with quick change” caliber changeover kit:
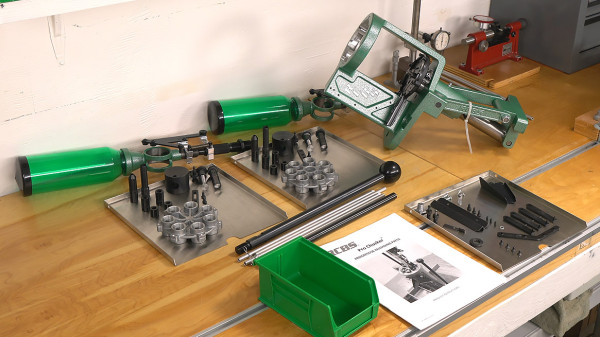
To summarize, with the RCBS Pro Chucker 7 Press you get:
- The press itself and related parts
- Primer changeovers for both small and large primers
- High-capacity case-activated powder measure with all parts needed for common rifle and pistol cartridges (including two metering inserts, one for pistol, and one for rifle)
- 7-station die plate
With the “Pro Chucker 7 Die Plate with quick change” caliber changeover kit you get items #3 and #4 from the above list.
So what do you need to add to start loading ammunition? You’ll only need dies and a shellplate (excepting the “other” consumables and equipment not related to press setup).
Now that I have the RCBS Pro Chucker 7 setup, I’m really looking forward to loading some ammunition with it, and comparing it to the RCBS Pro Chucker 5. More stories coming shortly!
Thanks,
Gavin


Woo Hoo the 7 is here, now to see the shell plates. And yes, size matters with powder measures. I’d like to see some of the post operation stuff, like emptying the powder measure (yet even more video requests).
Thanks Gavin and have a great Christmas.
Gavin why did RCBS switch to the tube drop system for priming over the former strips?
Hi Gavin – Great video on the RCBS Pro Chucker 7. Thanks again for showing the difference between the Pro Chucker 5 and the Pro Chucker 7. I would like to hear the advantages of having the extra two stations in the Pro Chucker 7; and see the set up in loading 9 mm. One thing is puzzling me though: Why the extra mounting plate behind the press set up? Keep the great videos coming. Merry Christmas and Happy New Years to you and Yours!
Hi Gavin,
thanks for all the information you provide! It’s a great resource!
I’m buying my first progressive reloader and am having trouble deciding between the RCBS 5, the RCBS 7 and the Hornady Lock-n-Load AP. It looks like the reviews for the RCBS 5 have been very critical of the primer feed system. Is there an issue with the primer feed for the RCBS 5/7’s or is it being blown out of proportion?
thanks!
Stephen
Gavin,
I really love your site. Lots of great information. I was hoping that someone would reply to my post on your Facebook page before I spent big bucks on a Rock Chucker 7. May just have to forget the whole thing.
Looking forward to the L.E.Wilson section
John Vance
PC 7. Case ejector spring doesn’t work as per instruction in RCBS manual. The spring must be touching the case for it to eject properly. ISSUE / PROBLEM. If the spring is touching the case and you raise the shell plate, the spring is then smashed between your Lee Factory Crimp die and the shell plate leaving a impression in the shell plate. Not good for the die or the plate.
Any recommendations for a fix besides not using it and just manualing removing. Spoke to RCBS which they just went by manual.
Like the press but now thinking of returning and getting the Dillion 650