Posts Tagged ‘Frankenlöder’

Frankenlöder – 9mm with Hornady-RCBS Bullet Feeder Setup on Dillon XL-650 – Part III

Sunday, December 11th, 2011

In this third installment of the Frankenlöder 9mm Dillon+Hornady+RCBS series, we’ll build on what we talked about in the first post and second post. We’ve seen what it takes to setup the Dillon XL-650 with Hornady 9mm dies, and also modified the drop tube from the RCBS Pistol Bullet Feed kit in order to get all of the parts to match up. That means, it’s time to test everything out, make some tweaks and then proceed to mass production reloading!

When I first tried this setup together, I noticed that I had some issues with tipping cases. I found some comments on the Brian Enos forum regarding tipping cases, bullet feeders, and the discussion centered on the modification of the powder funnel (the part below the powder measure that expands the case mouth and lets powder pass through when charging the case). By changing the profile from a cone (producing a trumpet shaped bell on the case) to a two-step profile (like Hornady’s PTX expanders) I was able to expand a section in the brass that would let the bullet slightly press in a ways (less than .100″ down into the case).

Here’s a picture of the modified powder funnel for 9mm (bottom) next to an un-modified powder funnel for 38/357 (top) that shows the difference. I thought I would polish the working surfaces while I was at it on the metal lathe.


Modified 9mm Luger powder funnel (Bottom) next to un-modified powder funnel (top) - Image copyright 2011 Ultimate Reloader

This ended up solving the tipping bullets issue. I was then happy with how the bullet feed system was working. It was then time to load a few hundred rounds to make sure everything was going to function reliably. I was happy to see the press moving smoothly, the previously mismatched components acting as a whole.

Here’s a video showing the entire assembly working together:

Well, that was a fun project! I’ve been pondering this one for about a year, so it was satisfying to see it come together. What should the next Frankenlöder project be? Perhaps you can help me decide. :)

Once again, here’s a picture of the entire setup:

Success!

Thanks,
Gavin

Frankenlöder – 9mm with Hornady-RCBS Bullet Feeder Setup on Dillon XL-650 – Part II

Tuesday, December 6th, 2011

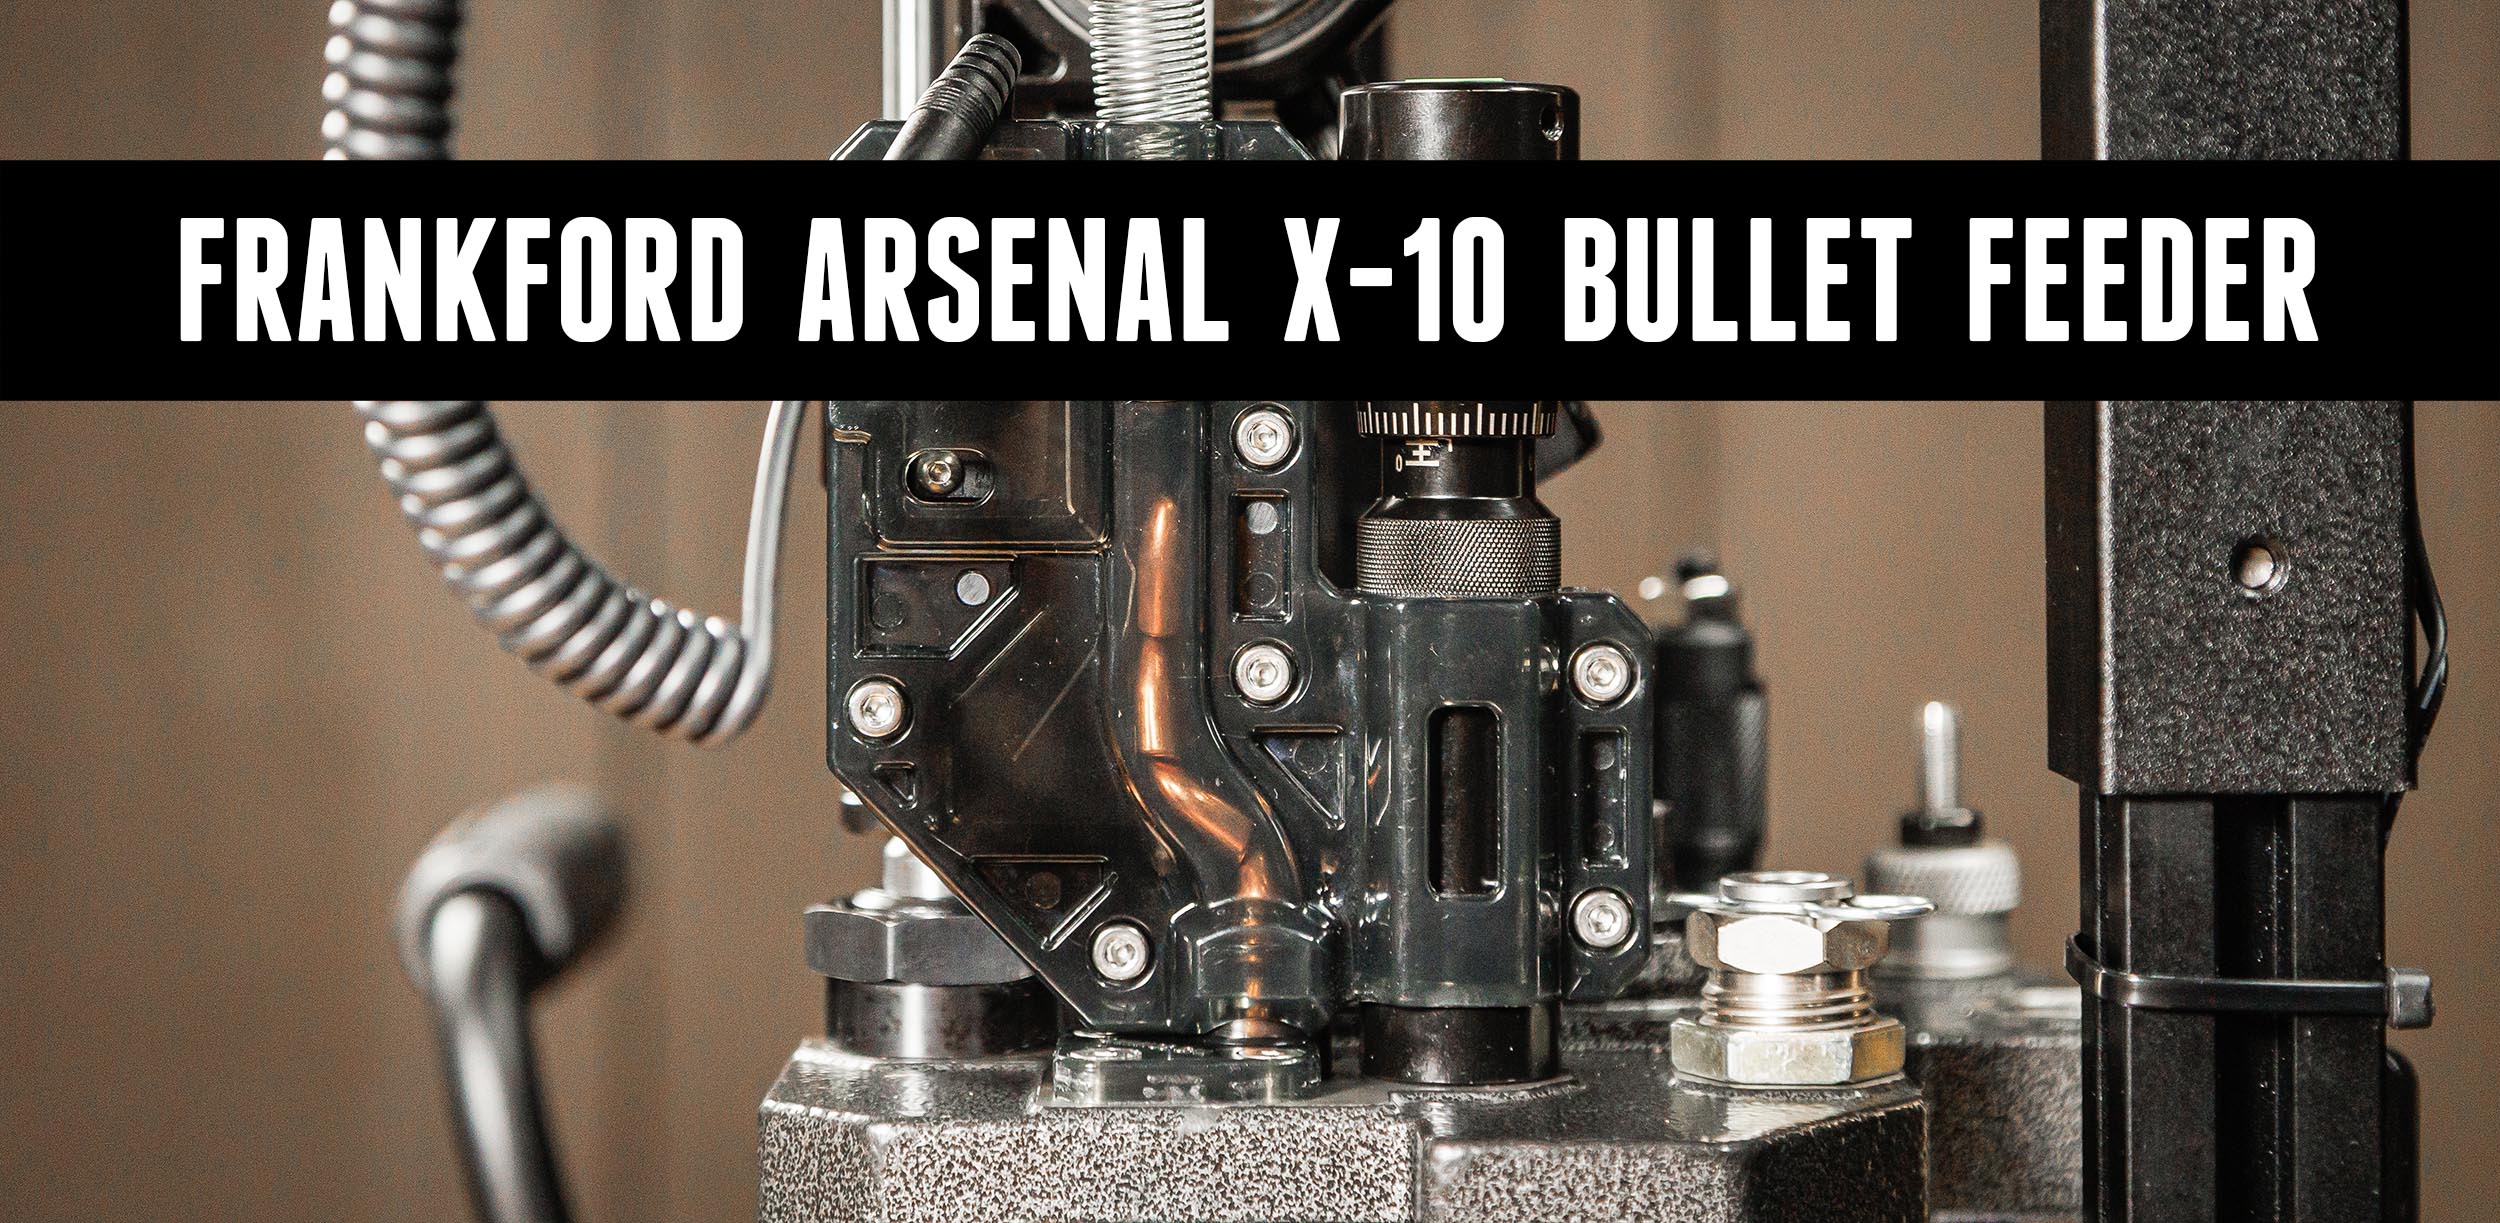
In my previous post, I walked through the process of setting up the Dillon XL-650 to load 9mm Luger ammunition with Hornady pistol dies. In this post, we’ll cover adding a bullet feeder to this setup. What will be unique about this setup will be the fact that we’ll use most of the RCBS pistol bullet feeder (everything except the bullet feed die) and will use a Hornady pistoll bullet feed die. Since I’ve had both pistol bullet feeders in the shop (RCBS and Hornady) I’ve wondered what it would take to use parts from these bullet feeders together. This is my opportunity (and yours) to find out!

The first challenge was to get the drop tube (clear lexan tube) adapted to fit the Hornady bullet feed die. In addition to getting these two components to fit, I also took some measurements to figure out how to get the height of the RCBS collator and drop tube to properly line up with the top of the Hornady bullet feed die when mounted in the Dillon XL-650 toolhead as mounted on the press. Since the XL-650 is a tall press, this meant some shortening of the drop tube would be in order since I wanted to mount the base of the RCBS unit directly to the T-Track system on the top surface of my bench. That way I can move both the press and bullet feeder sideways without the need for special adapters and parts.

In order to adapt the drop tube from the RCBS bullet feed system, I decided to shorten the clear lexan drop tube to account for the overall height of the Hornady bullet feed die in the press. After careful measurement, I parted off a portion of the lexan drop tube this was a good way to cut the tube to length without  worry about shattering bits of the tube with a saw blade. I then carefully measured the inside diameter of the top of the Hornady bullet feed die (adjustment screw).

Hornady bullet feed die assembly - adjustment screw shown at top - Image copyright 2011 Ultimate Reloader

This inside surface would be where the Hornady drop tube (spring) would normally insert into the bullet feed die (when using Hornady bullet feed collator). I then proceeded to turn down about 1/2″ of the end of the shortened lexan drop tube so that the necked-down end of the tube had the slightest press fit into the top of the Hornady Bullet Feed die (adjustment screw). Here’s a picture showing the factory tube next to the modified tube:

Modified drop tube (bottom) compatible with RCBS drop tube adapter and Hornady bullet feed die - Image copyright 2011 Ultimate Reloader

By shortening the tube down to 5″ overall, I was able to accommodate the taller press (Dillon XL-650) and also the taller bullet feed die (Hornady die is taller compared to the RCBS bullet feed die). The shoulder was turned down to 0.473″ so that it would fit nicely (slight drag when inserting) into the top of the Hornady Bullet feed die.

Turned down end of lexan drop tube - Image copyright 2011 Ultimate Reloader

Using my Logan Model 1922 11×36 Metal Lathe and a carbide indexable cutting tool made for a clean finish and a nice shoulder to bottom out against he Hornady reloading die adjustment nut.

Modified drop tube fits nicely into the Hornady bullet feed die adjustment nut - Image copyright 2011 Ultimate Reloader

There we go, the pieces all fit together now! Here’s a quick look at the entire setup:

Red, Blue, and Green all together! - Image copyright 2011 Ultimate Reloader

Next, we’ll look at test driving the setup, and will figure out the final tweaks needed to make this entire setup function smoothly. I can’t wait to start cranking out ammunition because I have a hungry Glock 17 (Raced up by a friend) that needs to go to the range!

Stay tuned,
Gavin

Frankenlöder – 9mm with Hornady-RCBS Bullet Feeder Setup on Dillon XL-650 – Part I

Thursday, December 1st, 2011

Dillon XL-650 Press + Hornady Dies + RCBS Bullet Feeder + Hornady Bullet Feed Die

In this multi-part Frankenlöder series, we’ll be using the Dillon XL650 to load 9mm Luger. What’s going to make this scenario interesting is the fact that we’ll be using Hornady dies, including the Hornady 9mm pistol bullet feed die. In this case however, we’ll see what it takes to use the RCBS bullet feed collator assembly (the entire bullet feeder except bullet feed die) with the XL-650 and Hornady bullet feed die.

I started this process by getting the Hornady pistol dies (sizer/decapper and bullet seat/crimp die) setup and working well on the Dillon XL-650. Here’s a quick breakdown on the die stations I’m utilizing for testing:

  1. Sizer/decapper (upper right side)
  2. Priming (bottom of stroke), expander/powder charge (right hand side)
  3. Empty (will use powder check)
  4. Bullet Feed Die (left side) – not used for initial loading session
  5. Seat/crimp (top left side)

Die stations - Image copyright 2011 Ultimate Reloader

Initially, I was going to use a spare Lee 9mm sizing/de-priming die that I had laying around, but I found that I could not get the die adjusted low enough to ensure proper seating. This is because Dillon dies tend to be longer (more threads) due to the thickness of the toolhead on the XL-650. The Hornady dies do work however, with just enough threads to lower the die until it touches the shellplate.

The next task at hand was to adjust the powder measure charge setting and depth so as to properly flare the case mouth, and also “dial-in” the charge I am working with here.

Here’s the load specifics: (use load data at your own risk, always cross-reference load data against manufacturer’s published data)

Bullet: 124 grain jacketed (various)
Brass: Range pick-up (mixed)
Powder: Alliant Bullseye
Powder Charge: 4.4 grains
Primer: Wolf Small Pistol

After some fine tuning adjustments, I was able to start loading in volume at a good clip, placing bullets manually. My plan was to use a bullet feeder to crank out some big volumes of ammo, but my approach is to start “basic” and work your way towards more elaborate equipment setups by adding one piece of equipment at a time, waiting until each successive setup is working smoothly before advancing to the next stage. Now that my baseline setup was working smoothly, I was ready to move on towards adding the bullet feeder to this setup. Without a bullet feeder in the picture (when loading on a 5 station progressive) I would normally use separate stations for seating and crimping, but knowing that I was going to use a bullet feeder, I knew that I would need to leave two stations open, one for the powder check, and one for the bullet feed die.

Using a single die for seating and crimping is a little more exacting in terms of setup. My approach is to back out the seating plug, and first work on the crimp setting (depth of die in press). Once the crimp is set, the bullet seating depth can then be dialed in. If you have a completed cartridge that you want to mimic (with same bullet or at least bullet profile), this can be a quick two-step process:

  1. Setting crimp:
    Put the completed cartridge in the bullet seat/crimp station, and raise the ram to the top of the stroke. Screw in the die (make sure the lock ring is near the top of the threads) until you feel it contact the cartridge. lower the ram, Turn an additional 1/8 turn, set the lockring, then raise the ram to the top of the stroke. If there is not enough crimp after testing completed cartridges, incrementally add an additional 1/8 turn until the proper crimp is achieved. (with this setup you’ll need to back out the seater plug and repeat step #2 below when adjusting crimp).
  2. Setting bullet seating depth:
    Raise the ram to the top of the stroke (with completed cartridge in place) and then turn down the seating plug until it contacts the bullet – tighten medium finger tight. That will get you *real* close, and you can then make micro adjustments when the first few rounds come off the press using digital calipers to measure cartridge overall length (COL).

A 5-station progressive is definitely fast when you’re loading with a case feeder (as I am on the XL-650) – but when you add a bullet feeder, things really pick up! This increased loading speed makes a powder check die even more important. Safety should always be the first order concern! In the follow-up post, we’ll take a look at taking this Frankenlöder setup to the next level of diversity – we’ll see what it takes to use the RCBS Pistol Bullet Feeder (upper half, collator and drop tube) with the Hornady Pistol Bullet Feed die assembly.

Stay tuned!

-Gavin

Introducing Frankenlöder – Macabre Combinations of Reloading Gear

Tuesday, November 22nd, 2011

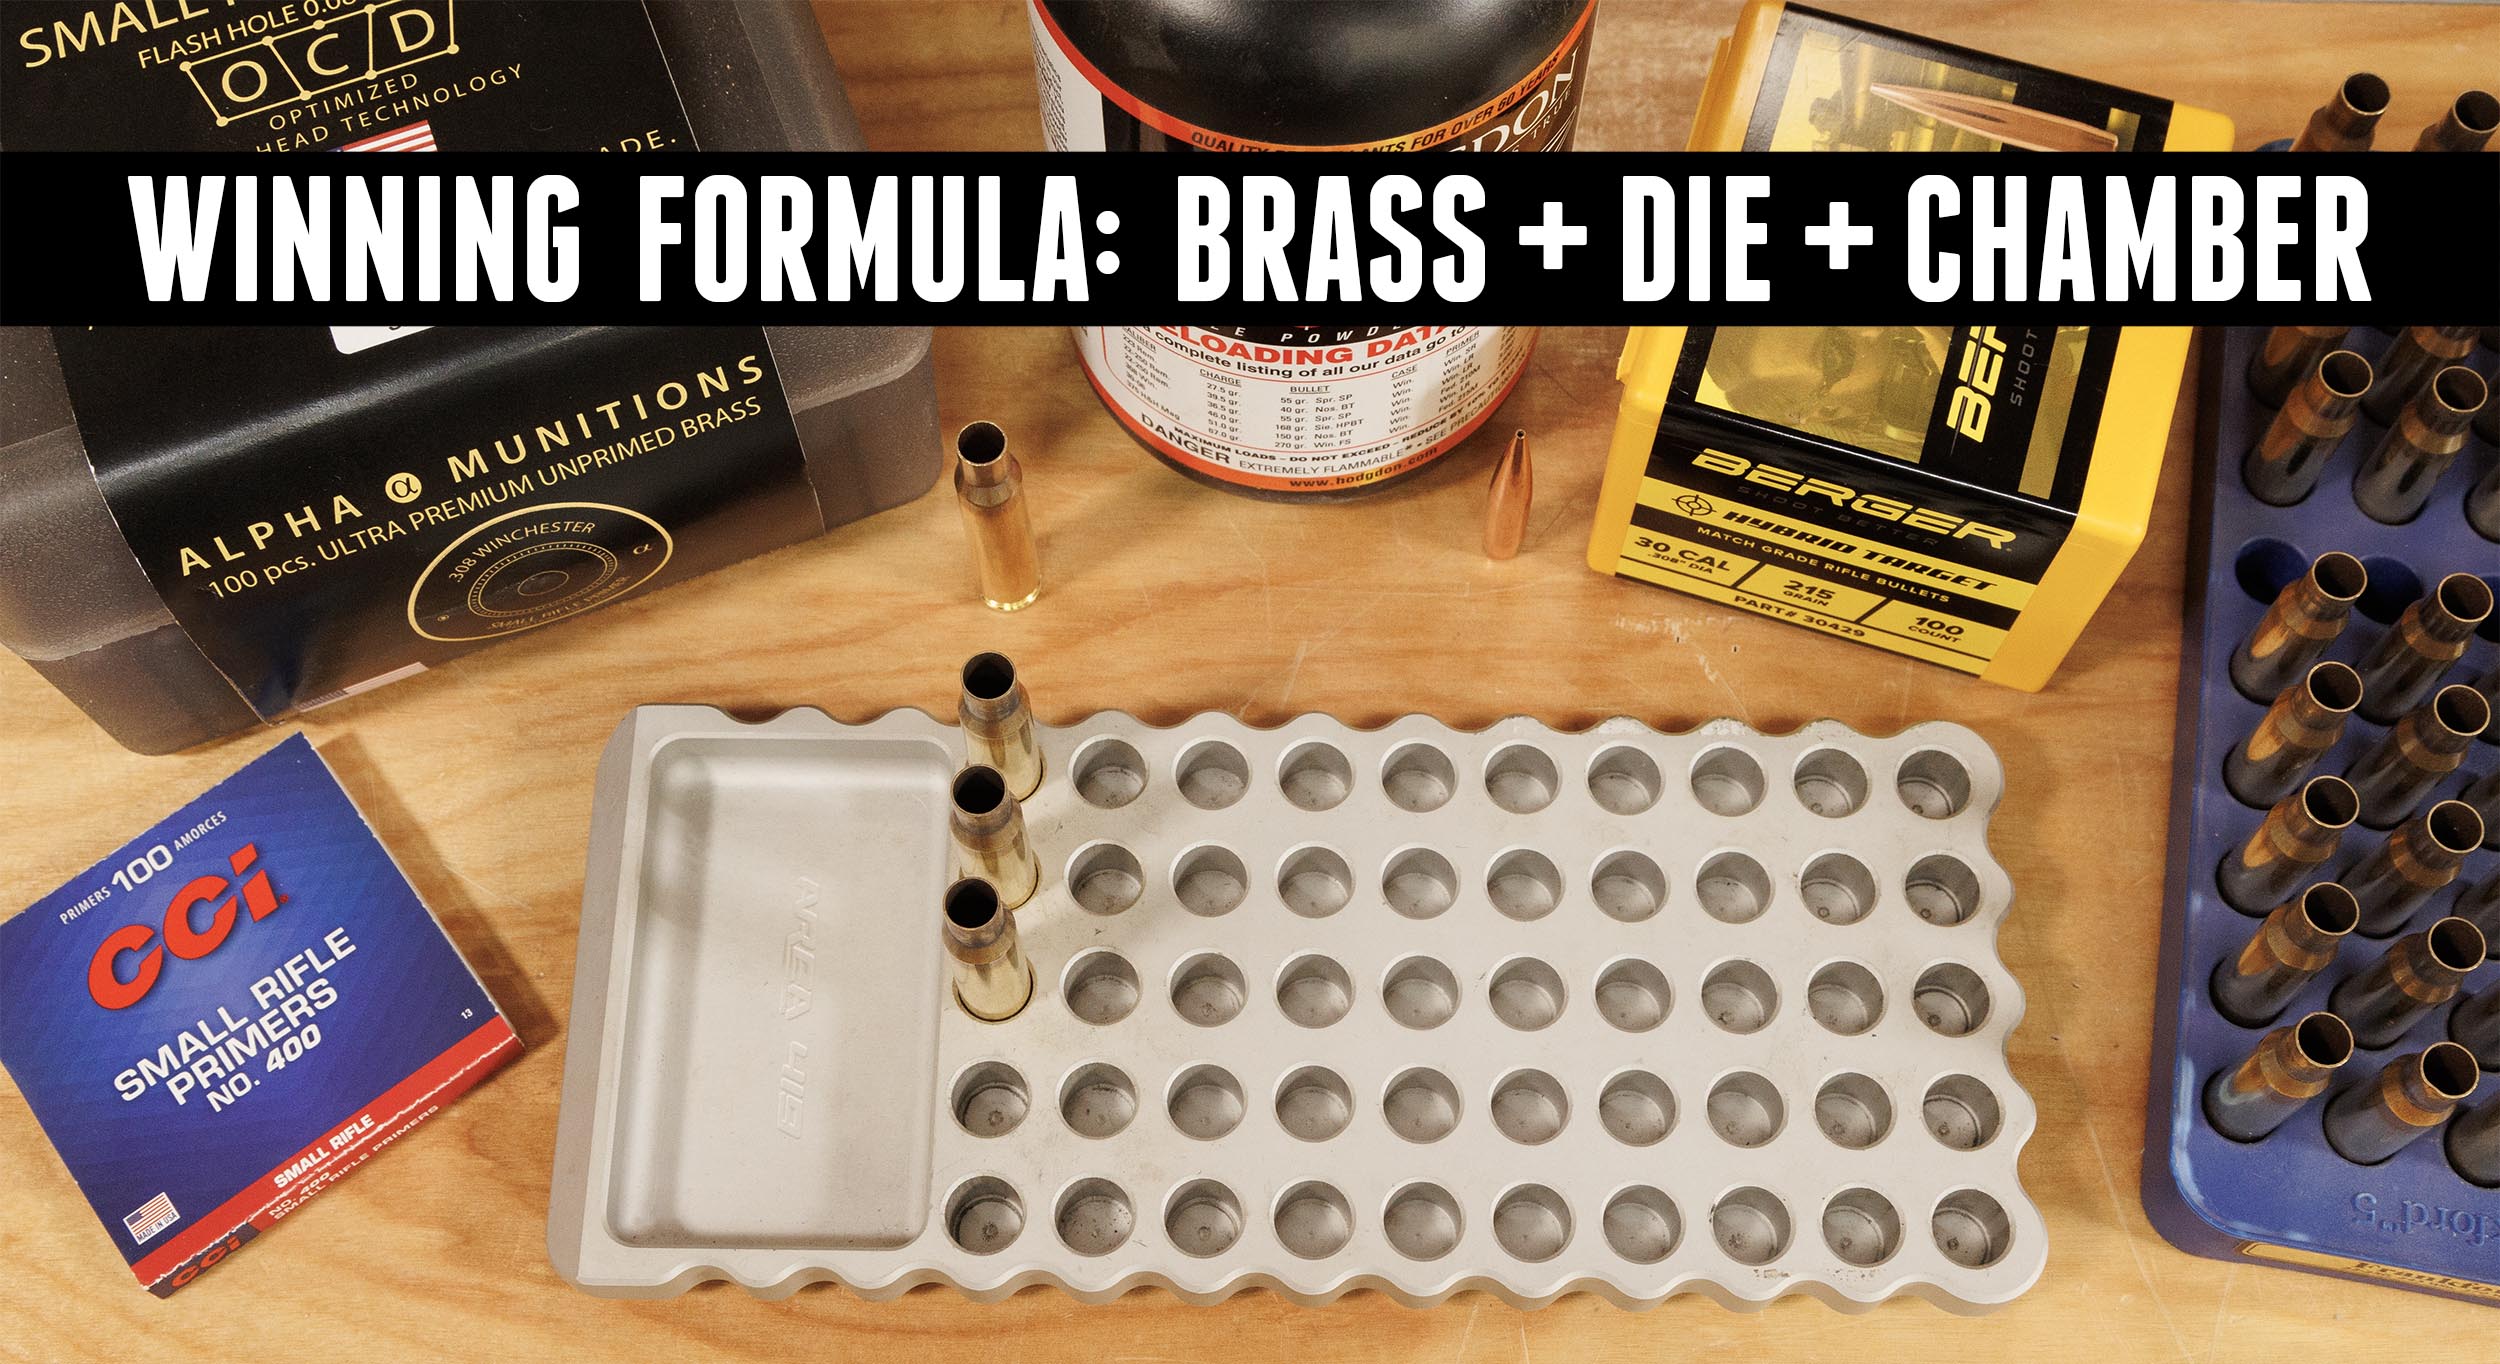
One of the fun things about working with different types of reloading gear is experimenting with different combinations of equipment. Some times reloading dies from one press work in another press – sometimes they don’t! I’ve had several reader requests along the lines of “will this powder measure work on that press” and many variations of these types of “reloading gear permutations”.

Well, I’ve decided to make this a new category of post on Ultimate Reloader! I’ve already shown different combinations of reloading dies, bullet feeders, powder measures, and other equipment working together, and I thought this would be a great “regular feature”.

To get things started, let’s take a look at the RCBS Pistol Bullet Feeder on different presses!

First, we have the RCBS Pistol Bullet Feeder on the Hornady Lock-N-Load AP:

Next, we have the RCBS Pistol Bullet Feeder on the Lee Loadmaster:

Finally, we have the RCBS Pistol Bullet Feeder on the Dillon XL-650:

I think this is a good starting point :) Do you have ideas for future Frankenlöder features? Please leave a comment to suggest your combination!

Thanks,
Gavin