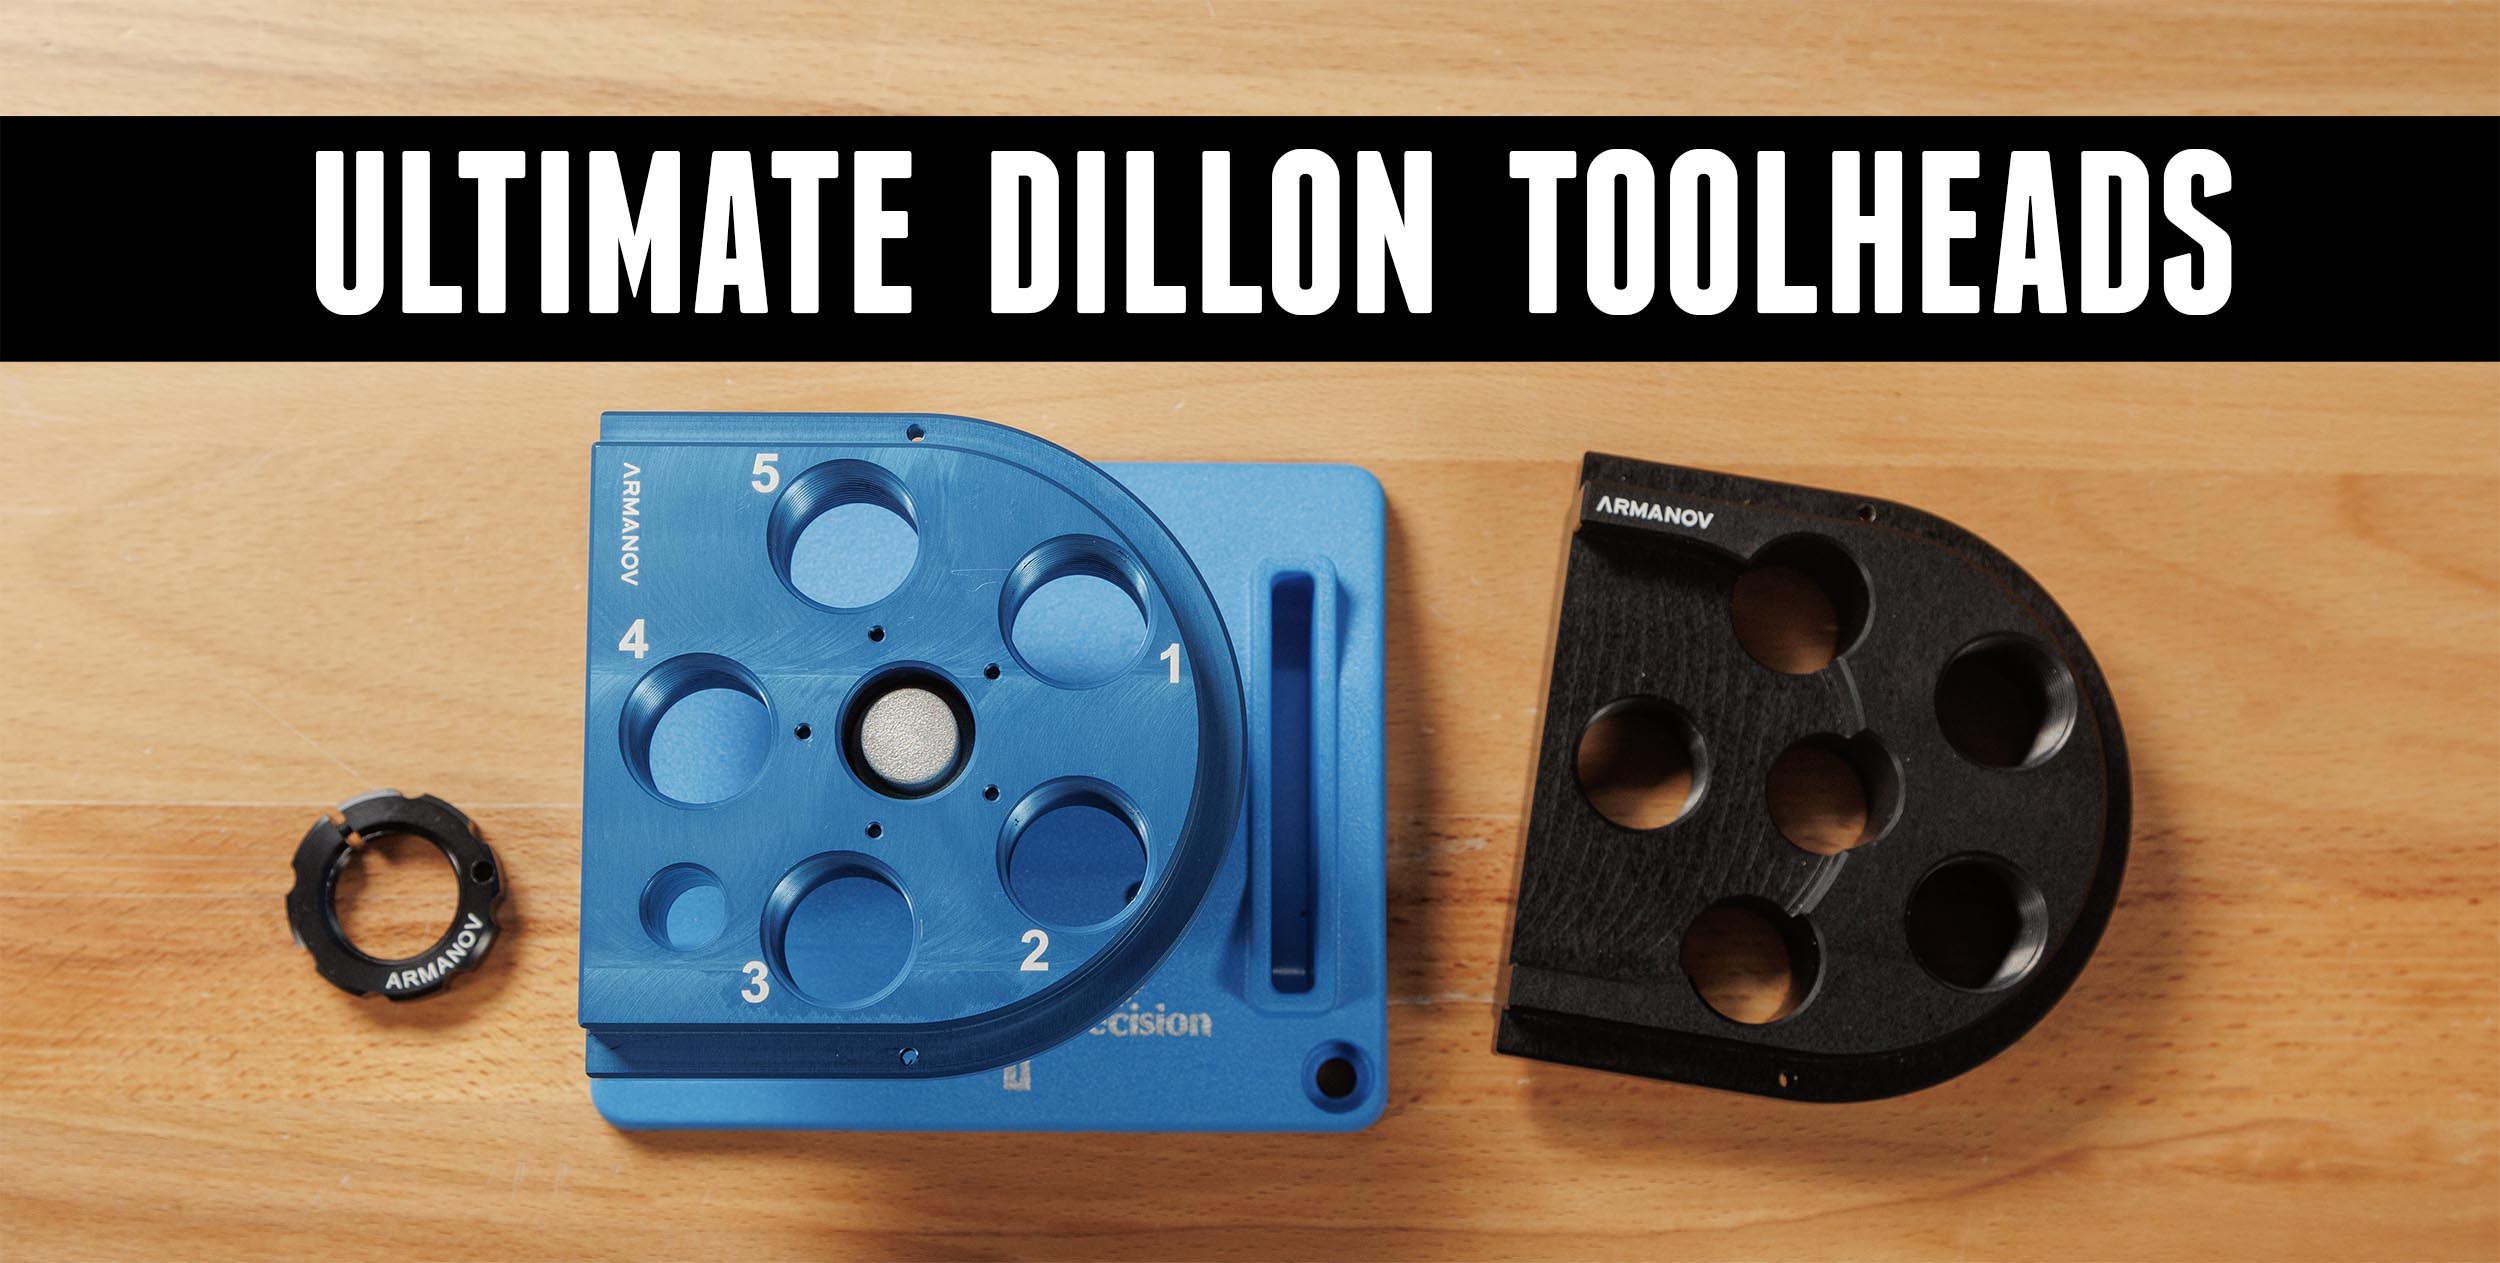
We’ve previously shown a number of Armanov upgrades for Dillon presses including the RL1100 quick change toolhead. This time, we’re looking at all of Armanov’s upgraded toolheads for Dillon presses and how their free floating lock rings work in tandem. Disclaimer Ultimate Reloader LLC / Making with Metal Disclaimer: (by reading this article and/or watching […]
Tag: Dillon
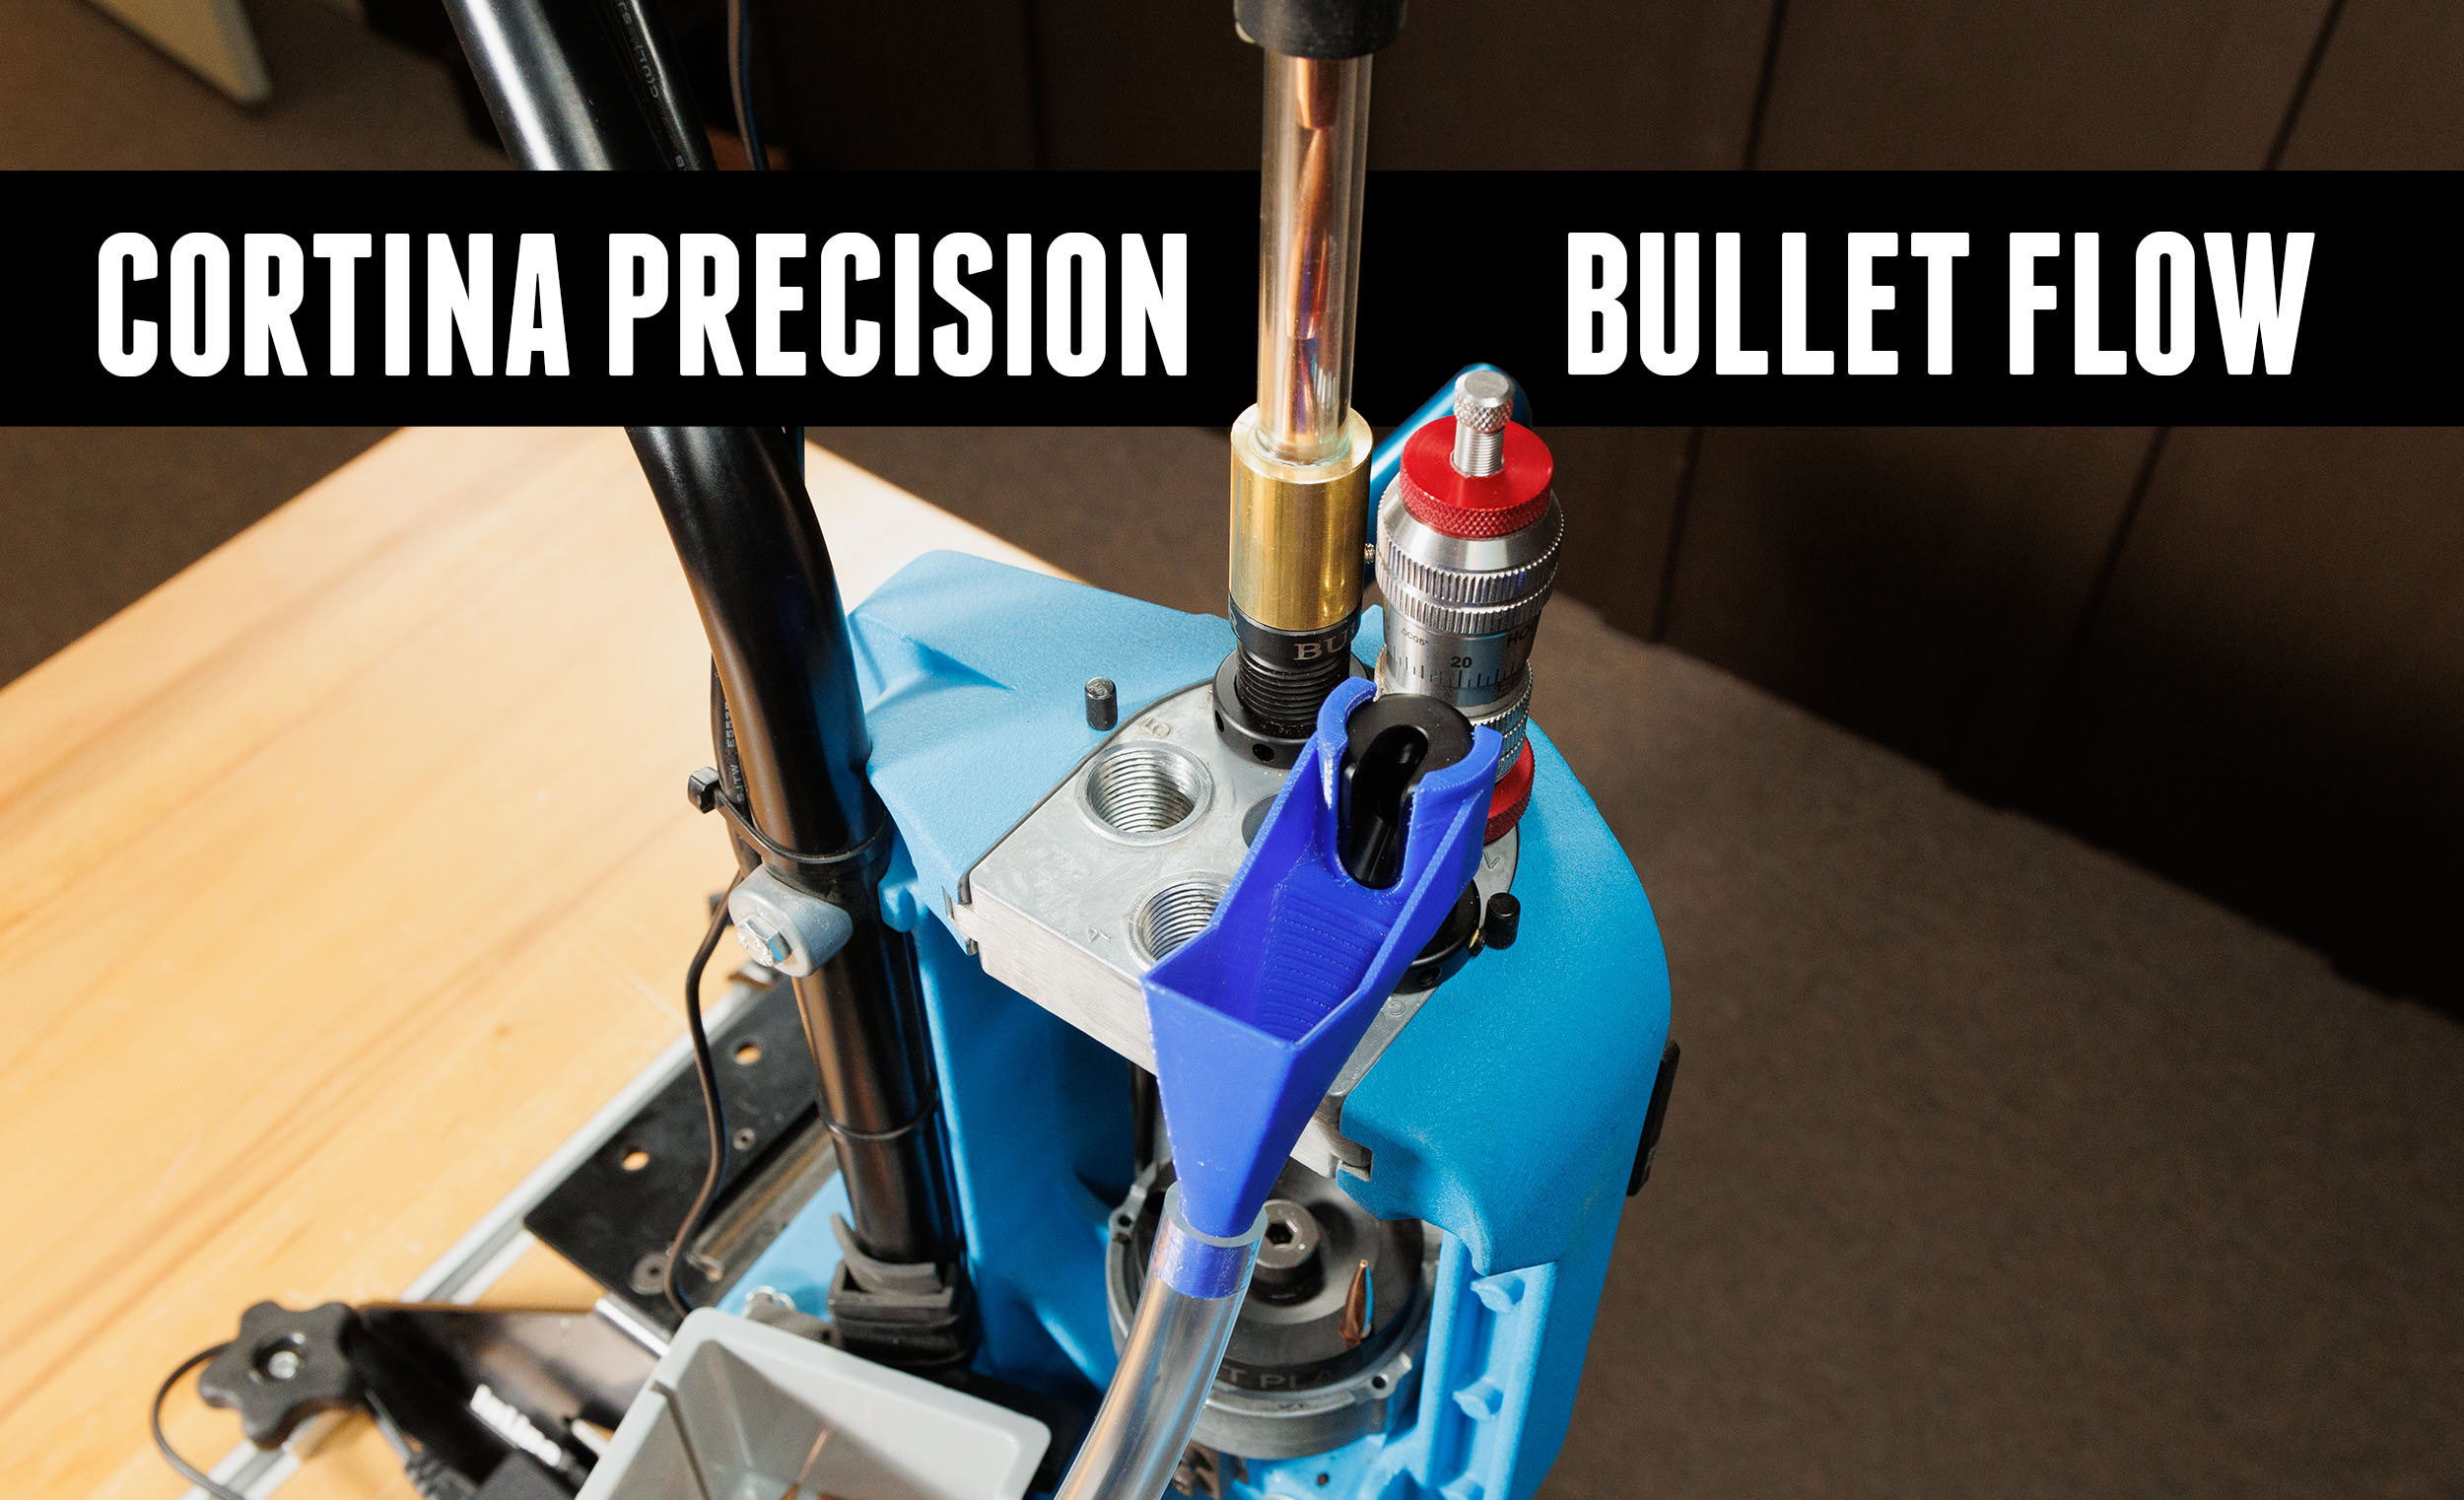
Cortina Precision Bullet Flow System
The Cortina Precision Bullet Flow System is designed to expedite bullet tip uniforming for more consistent BC’s bullet to bullet on a progressive press. Disclaimer Ultimate Reloader LLC / Making with Metal Disclaimer: (by reading this article and/or watching video content you accept these terms). The content on this website (including videos, articles, ammunition reloading […]
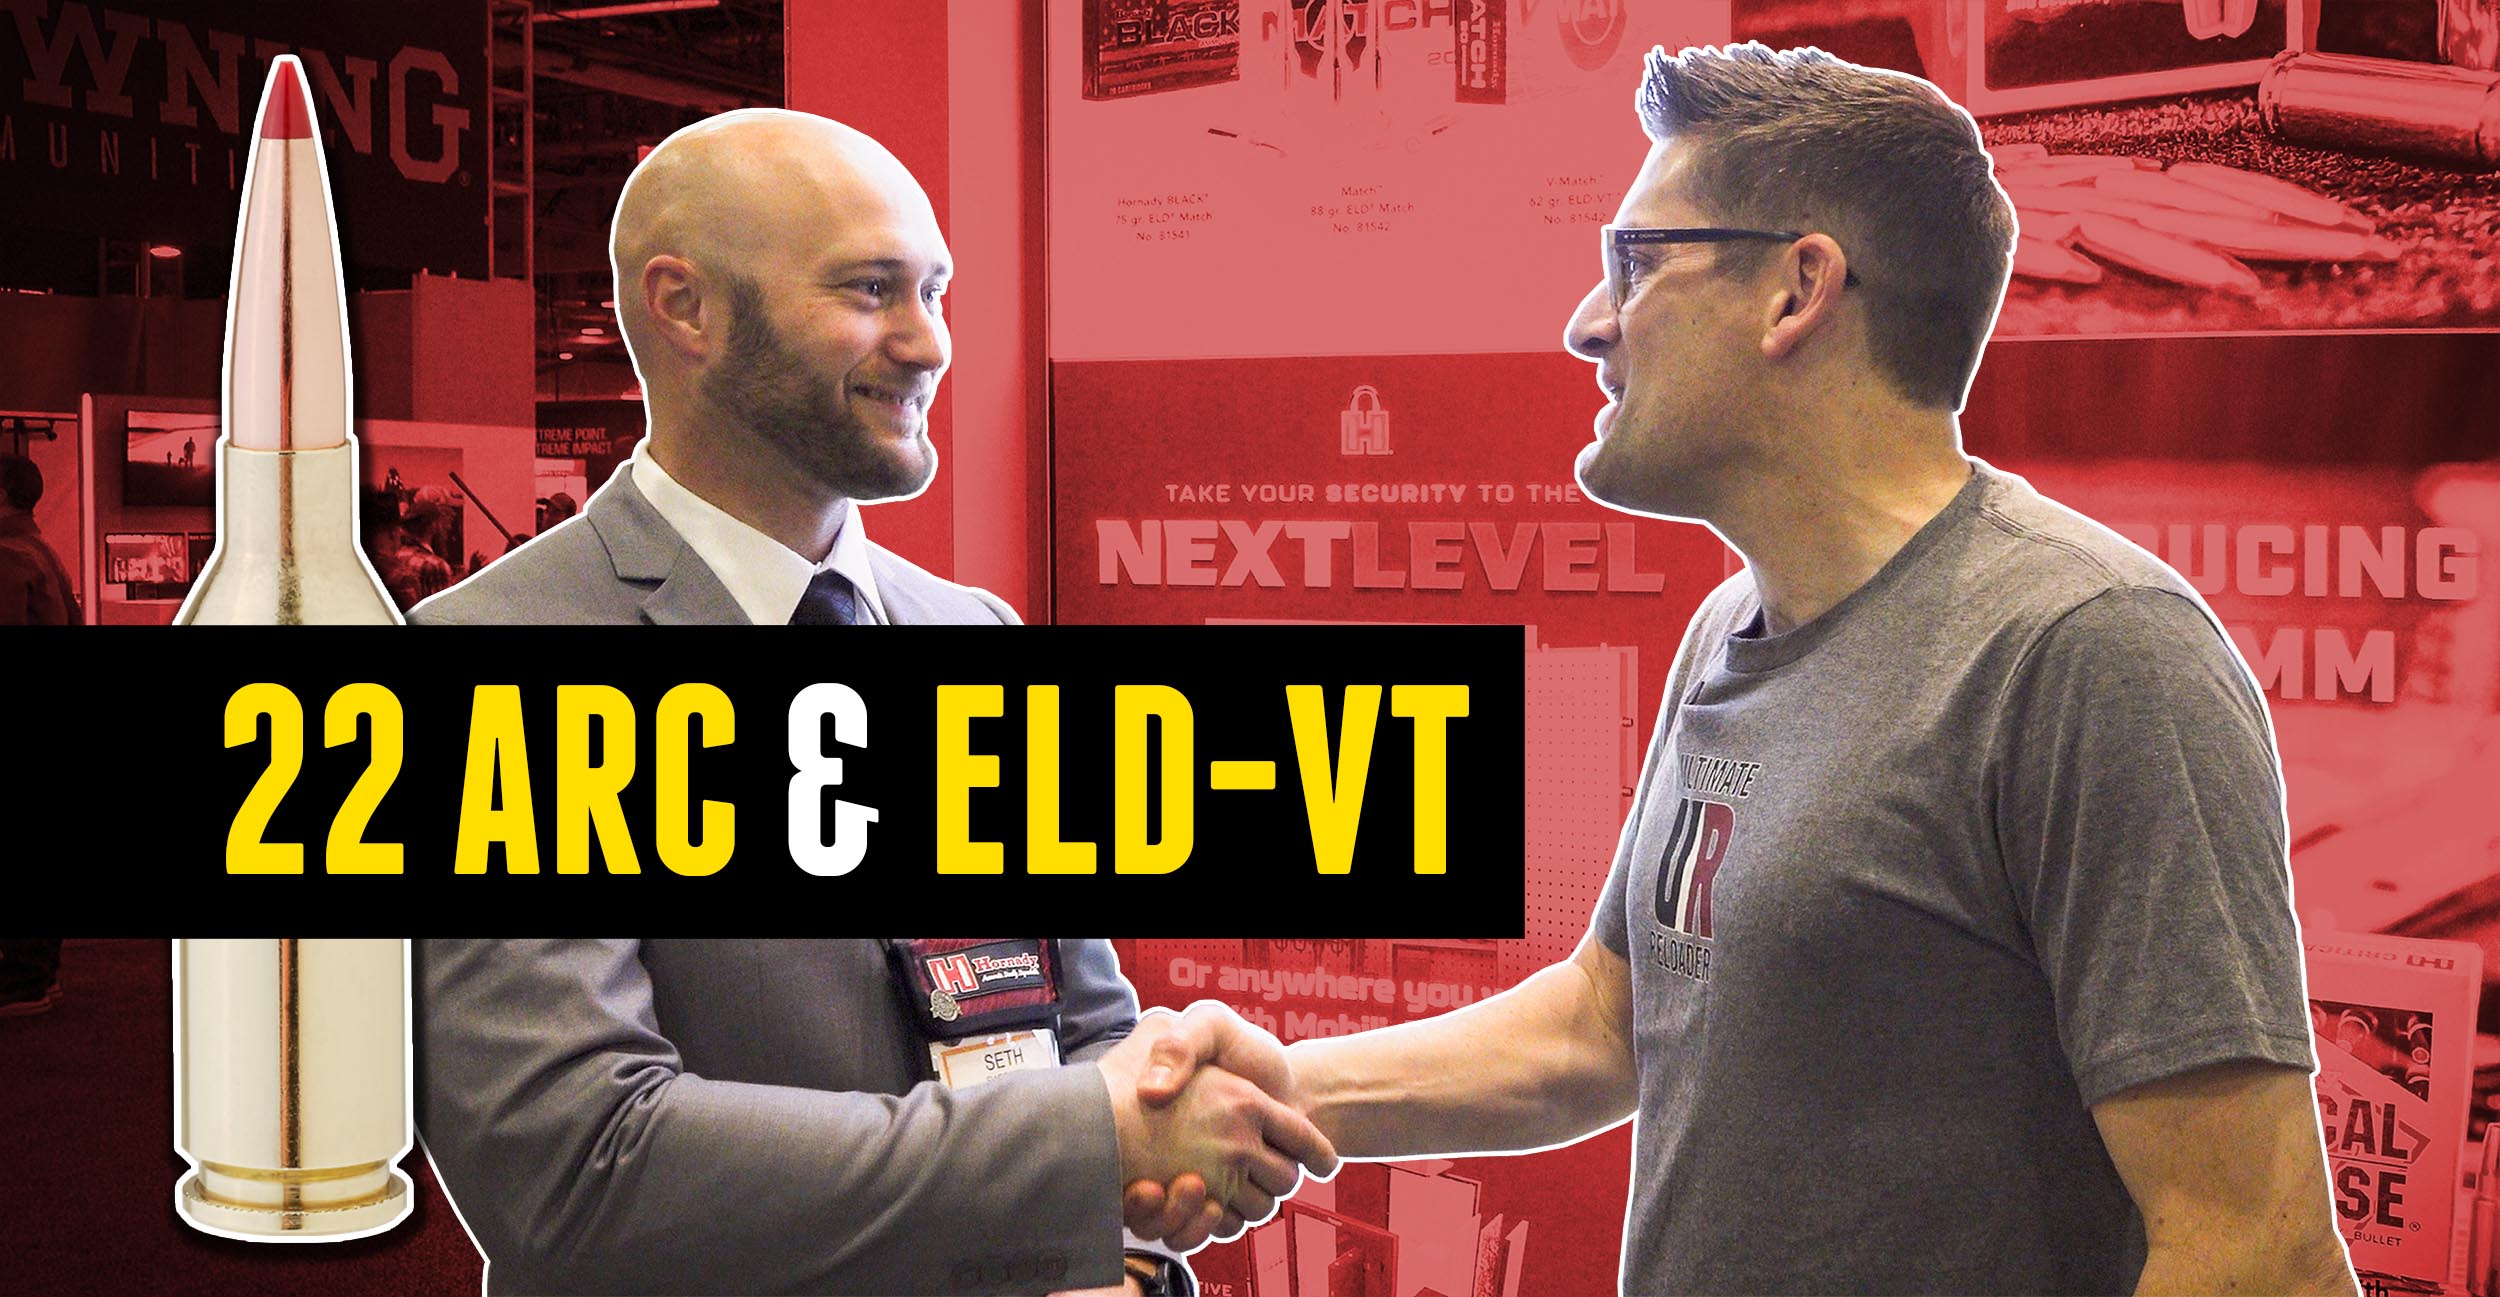
SHOT Show 2024: Hornady’s New 22 ARC and ELD-VT Bullets
I recently completed my 22 ARC Build and showed progressive reloading for the cartridge on the Dillon XL-750. I took some time at the 2024 SHOT Show to speak with Hornady’s Seth Swerczek about Hornady’s 22 ARC and new ELD-VT bullet. Disclaimer Ultimate Reloader LLC / Making with Metal Disclaimer: (by reading this article and/or […]
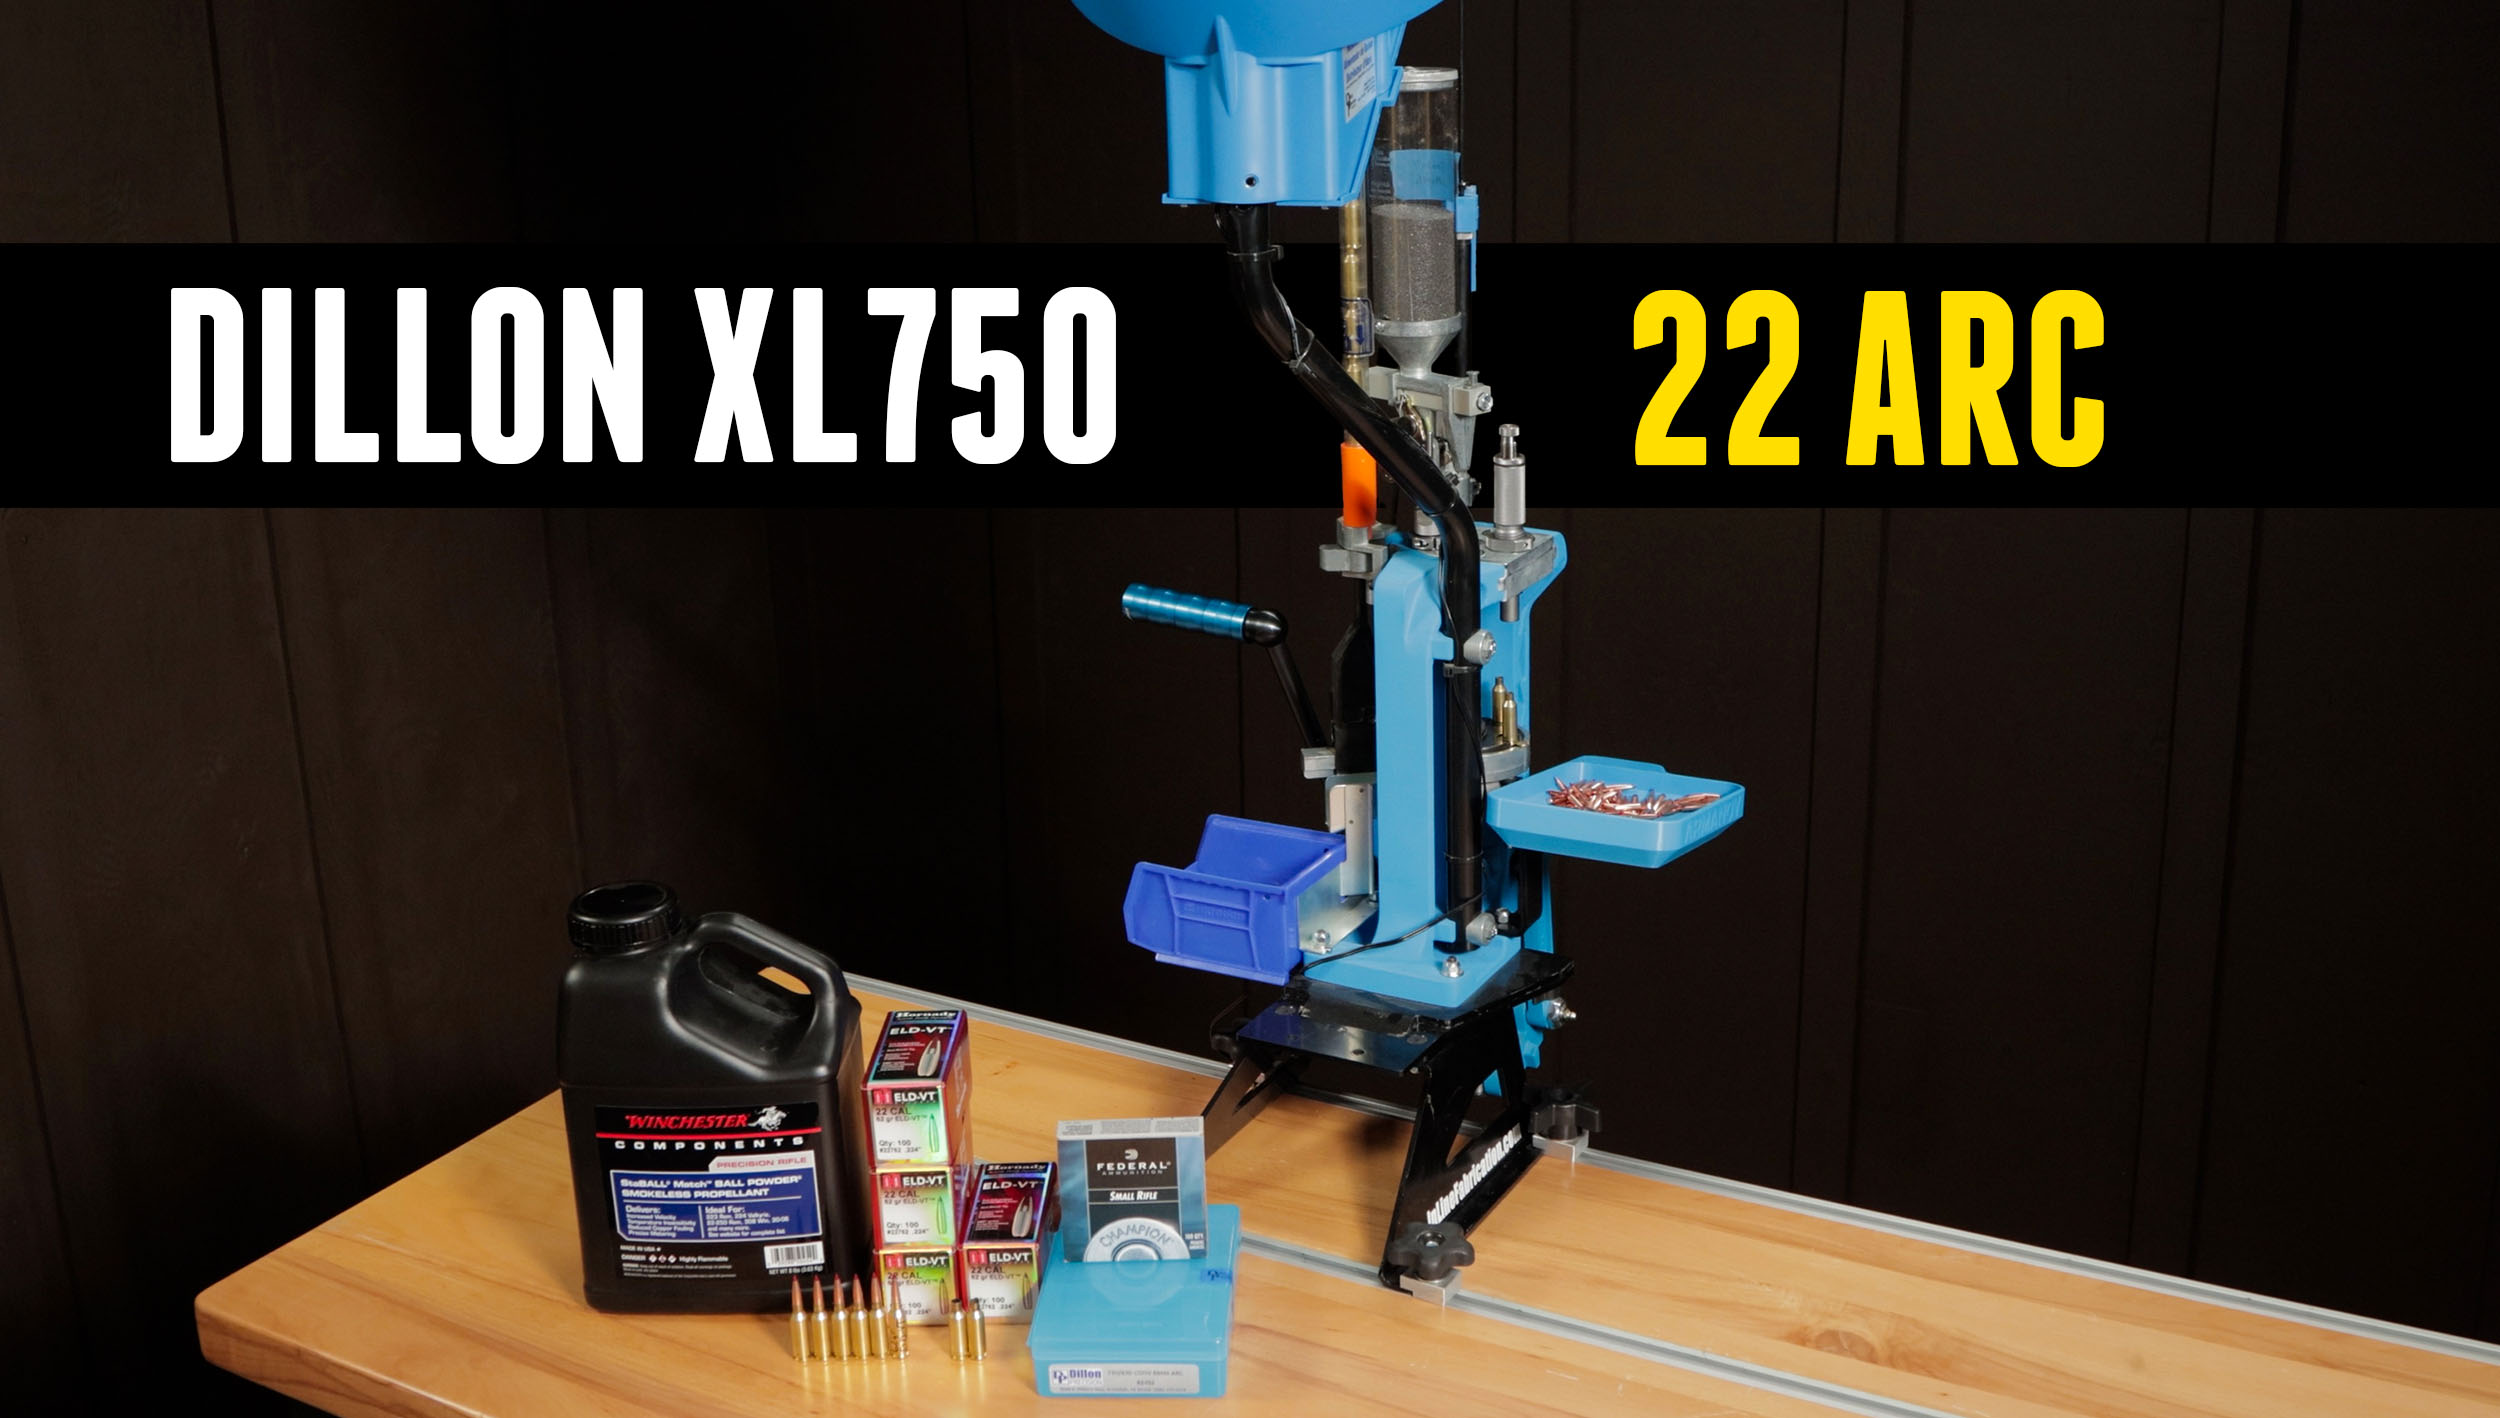
Bulk Loading 22 ARC on the Dillon XL-750
Hornady just released the 22 ARC and I’ve completed my first rifle build for it! Now it’s time to work up a load on the Dillon XL-750. Disclaimer Ultimate Reloader LLC / Making with Metal Disclaimer: (by reading this article and/or watching video content you accept these terms). The content on this website (including videos, […]
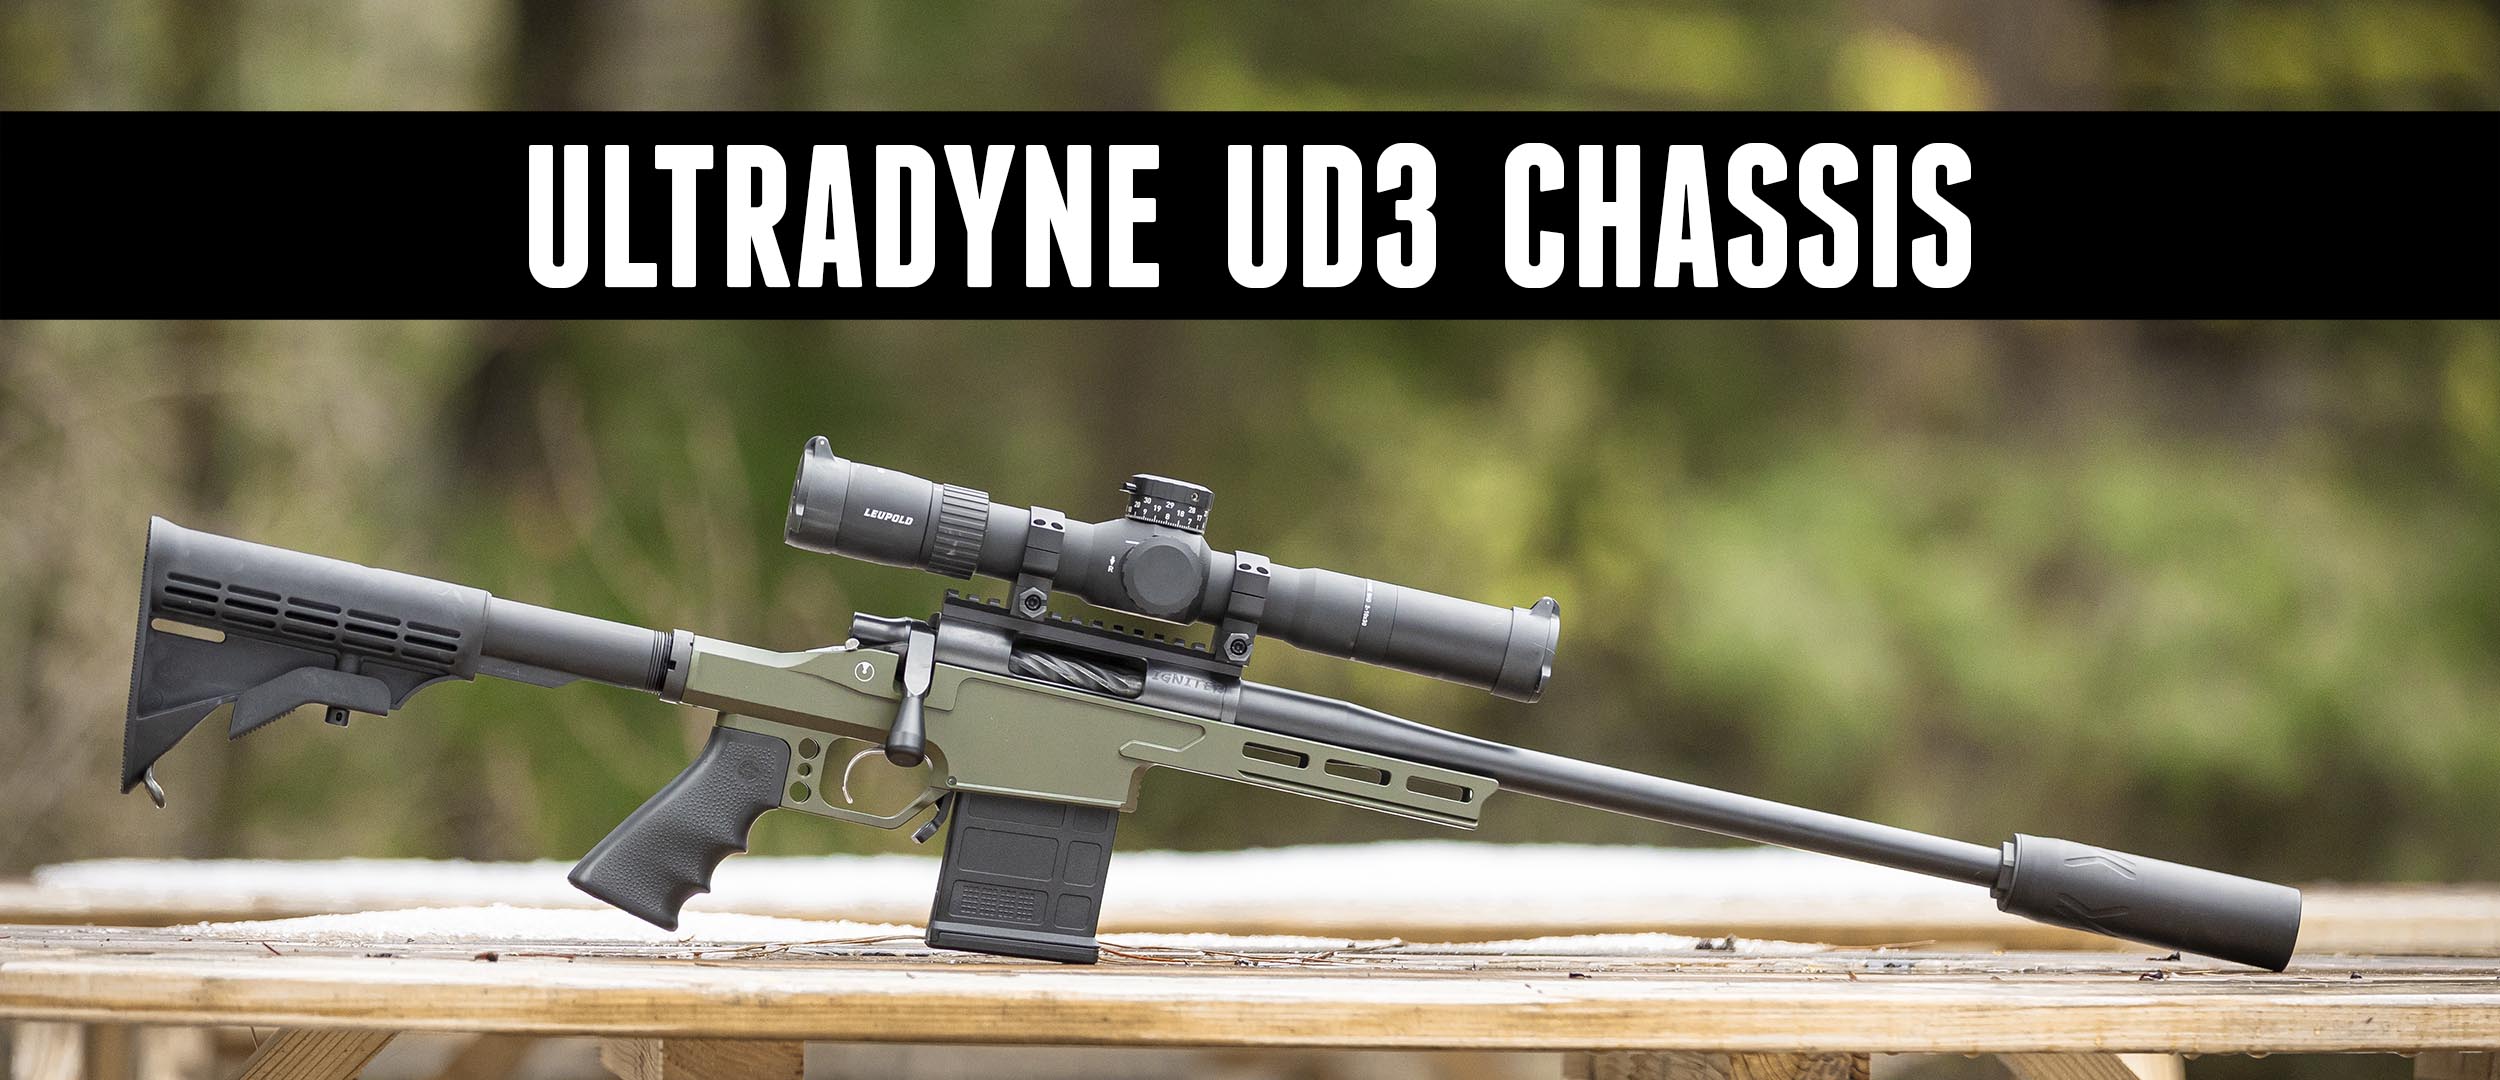
Hands on with the Ultradyne UD3 Chassis
We’ve previously featured Ultradyne’s UD7 chassis with Cerakote. This time, we’re looking at this chassis in its most compact form—the UD3. Disclaimer Ultimate Reloader LLC / Making with Metal Disclaimer: (by reading this article and/or watching video content you accept these terms). The content on this website (including videos, articles, ammunition reloading data, technical articles, […]

Hands on with the Dillon RL550C: .308 Tracers, and .308 Subsonic Loads
After bulk-processing .308 brass with the CP 2000 and DA 3000, we’re bulk loading tracers and subsonic rounds on the Dillon RL-550C. Disclaimer Ultimate Reloader LLC / Making with Metal Disclaimer: (by reading this article and/or watching video content you accept these terms). The content on this website (including videos, articles, ammunition reloading data, technical […]
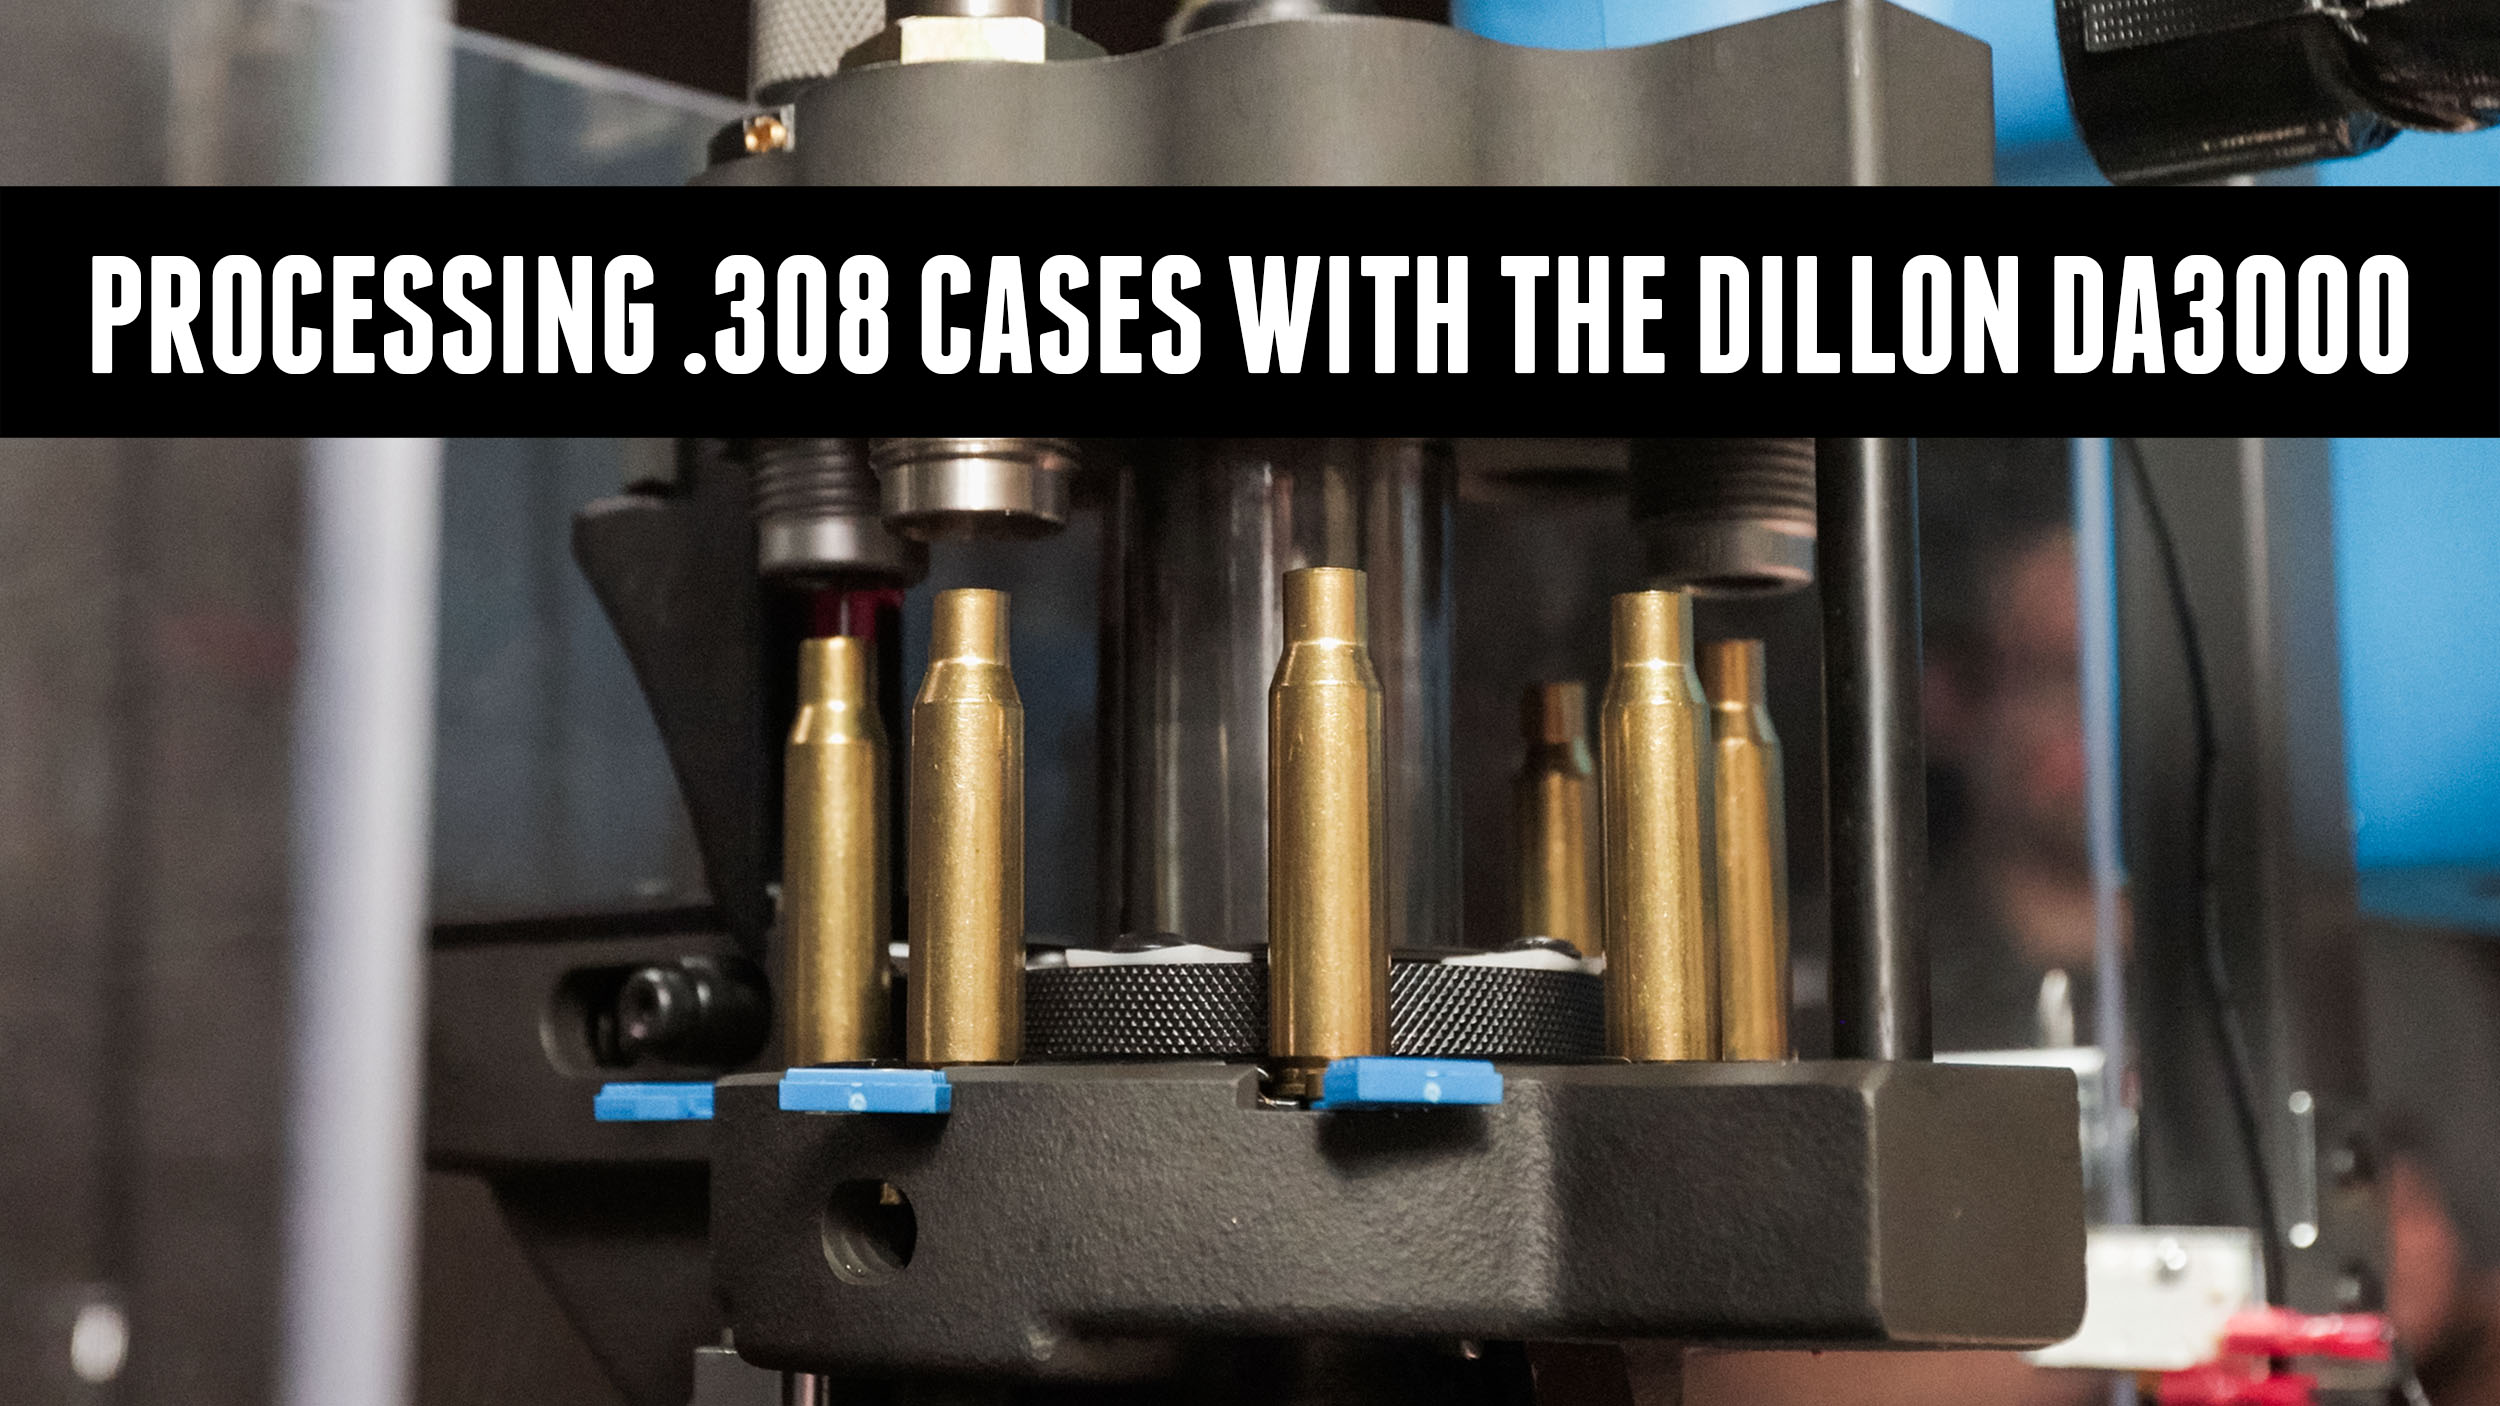
Effortless .308 Brass Processing with the DA3000
Case preparation can take forever and you’re lucky if you find this monotonous process particularly fun. We’re automating it with the Dillon DA3000 and CP2000! Disclaimer Ultimate Reloader LLC / Making with Metal Disclaimer: (by reading this article and/or watching video content you accept these terms). The content on this website (including videos, articles, ammunition […]
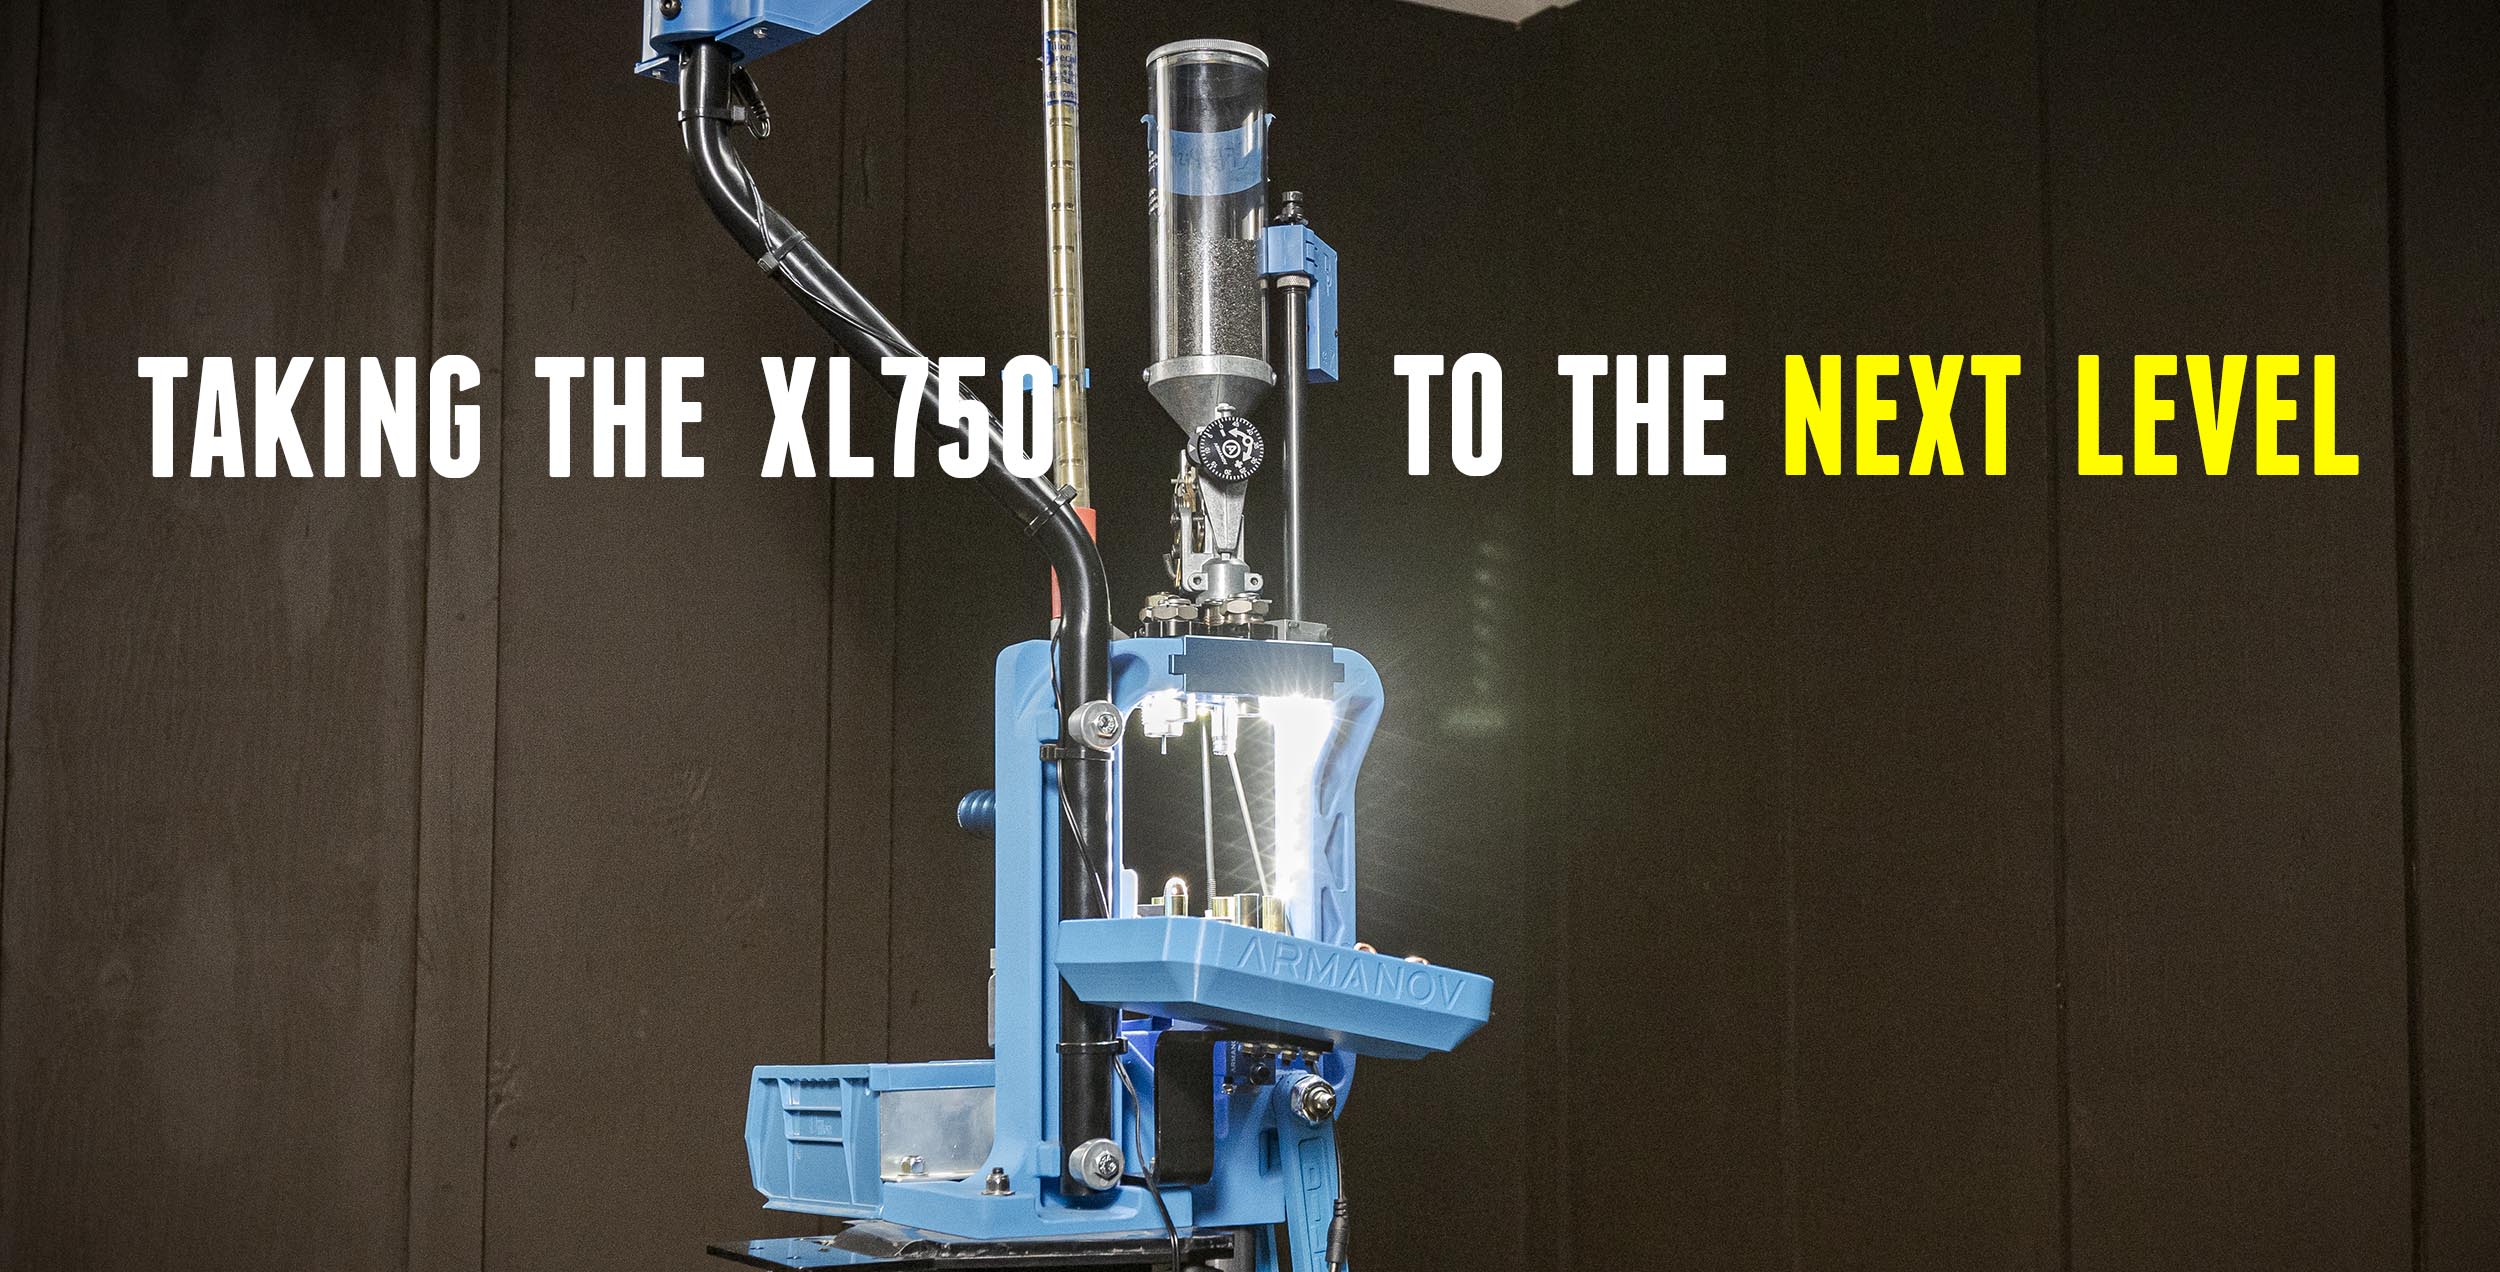
10 Armanov Upgrades that will take your XL750 to the next level!
Armanov makes a number of Dillon press upgrades, like the RL1100 lock-n-load toolhead. This time, we’re tricking out our Dillon XL-750! Disclaimer Ultimate Reloader LLC / Making with Metal Disclaimer: (by reading this article and/or watching video content you accept these terms). The content on this website (including videos, articles, ammunition reloading data, technical articles, […]
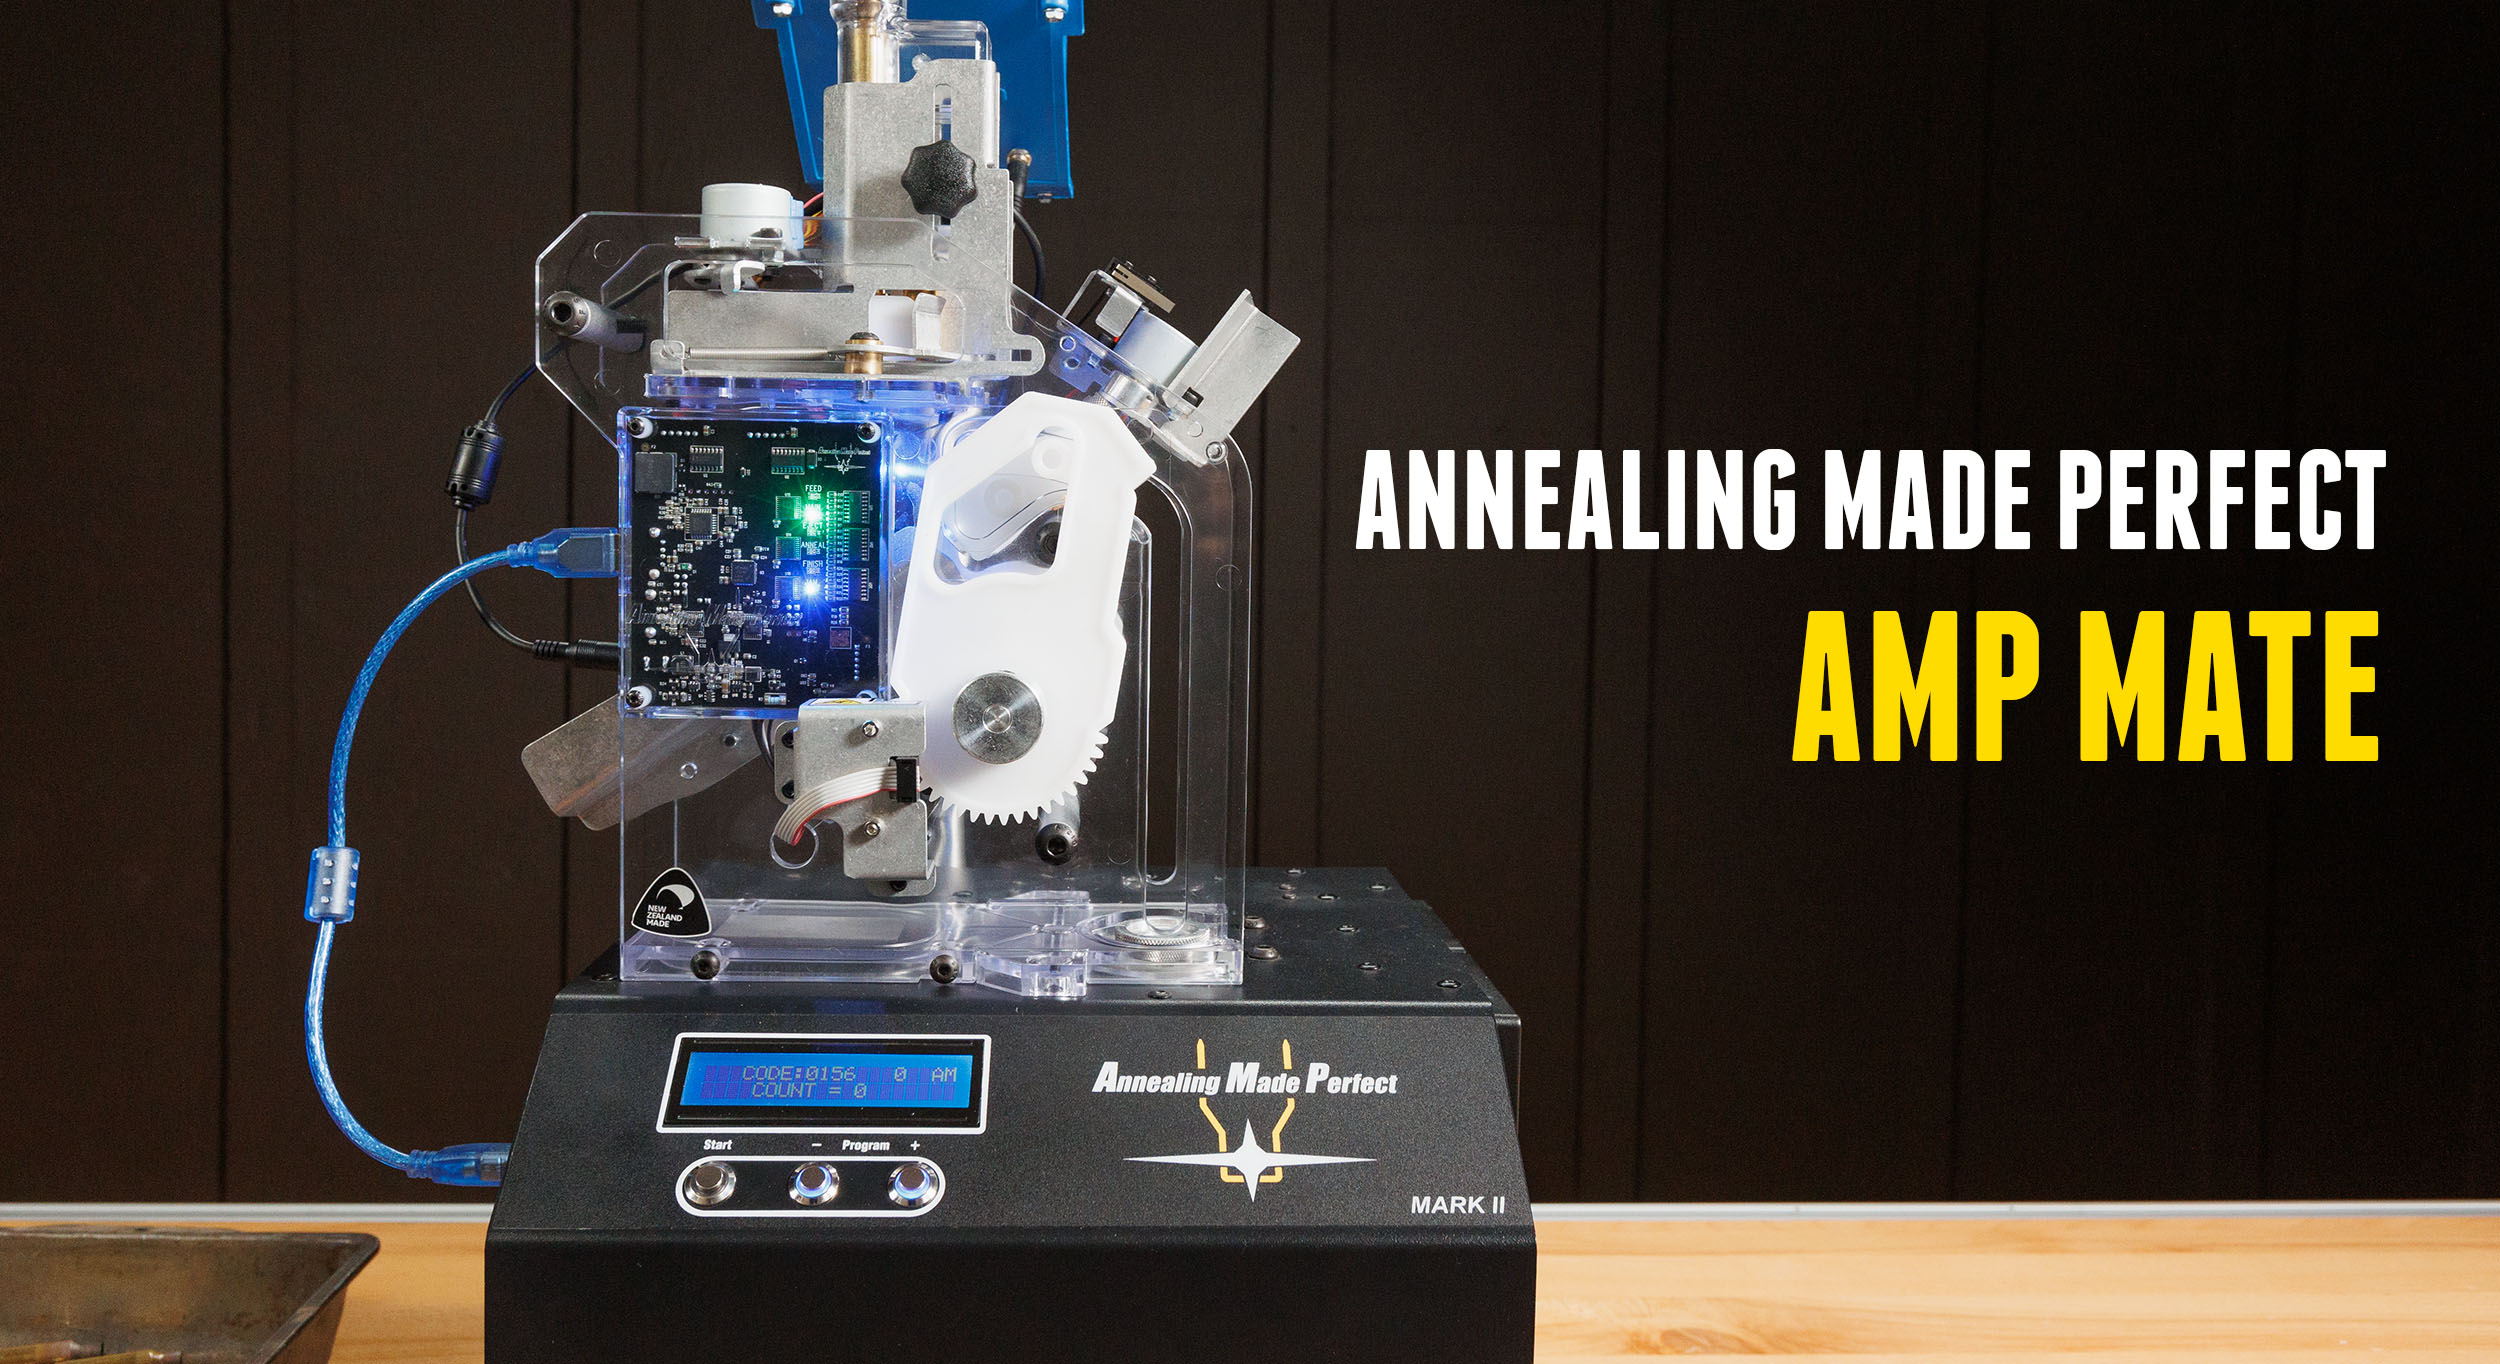
AMP Mate — Automated Annealing!
Annealing Made Perfect’s AMP Mark II revolutionized the way reloaders process brass. It ensures greater consistency, longer brass life, and more systematic resizing, but the process takes a while. The AMP Mate now automates the entire process! Disclaimer Ultimate Reloader LLC / Making with Metal Disclaimer: (by reading this article and/or watching video content you […]
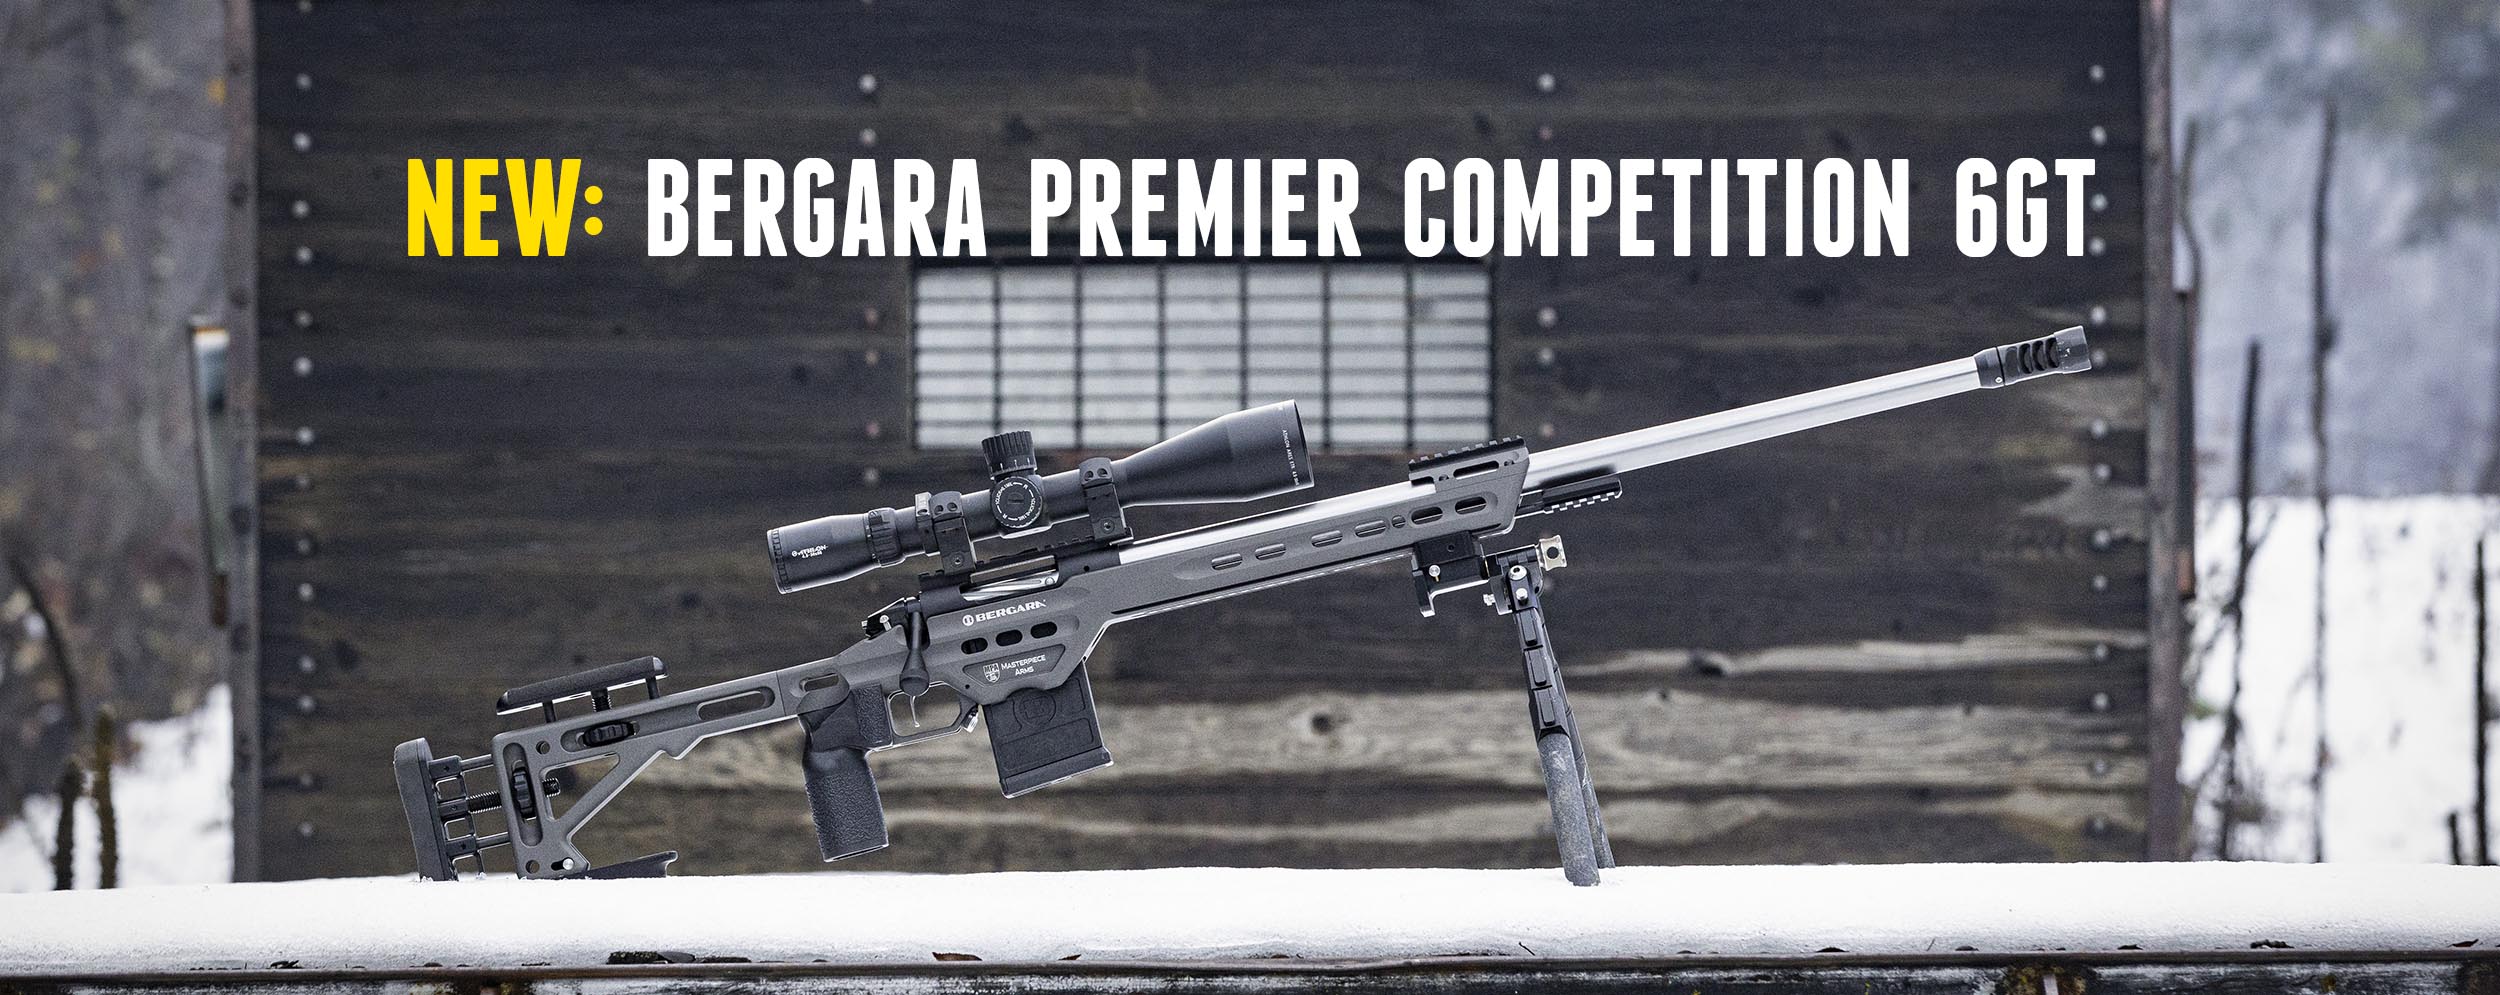
NEW! Bergara Premier Competition: Now in 6GT
Bergara’s Premier Competition Rifle — all set up for PRS/NRL right out of the box — is now offered in 6 GT! Disclaimer Ultimate Reloader LLC / Making with Metal Disclaimer: (by reading this article and/or watching video content you accept these terms). The content on this website (including videos, articles, ammunition reloading data, technical […]
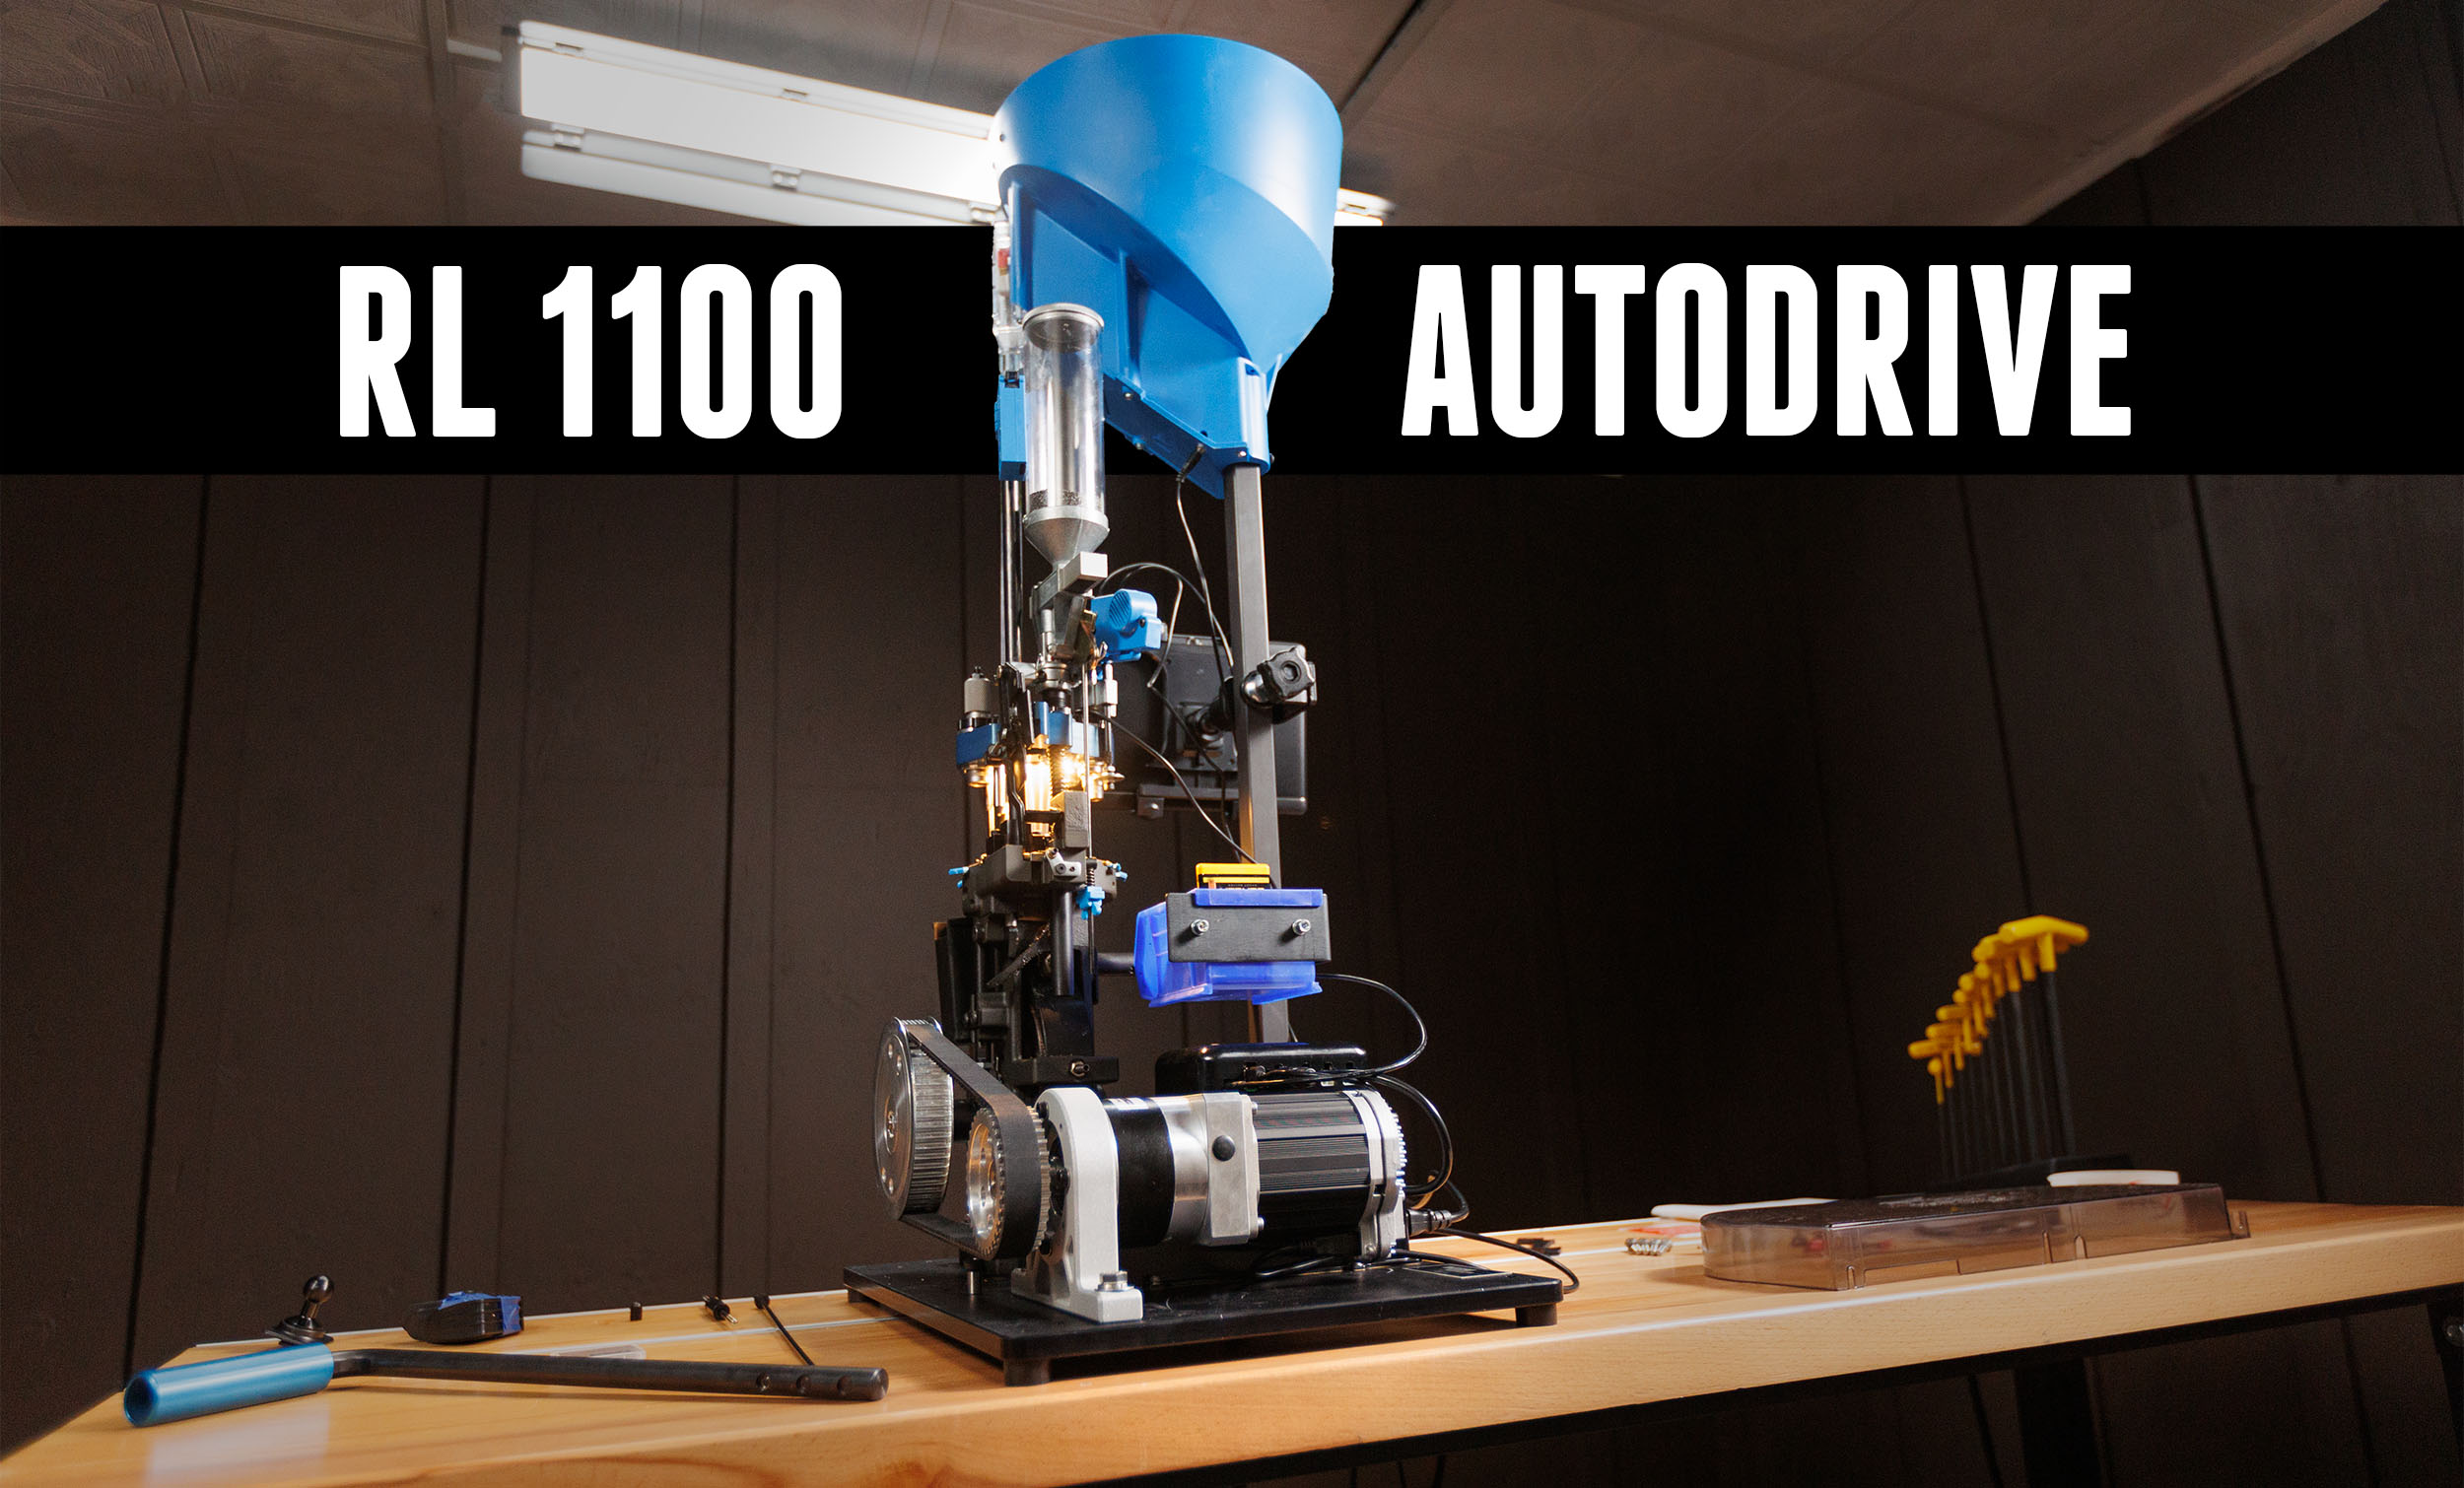
Hands On: Mark 7 AutoDrive for the Dillon RL1100
We’ve spent lots of time highlighting the Apex 10 Autodrive and the numerous sensors available for it. This time, we’re bringing the Autodrive technology to another favorite—the Dillon RL1100! Disclaimer Ultimate Reloader LLC / Making with Metal Disclaimer: (by reading this article and/or watching video content you accept these terms). The content on this […]
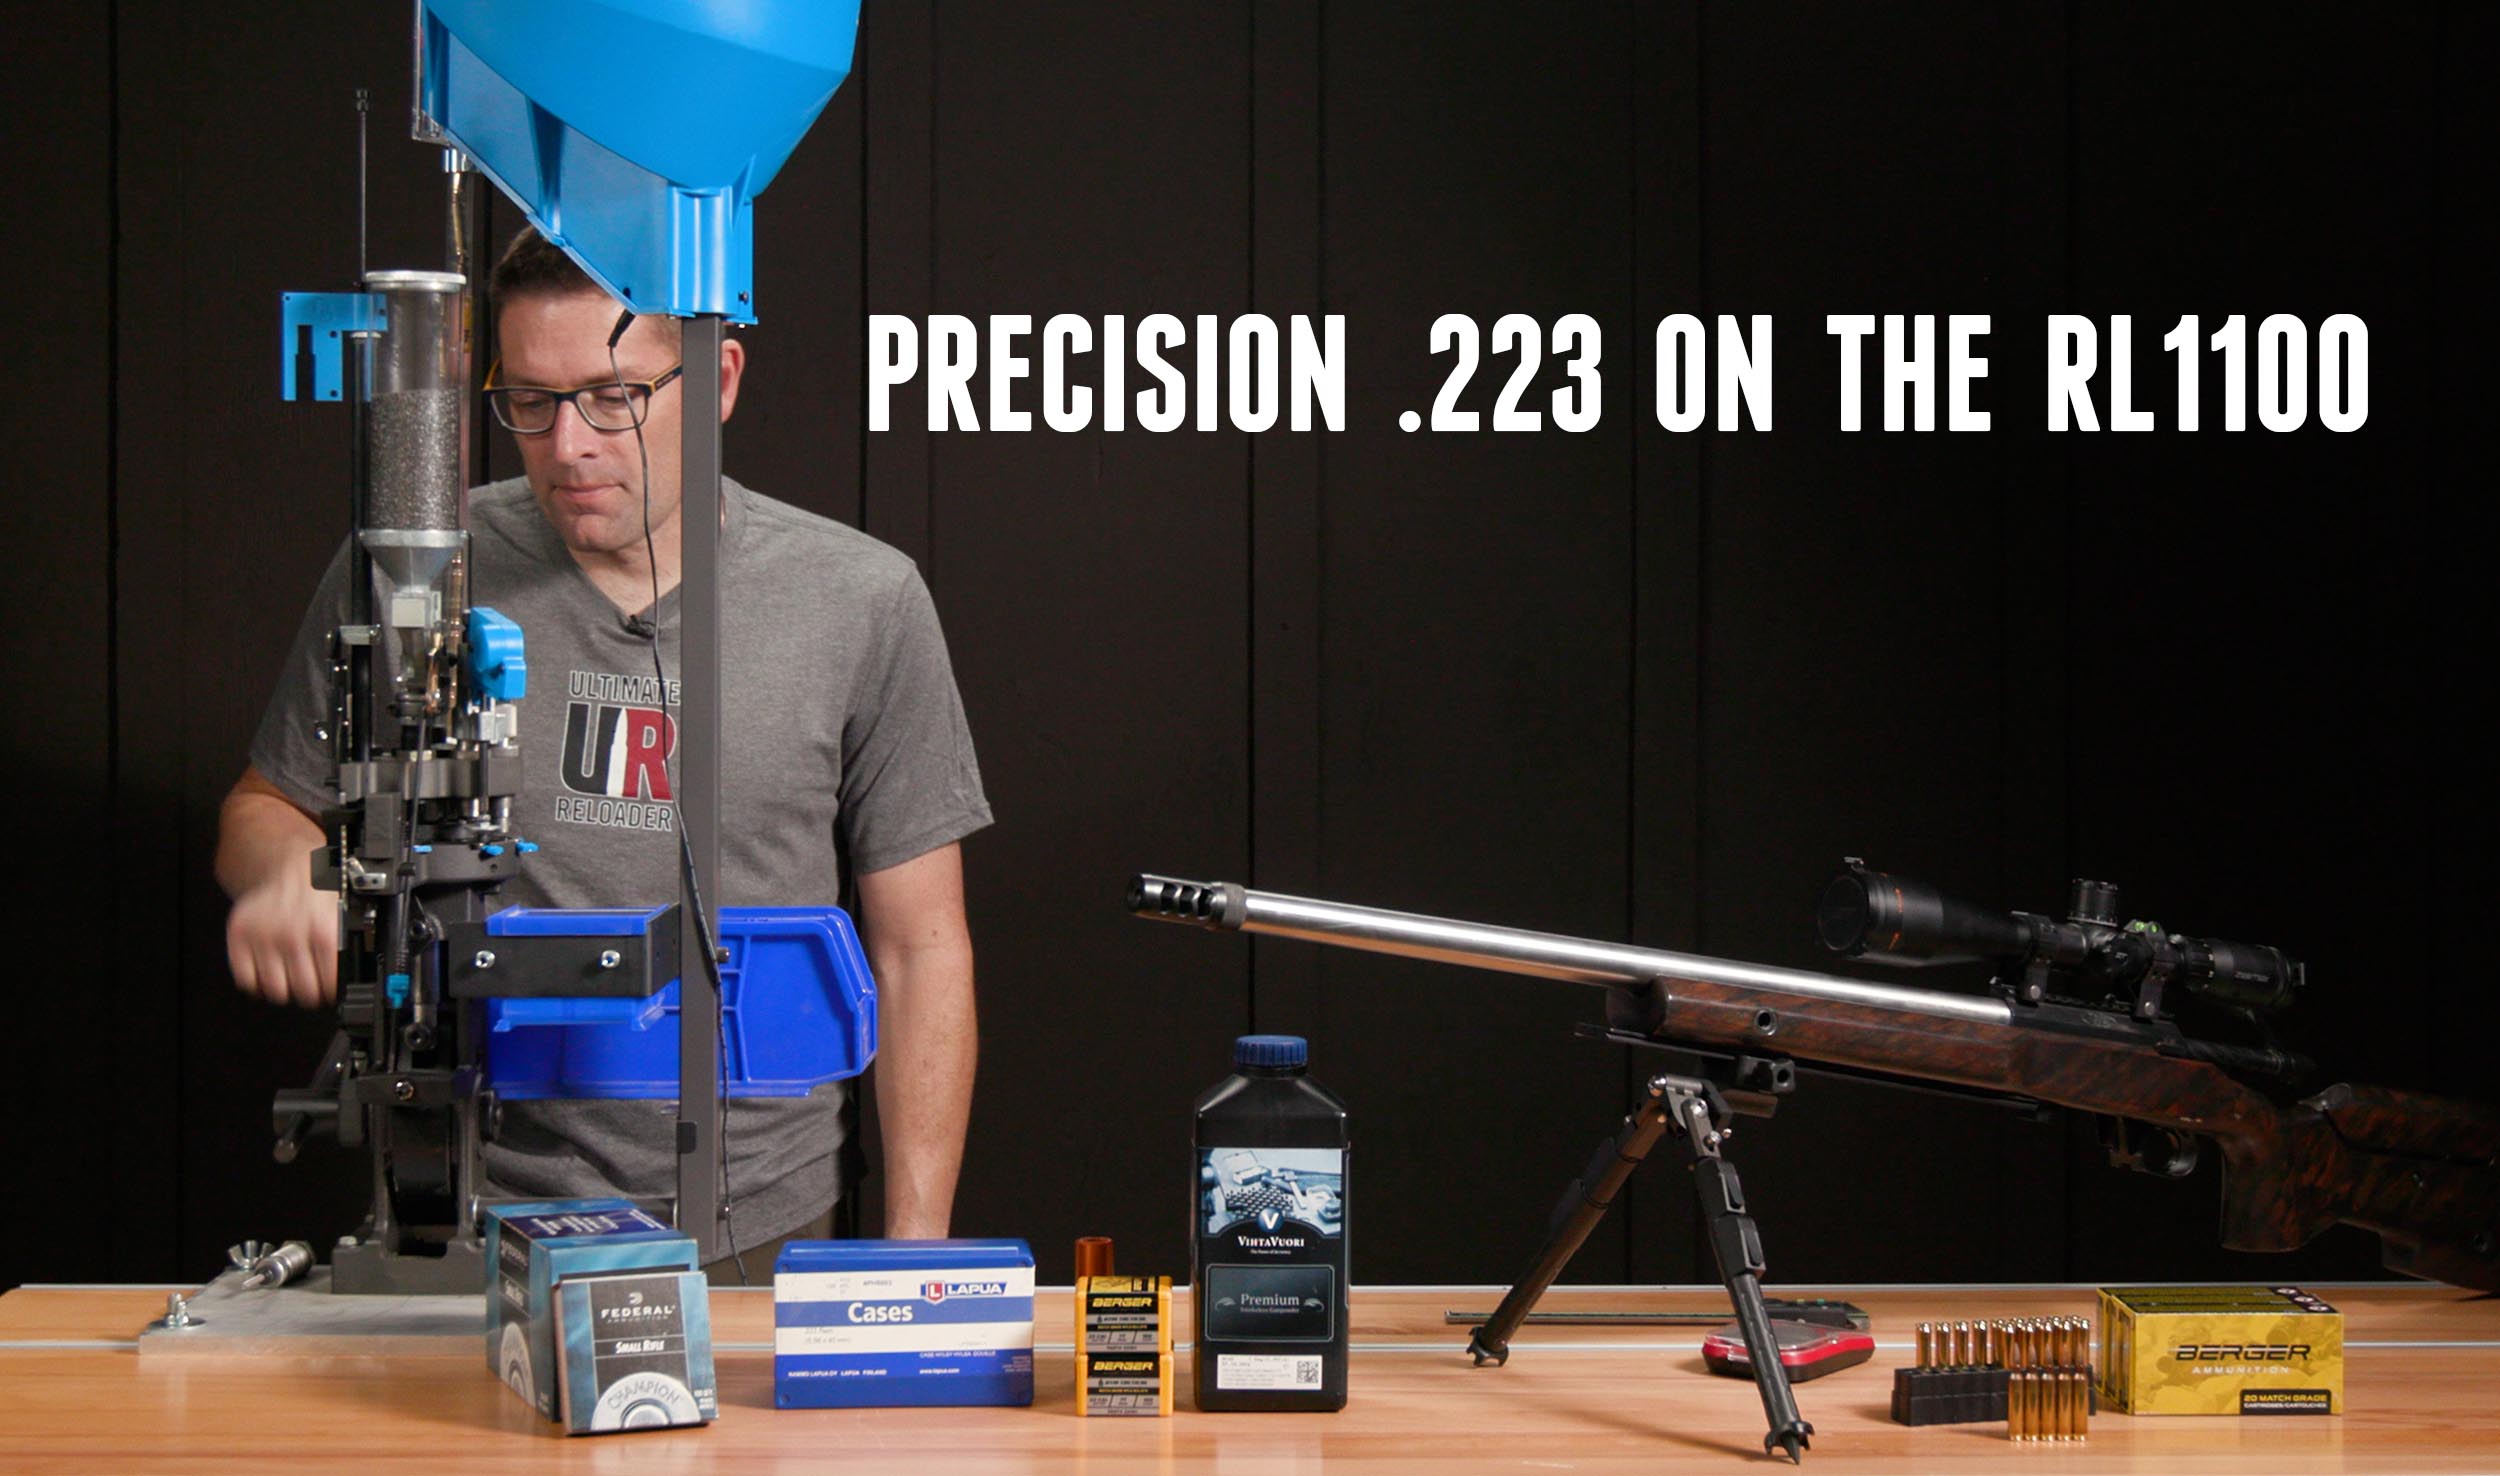
Dillon RL1100 Precision .223 Bulk Reloading
We’ve previously shown loading bulk 9mm on the Dillon RL1100 as well as mass converting .223 to .300 BLK. This time, we’re seeing if progressive .223 loading still yields precise results! Disclaimer Ultimate Reloader LLC / Making with Metal Disclaimer: (by reading this article and/or watching video content you accept these terms). The content on […]

Black Friday Sale, Up to 50% off at Armanov!
If you’ve seen the Armanov gear recently showcased on the channel, or have worked with Armanov gear before you’re going to be stoked about this! Armanov just kicked off their 2023 Black Friday Sale, up to 50% off! Disclaimer Ultimate Reloader LLC / Making with Metal Disclaimer: (by reading this article and/or watching video content […]

.300 Blackout Issue Solved: Sheridan Engineering Gauge
Using the correct case gauge can save a lot of time and prevent considerable headaches. Sheridan Engineering’s slotted gauge helped me solve a problem I was having with .300 Blackout. Disclaimer Ultimate Reloader LLC / Making with Metal Disclaimer: (by reading this article and/or watching video content you accept these terms). The content on this […]
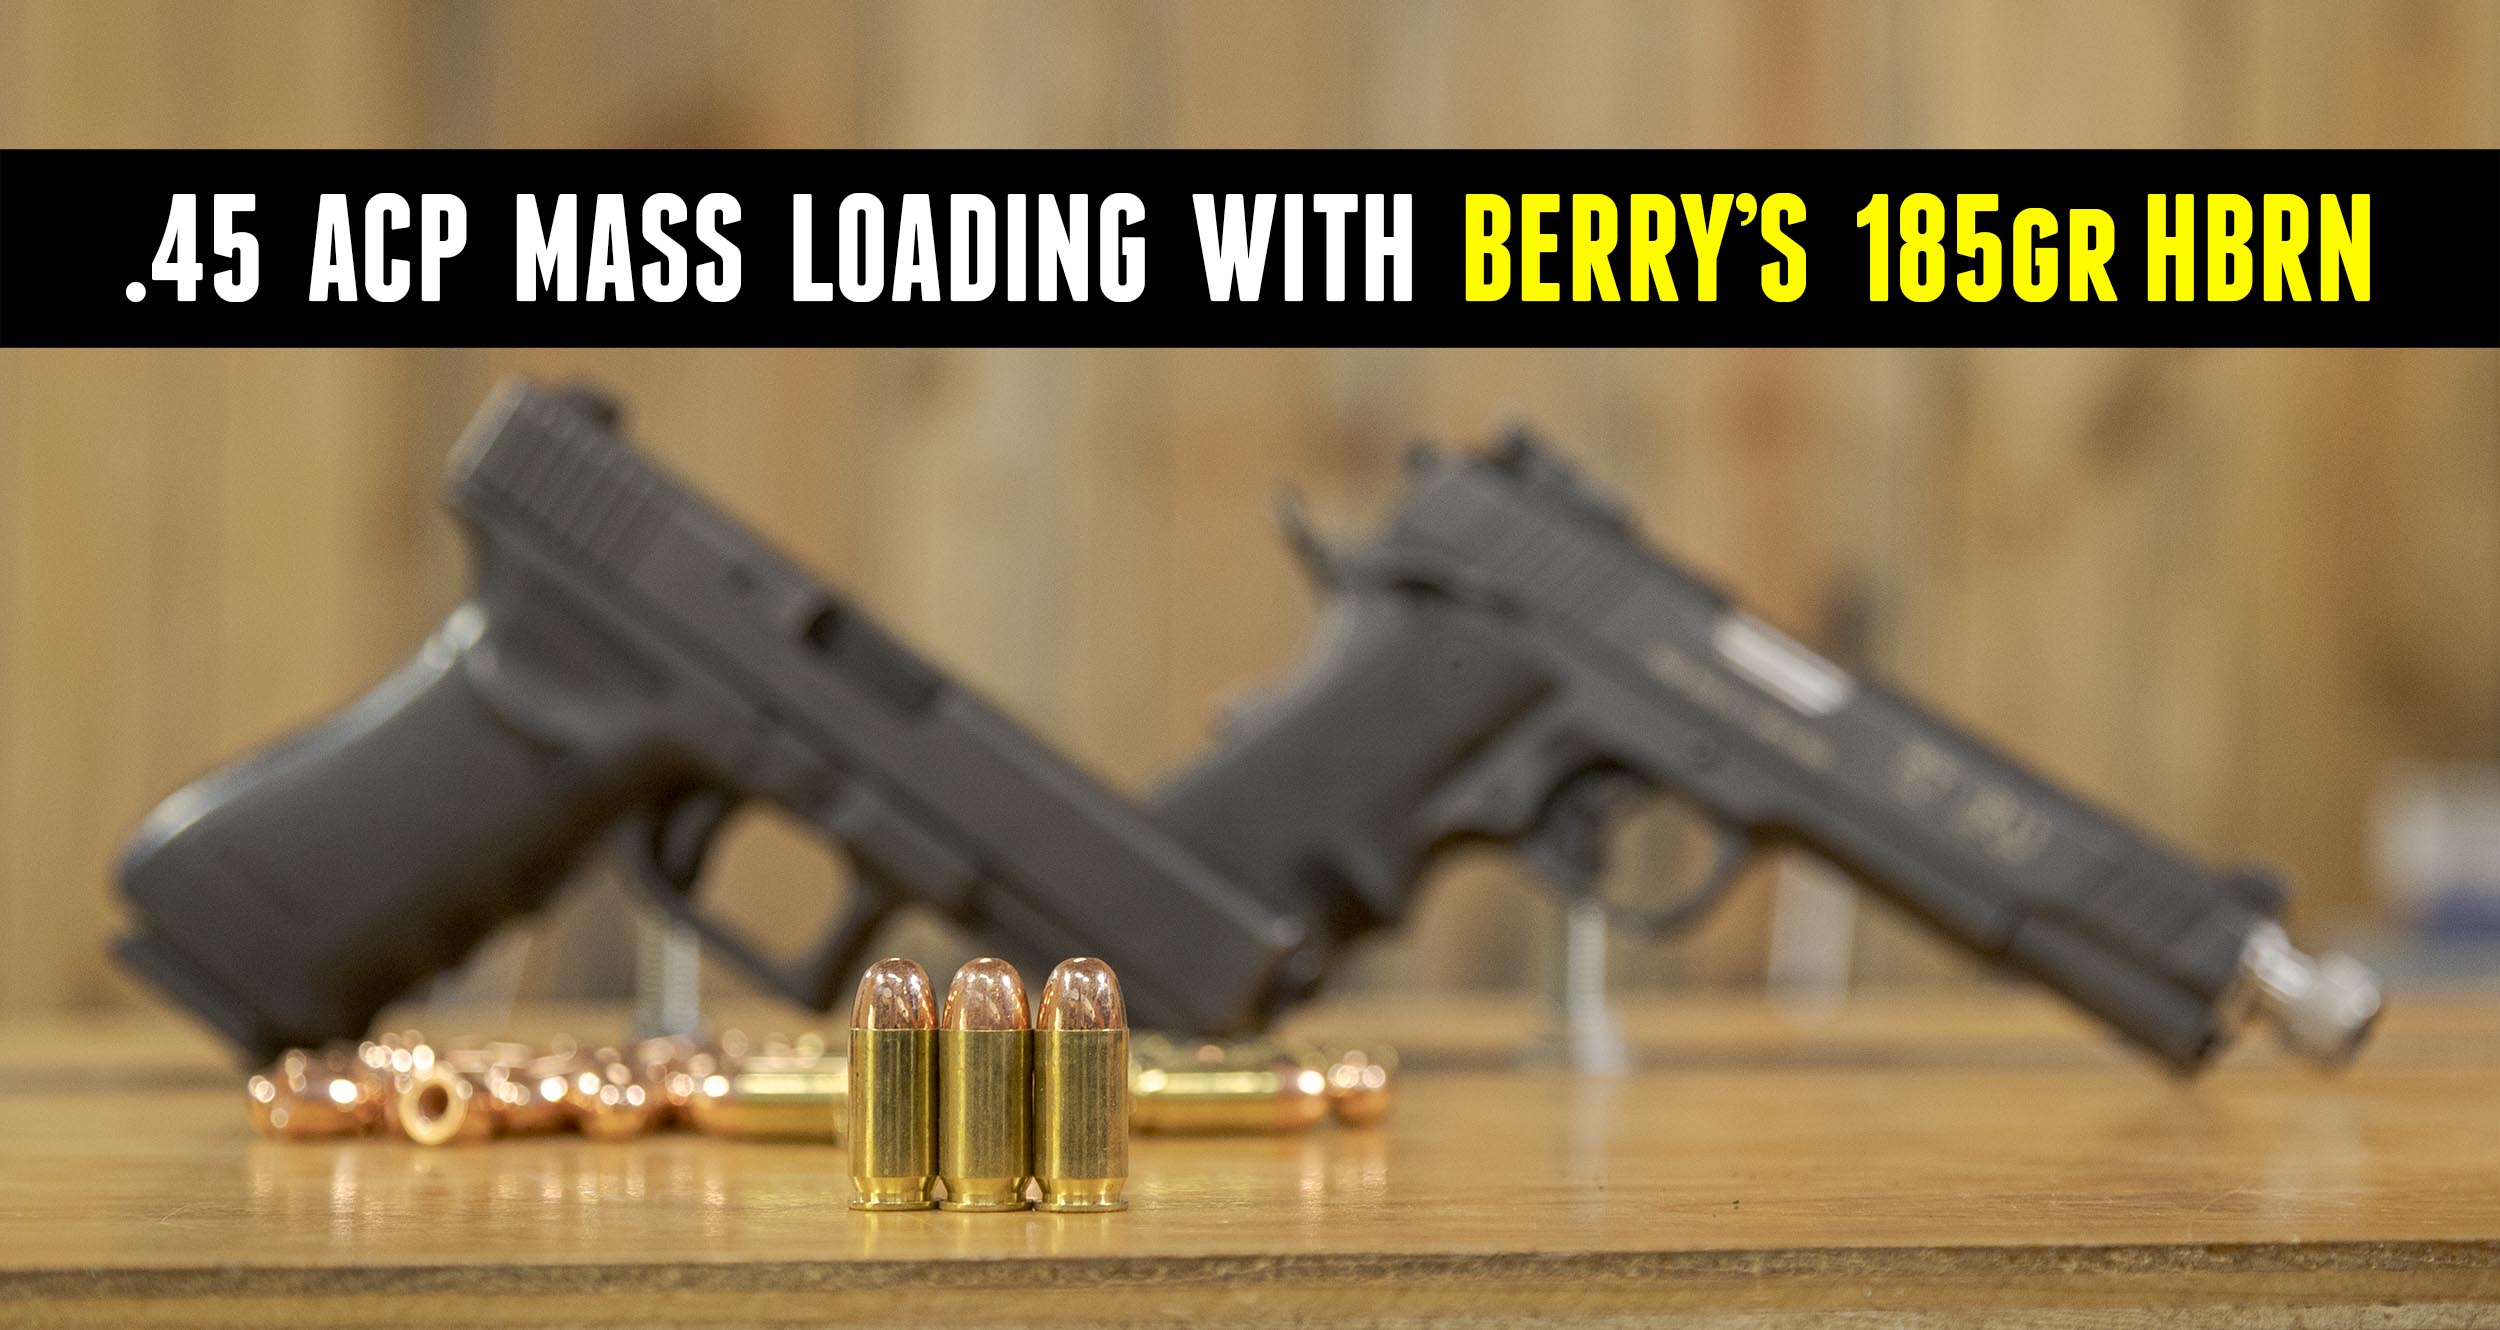
TESTED with 45 ACP: Berry’s 185 grain HBRN Bullets
We recently showed Kyle Shields loading .45 ACP on the Dillon XL-750 with the Double Alpha Academy Click-Adjustable Powder Knob. Today, we’re taking a closer look at the bullet we used—Berry’s .45 ACP 185 grain hollow base round nose bullets! Disclaimer Ultimate Reloader LLC / Making with Metal Disclaimer: (by reading this article and/or watching […]
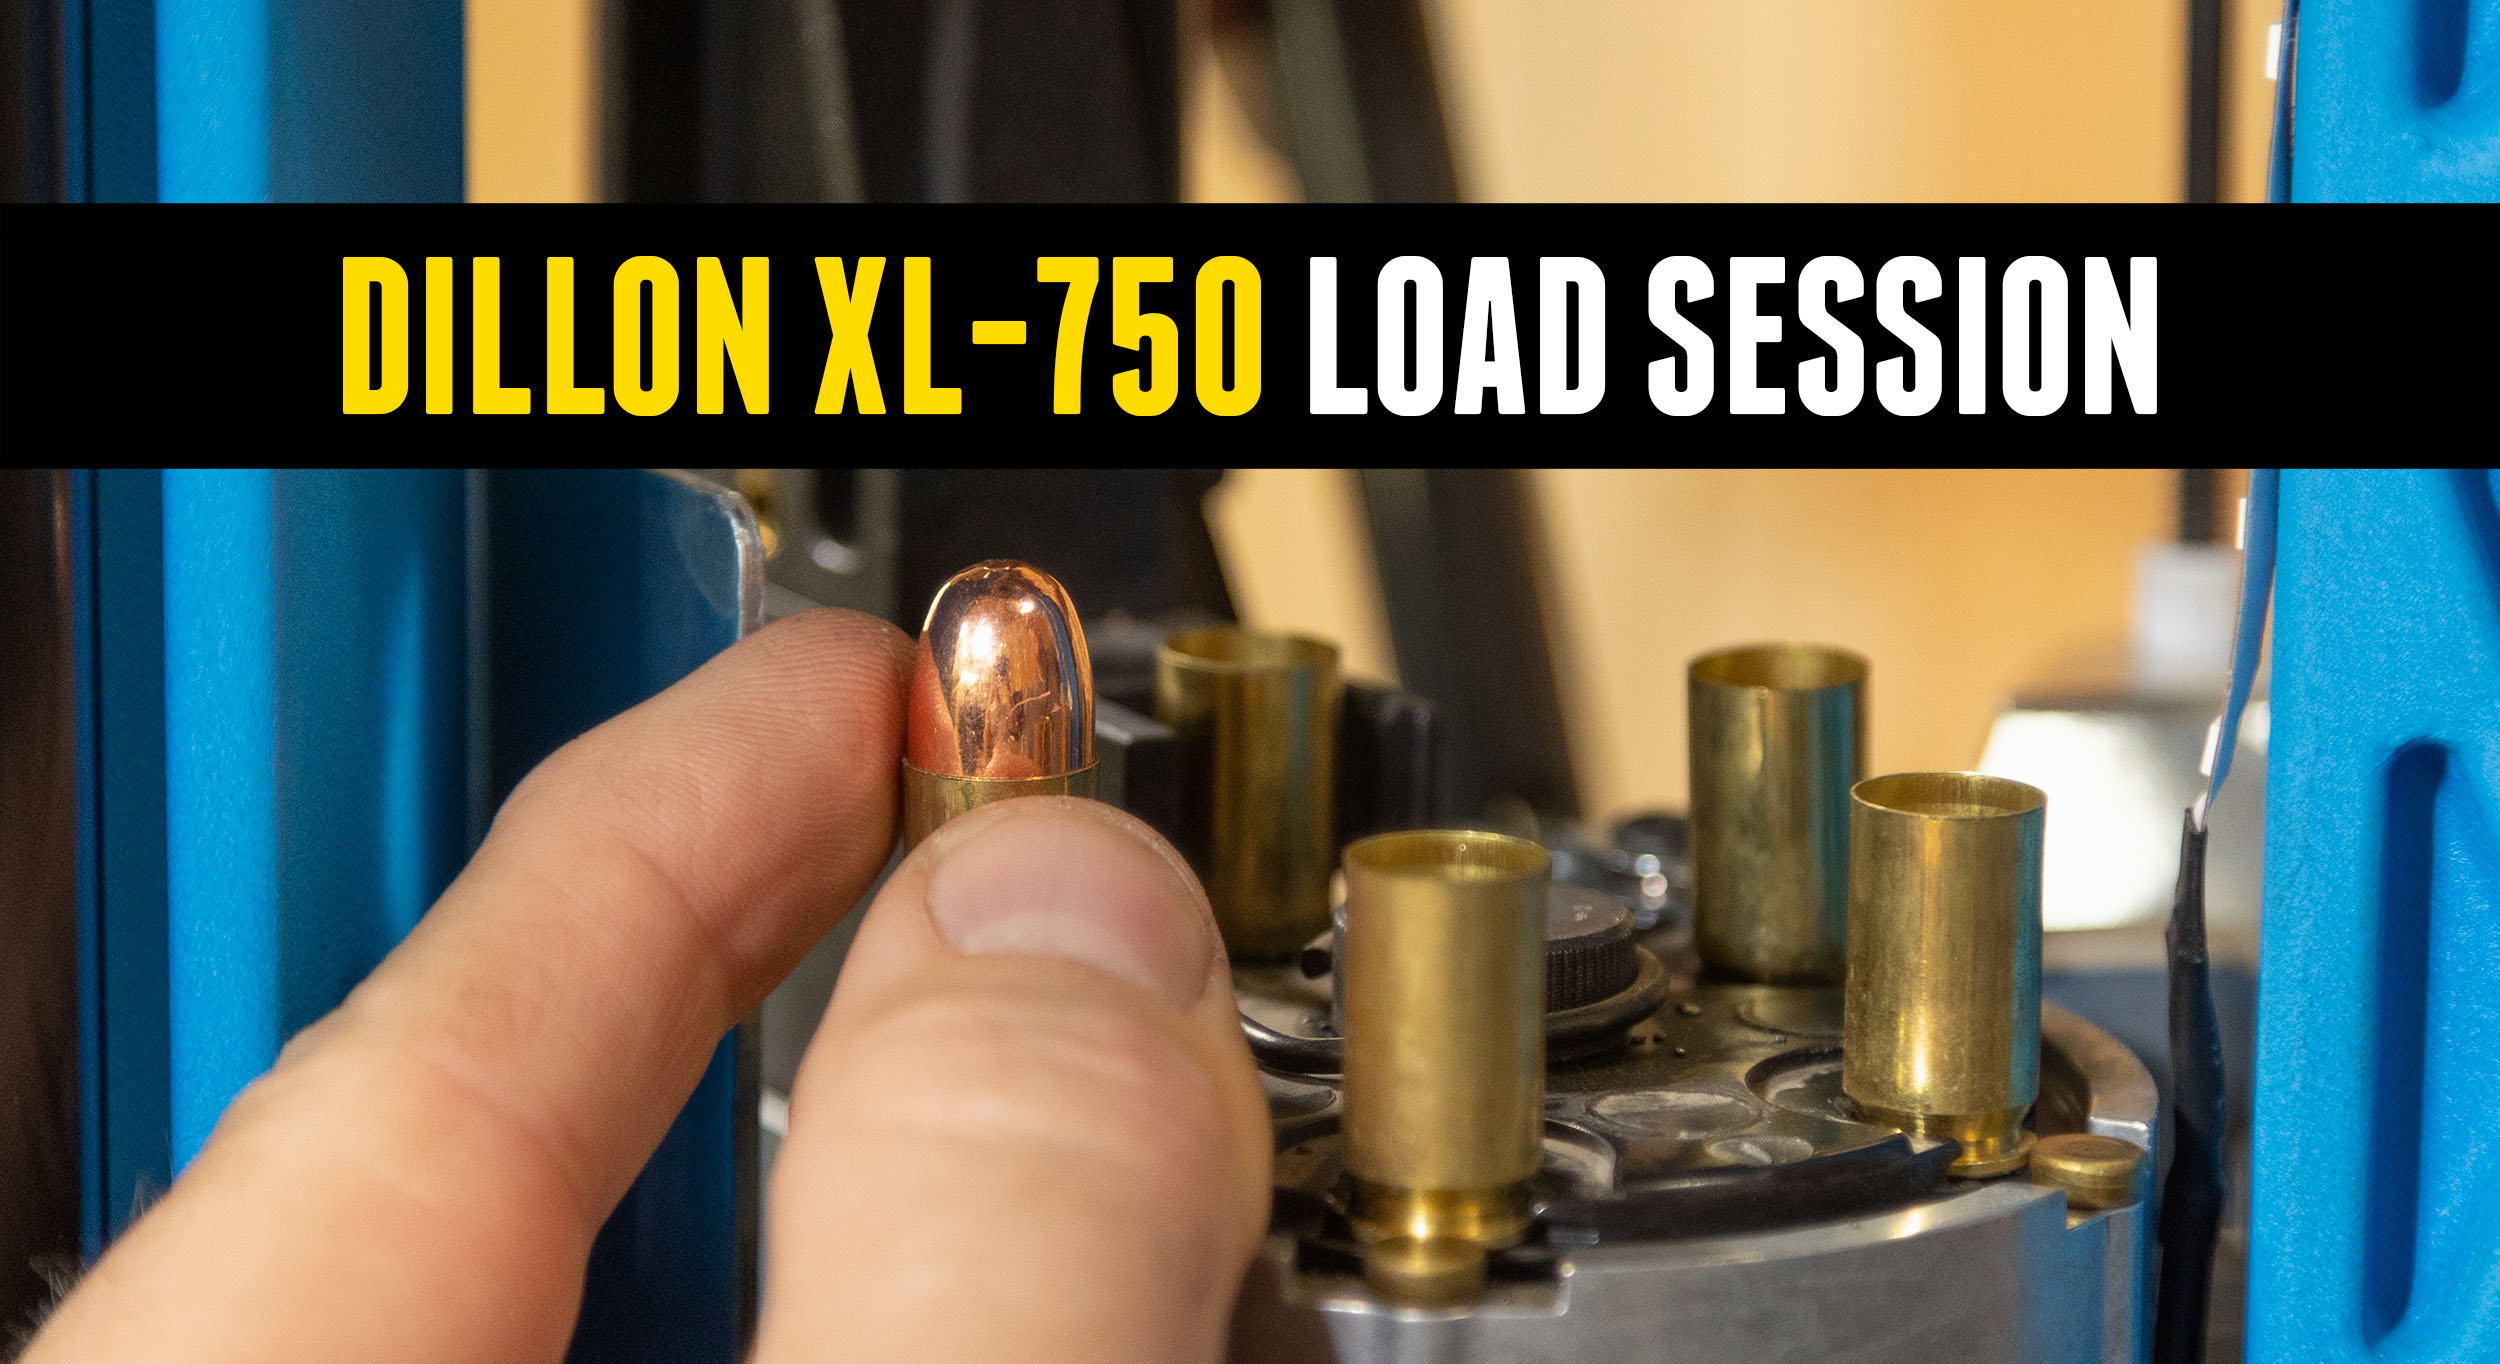
.45 ACP Loading Session on Dillon XL-750 (New User)
While Kyle Shields has spent lots of time with single-stage presses, it was time to get him up to speed on progressives. I tasked him with loading .45 ACP on the Dillon XL-750. Disclaimer Ultimate Reloader LLC / Making with Metal Disclaimer: (by reading this article and/or watching video content you accept these terms). The […]
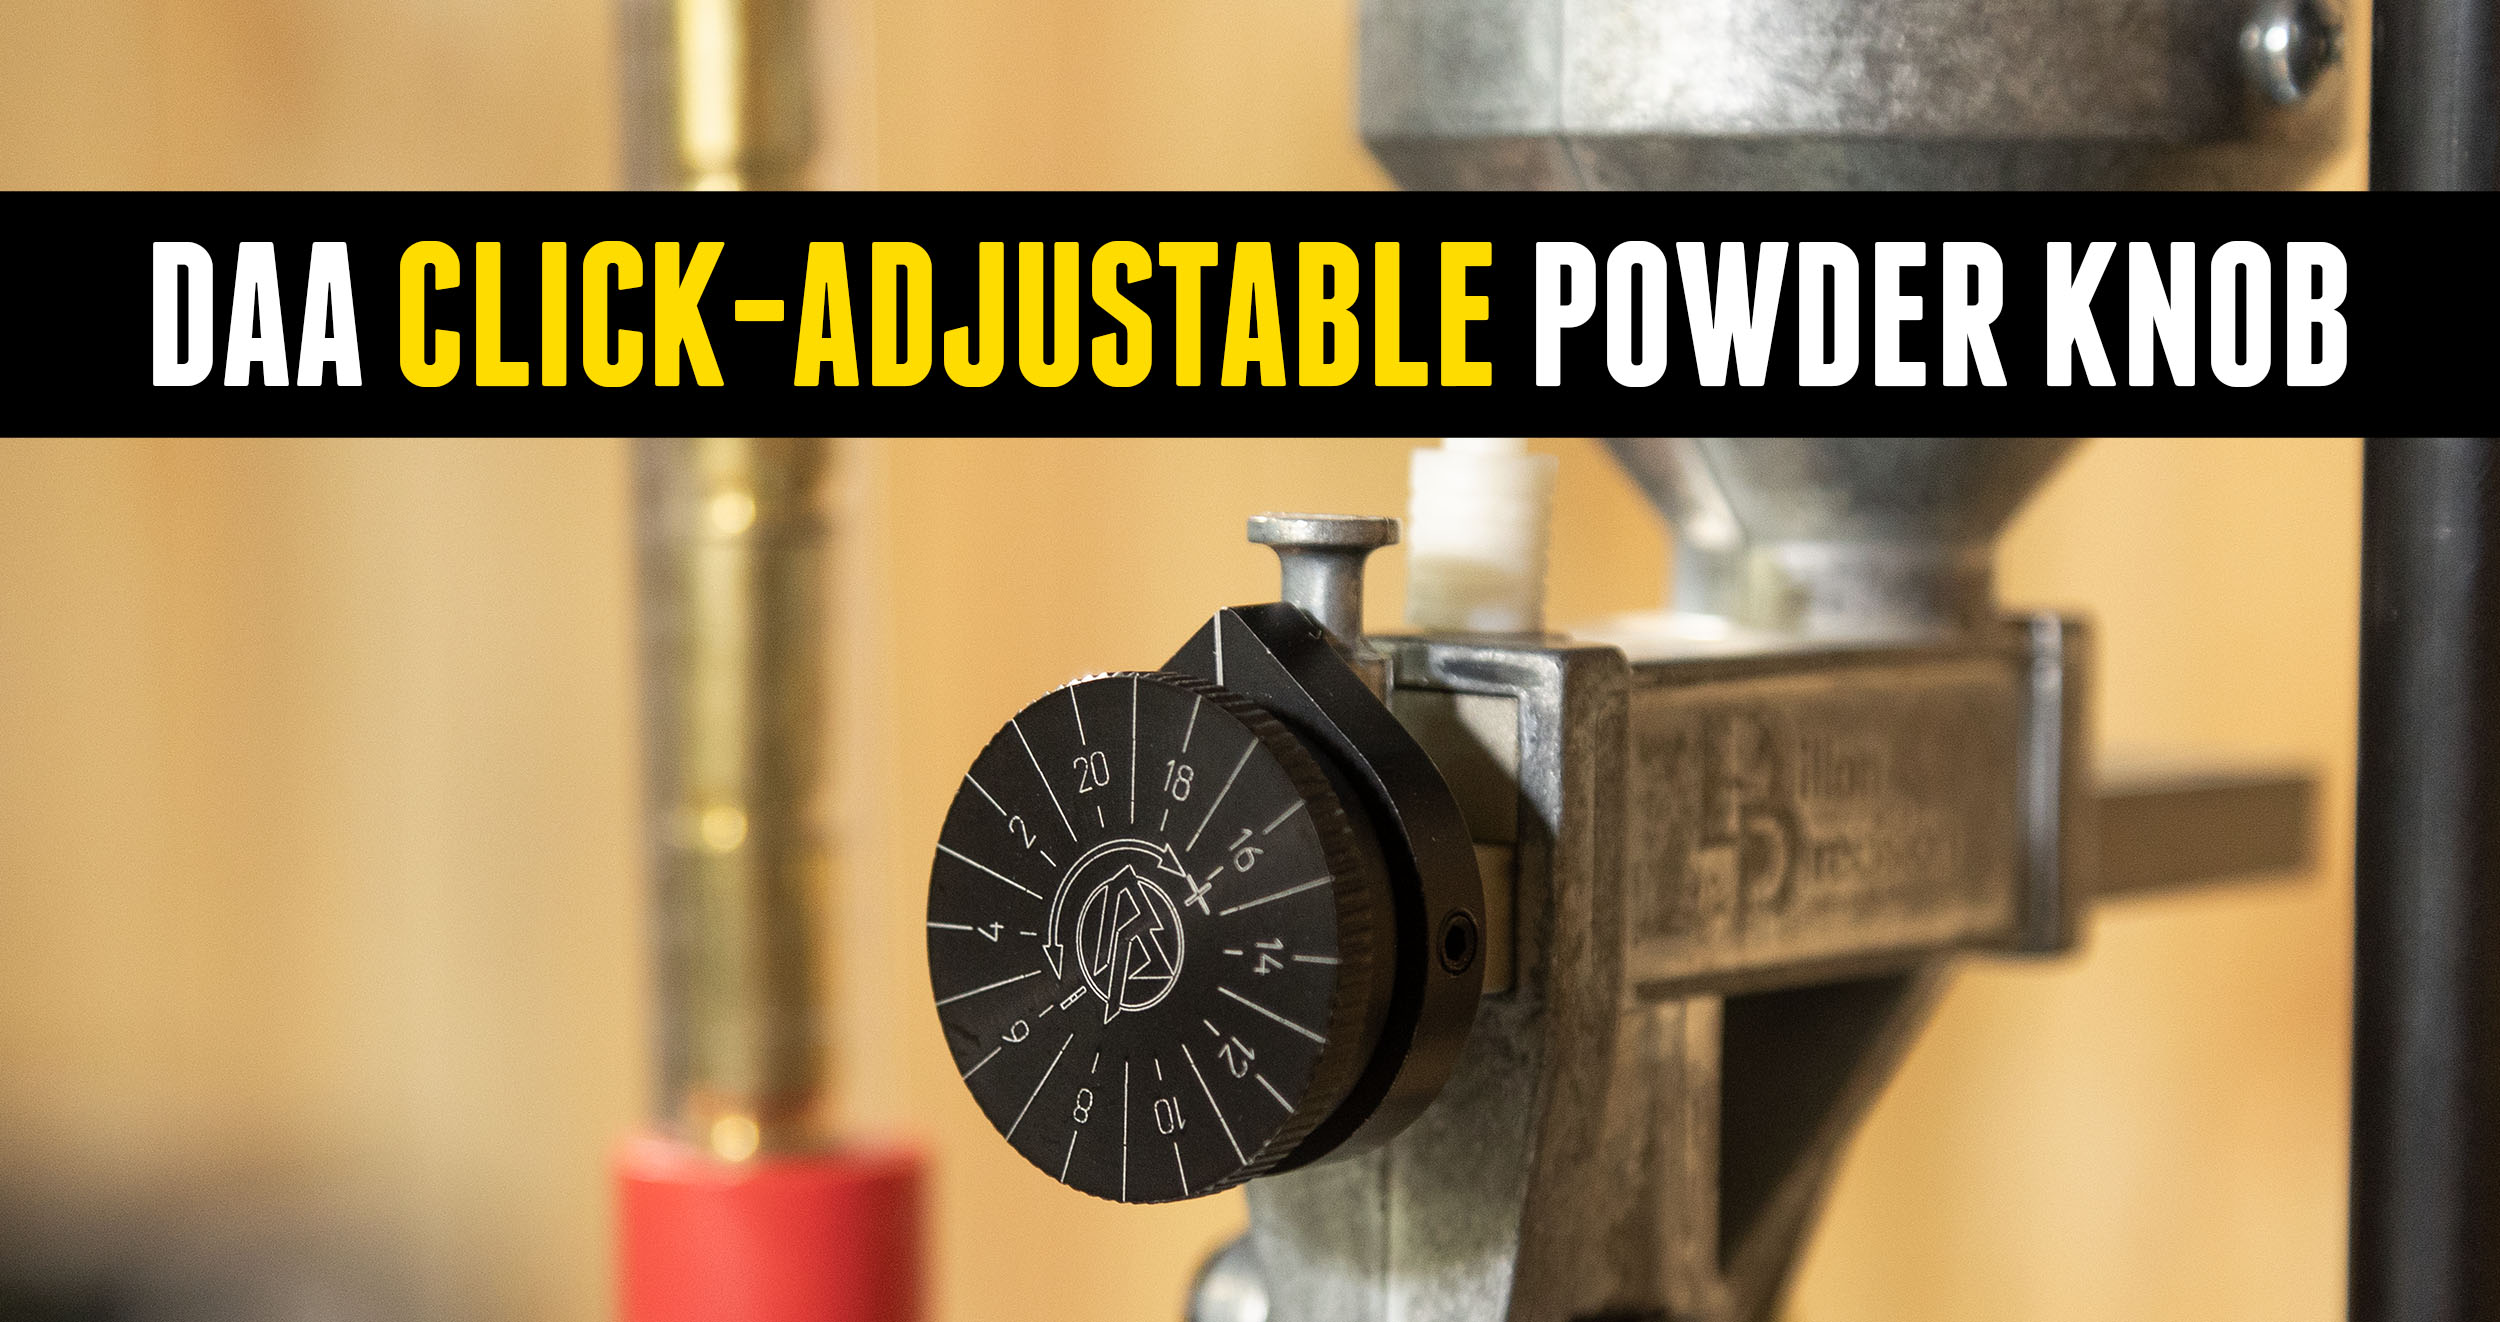
Double Alpha Click Adjustable Powder Knob on Dillon XL-750
Kyle Shields has been busy upgrading our Dillon XL-750. One of his recent additions is the Double Alpha Academy Click Adjustable Powder Knob V2. Disclaimer Ultimate Reloader LLC / Making with Metal Disclaimer: (by reading this article and/or watching video content you accept these terms). The content on this website (including videos, articles, ammunition reloading […]
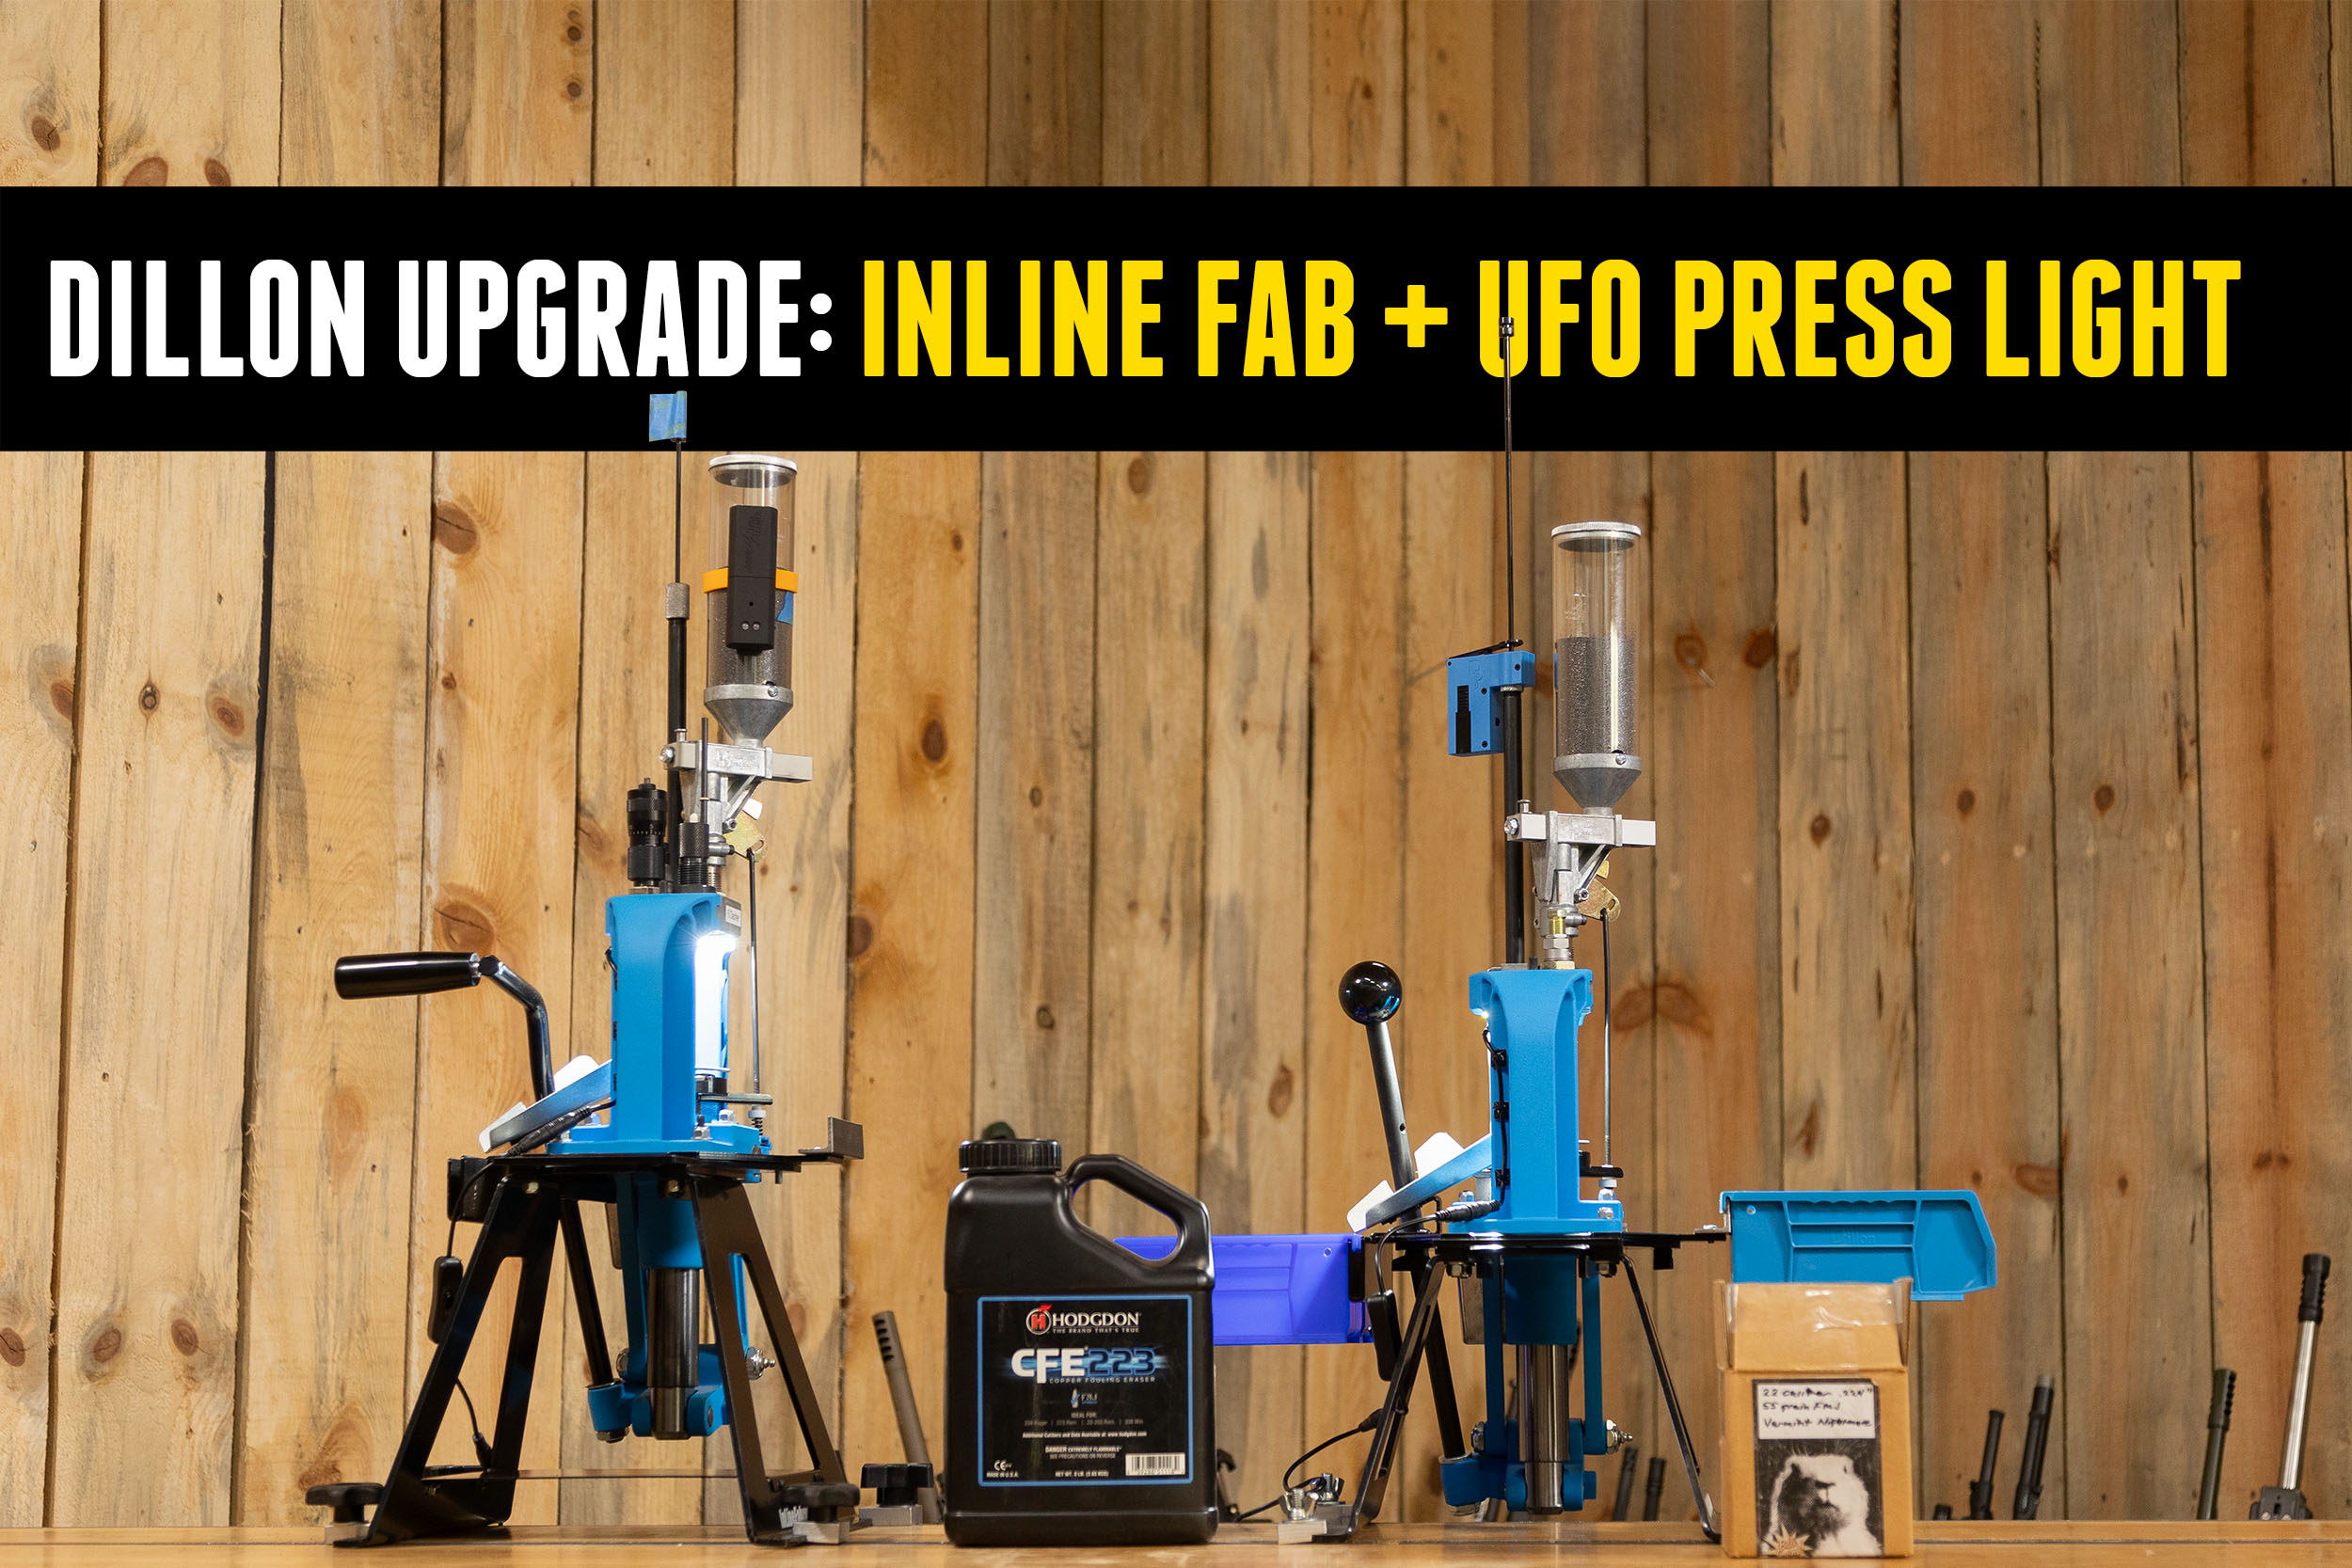
Dillon RL-550C Upgrade with Inline Fabrication
To best accommodate high volume rifle reloading, I have two Dillon RL-550C presses set up—one for 6GT and one for 223. Today I’m upgrading both of them. Disclaimer Ultimate Reloader LLC / Making with Metal Disclaimer: (by reading this article and/or watching video content you accept these terms). The content on this website (including videos, […]
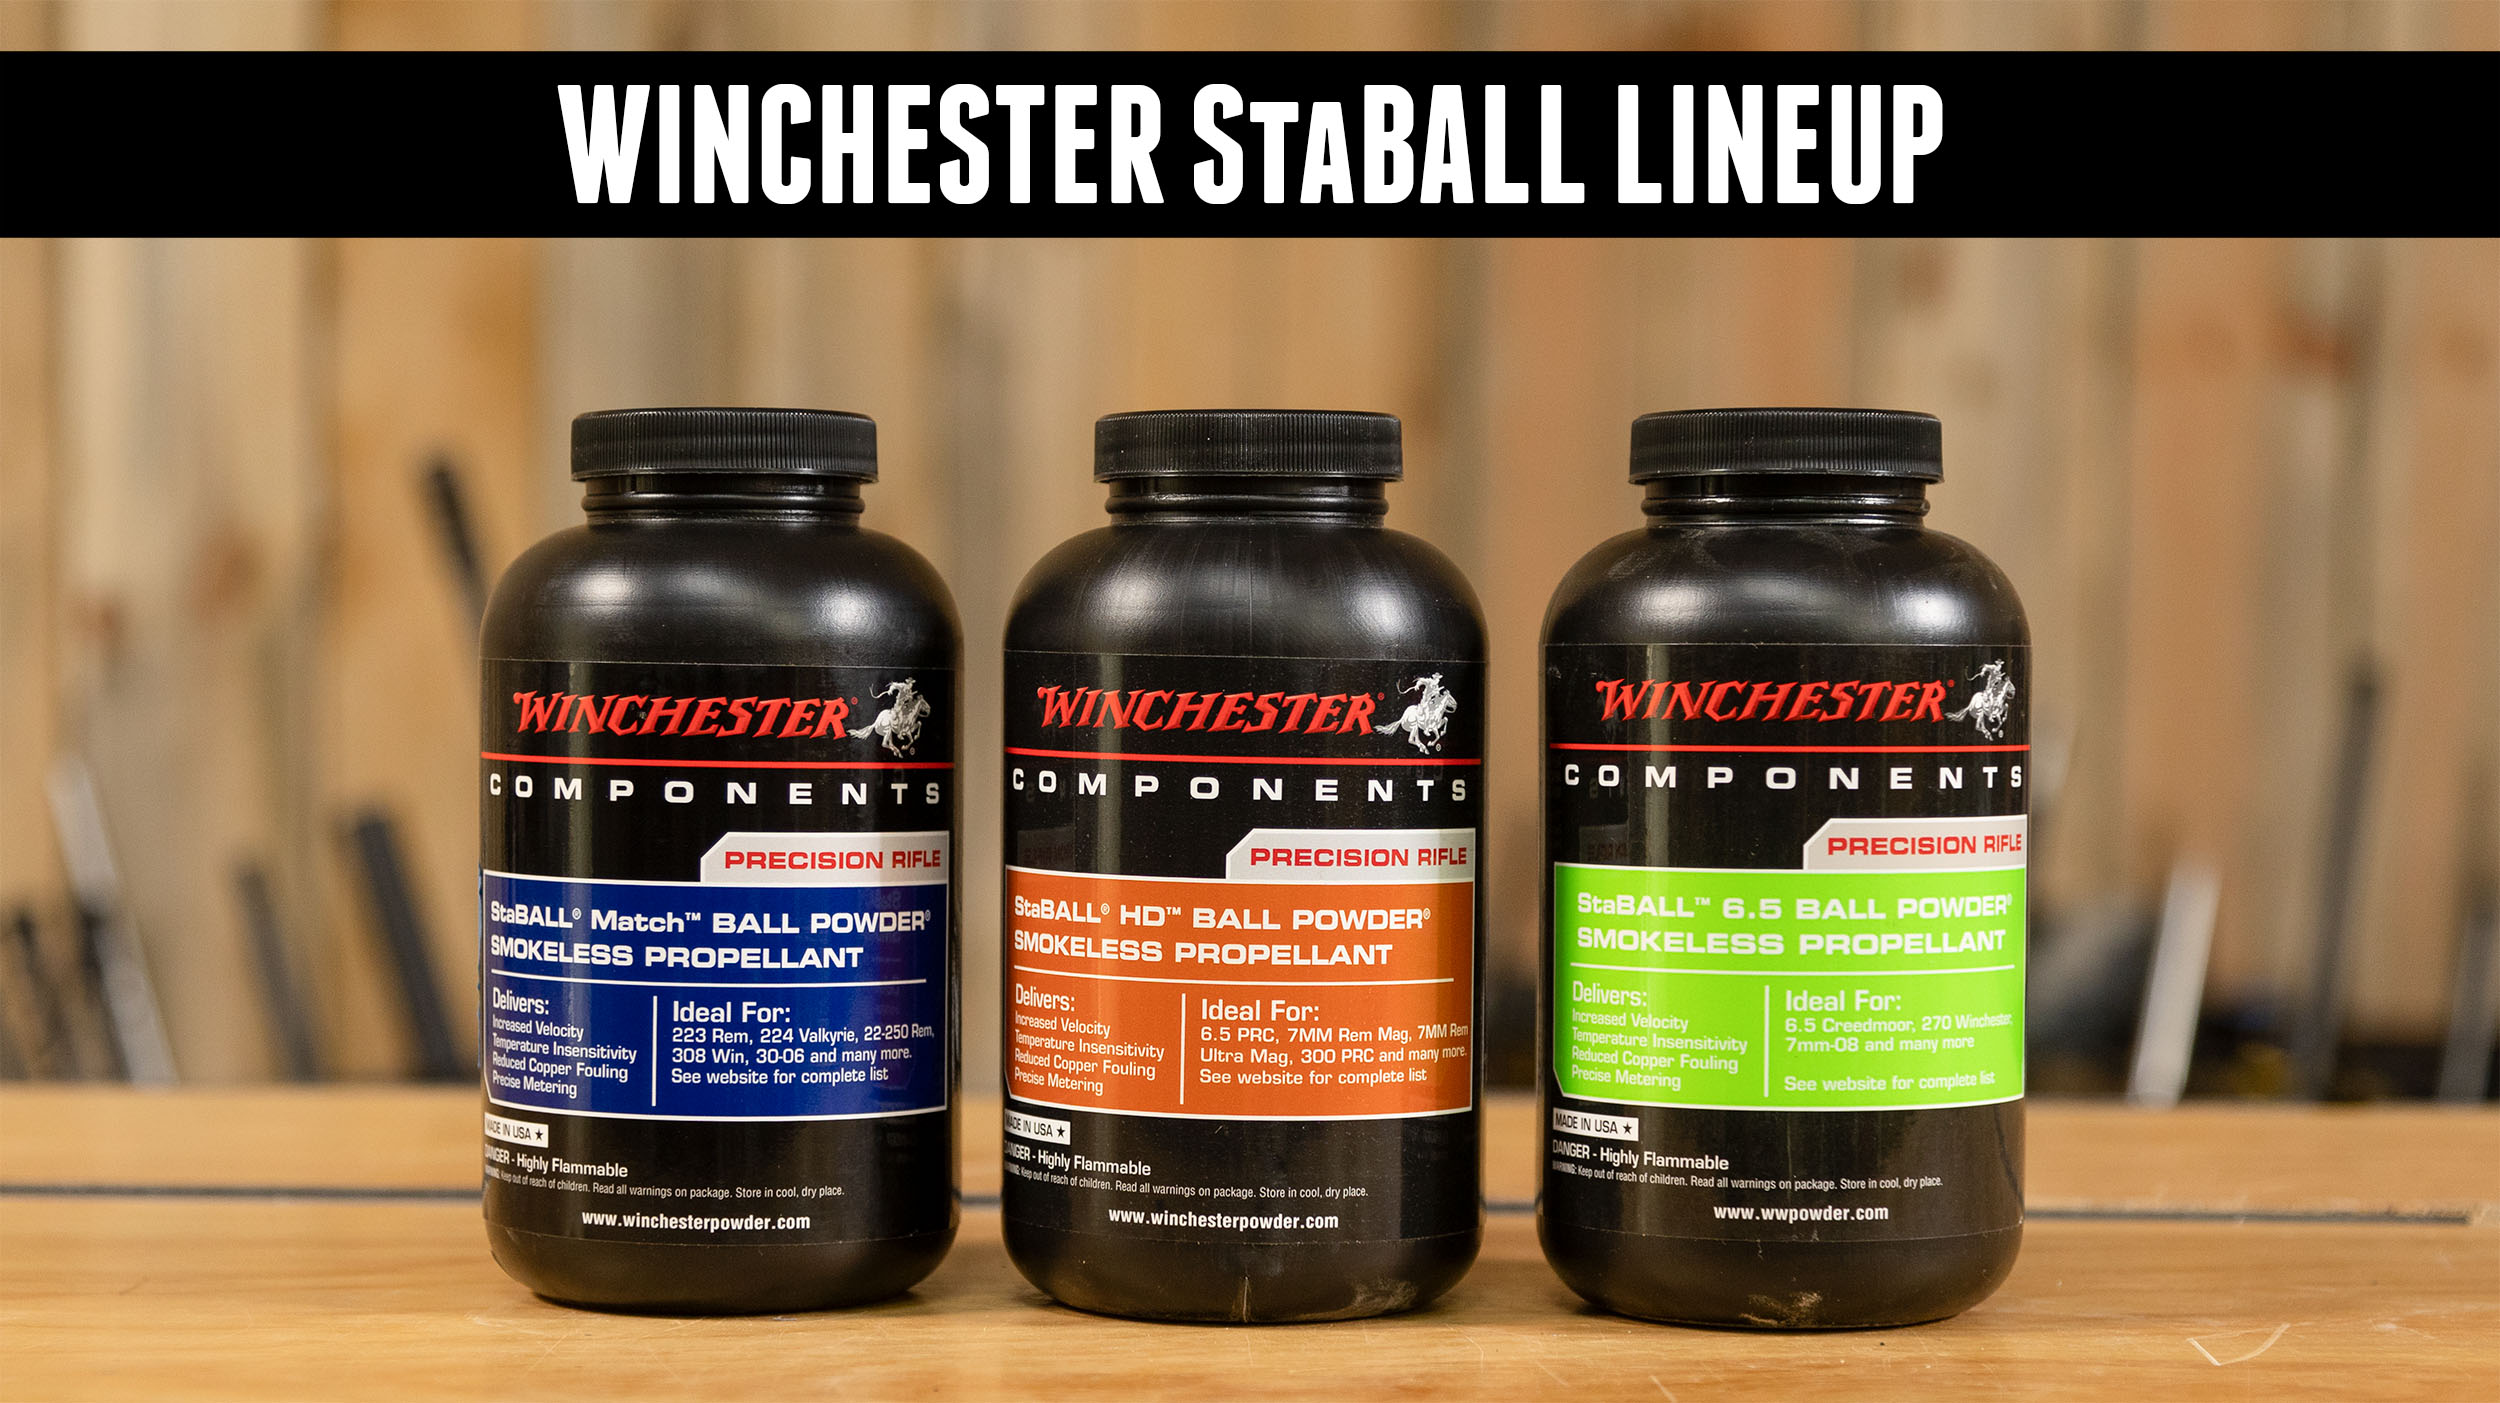
Compared: StaBALL 6.5, Match, and HD!
We’ve individually tested all three powders in Hodgdon’s Winchester StaBALL line. Now, we’re comparing them! Disclaimer Ultimate Reloader LLC / Making with Metal Disclaimer: (by reading this article and/or watching video content you accept these terms). The content on this website (including videos, articles, ammunition reloading data, technical articles, gunsmithing and other information) is for […]
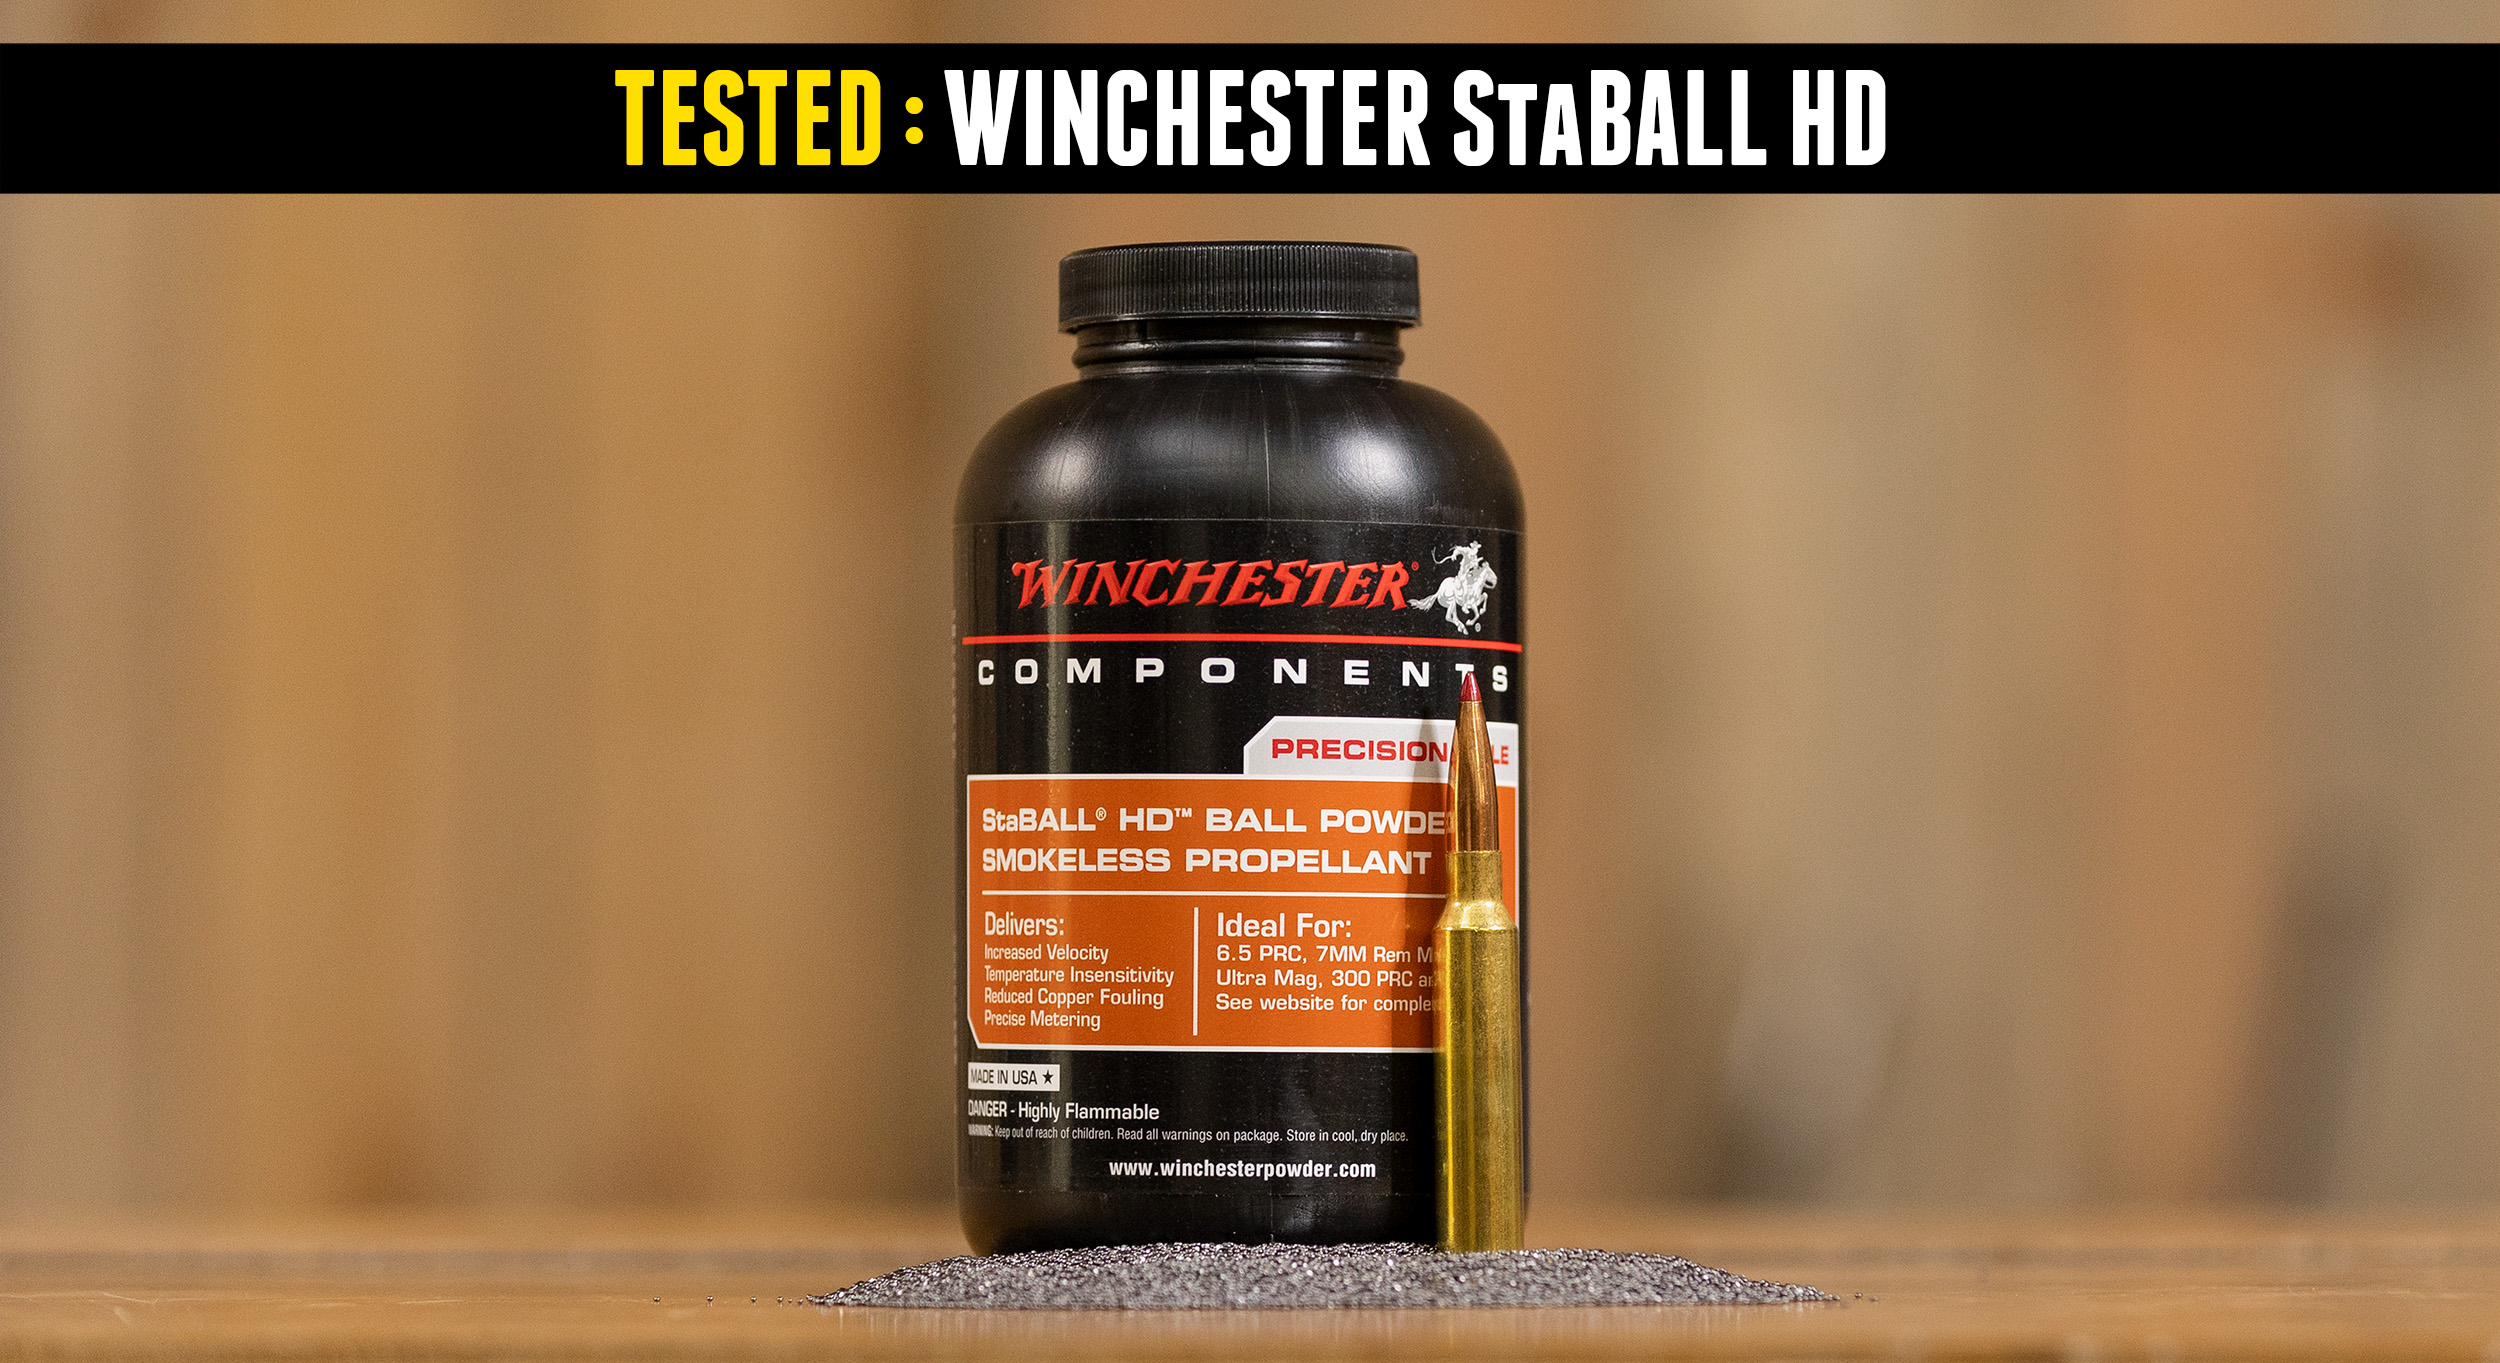
TESTED: Winchester StaBALL HD Magnum Powder
Hodgdon released two new powders, StaBALL Match and StaBALL HD at SHOT Show 2023. We recently tested StaBALL Match. Today, we’re taking a closer look at StaBALL HD! Disclaimer Ultimate Reloader LLC / Making with Metal Disclaimer: (by reading this article and/or watching video content you accept these terms). The content on this website (including […]
TESTED: Winchester StaBALL Match (Varget Speed Powder)
Hodgdon released two new powders, StaBALL Match and StaBALL HD at SHOT Show 2023. Today, we’re taking a closer look at StaBALL Match! Disclaimer Ultimate Reloader LLC / Making with Metal Disclaimer: (by reading this article and/or watching video content you accept these terms). The content on this website (including videos, articles, ammunition reloading data, […]
NEW DAA Infra-Red Low Powder Sensor (Hands-On)
Ever run out of powder while loading? The DAA Infra-Red Low Powder Sensor prevents this issue! Disclaimer Ultimate Reloader LLC / Making with Metal Disclaimer: (by reading this article and/or watching video content you accept these terms). The content on this website (including videos, articles, ammunition reloading data, technical articles, gunsmithing and other information) is […]

New Winchester StaBALL Powders from Hodgdon
At SHOT Show 2023, Hodgdon’s Aaron Oelger took a few minutes to talk to us about new StaBALL powders — StaBALL Match and StaBALL HD. Disclaimer Ultimate Reloader LLC / Making with Metal Disclaimer: (by reading this article and/or watching video content you accept these terms). The content on this website (including videos, articles, ammunition […]
From 223 to 300BLK: Insane Dillon Conversion and Loading Setup
Previously we showed how to set up the DA3000 with the CP2000 and convert 223/5.56 brass to 300 blackout. To load the new brass, we have the Dillon RL1100 set up to load 220 grain subsonic 300 blackout ammunition and some machine guns to test it with. This is going to be FUN! Disclaimer Ultimate […]
NEW Adaptive Press Head from Creedmoor Sports
Creedmoor Sports recently released the Adaptive Press head for the Redding T-7 press. It’s different from anything else on the market — here’s why. Disclaimer Ultimate Reloader LLC / Making with Metal Disclaimer: (by reading this article and/or watching video content you accept these terms). The content on this website (including videos, articles, ammunition reloading […]