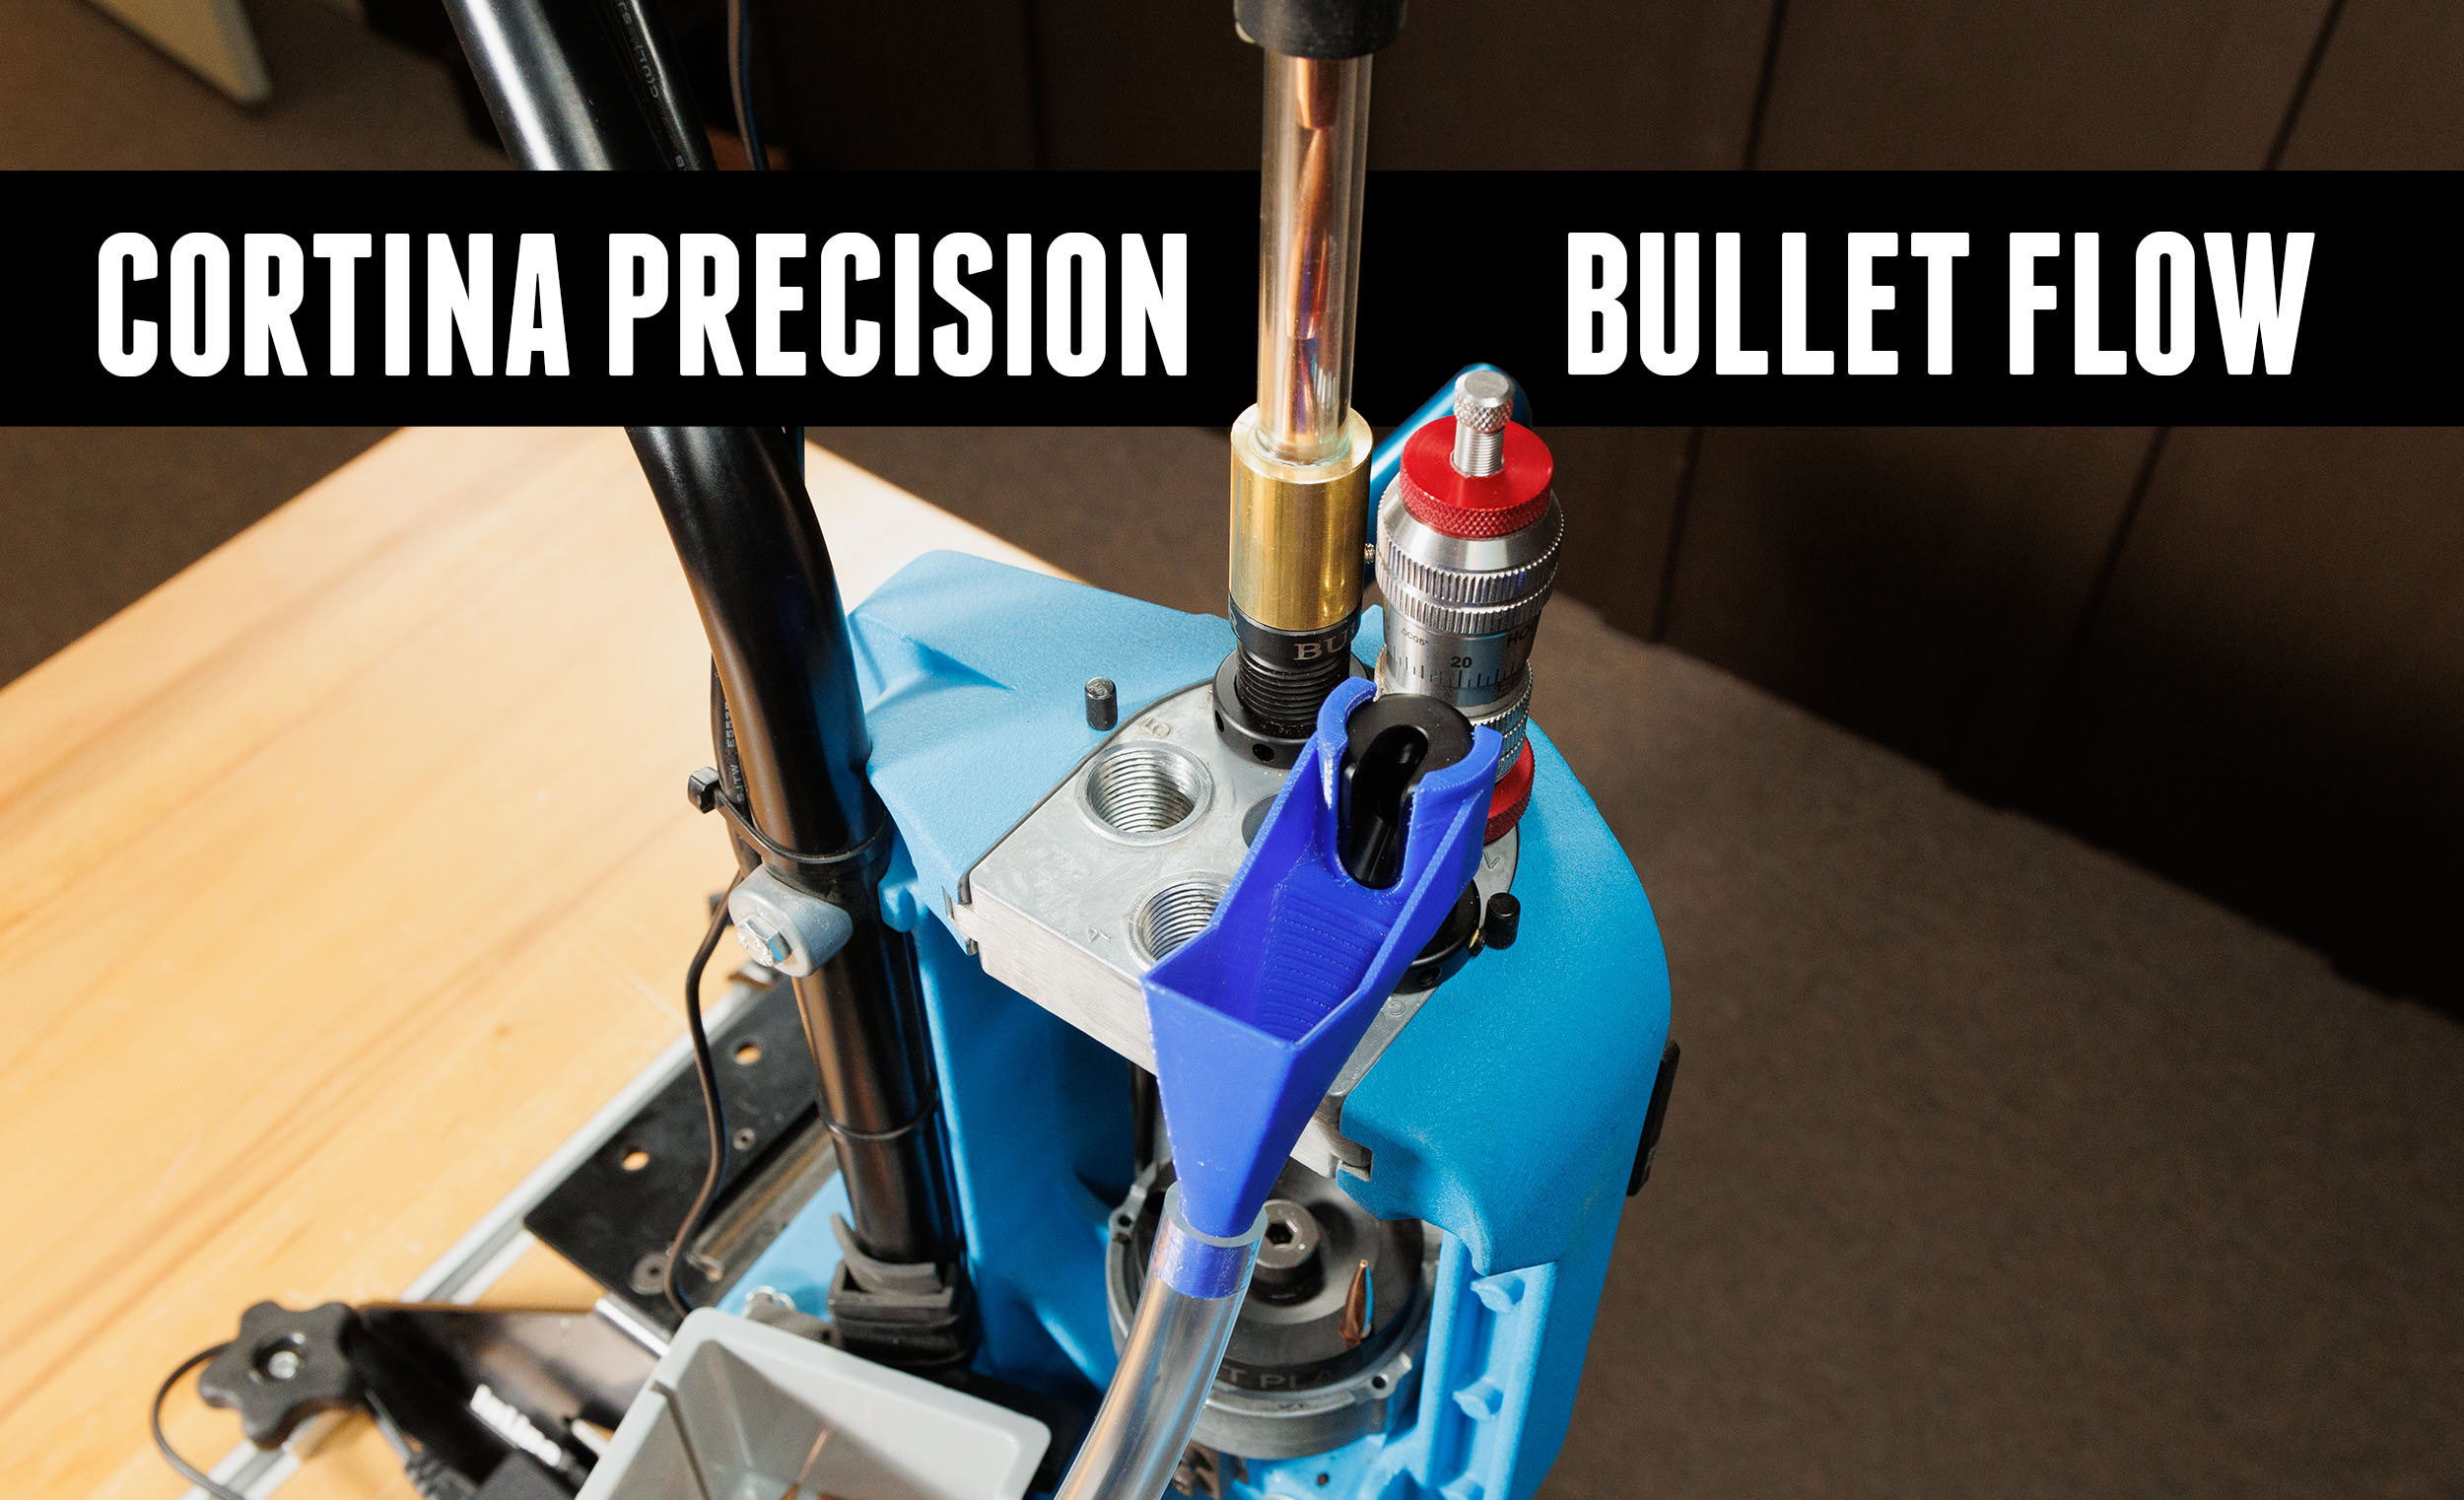
The Cortina Precision Bullet Flow System is designed to expedite bullet tip uniforming for more consistent BC’s bullet to bullet on a progressive press. Disclaimer Ultimate Reloader LLC / Making with Metal Disclaimer: (by reading this article and/or watching video content you accept these terms). The content on this website (including videos, articles, ammunition reloading […]
Tag: Dillon XL-650
Black Friday DEALS from Mark 7 Reloading!
You’re going to want to check out these deals on Mark 7 gear as a part of Black Friday 2023! These deals are valid between now and November 30, 2023, so don’t waste any time… Deal 1: Autodrive Price Slash + Bonus Buy an Autodrive at only $1999 AND get a free sensor, note that […]
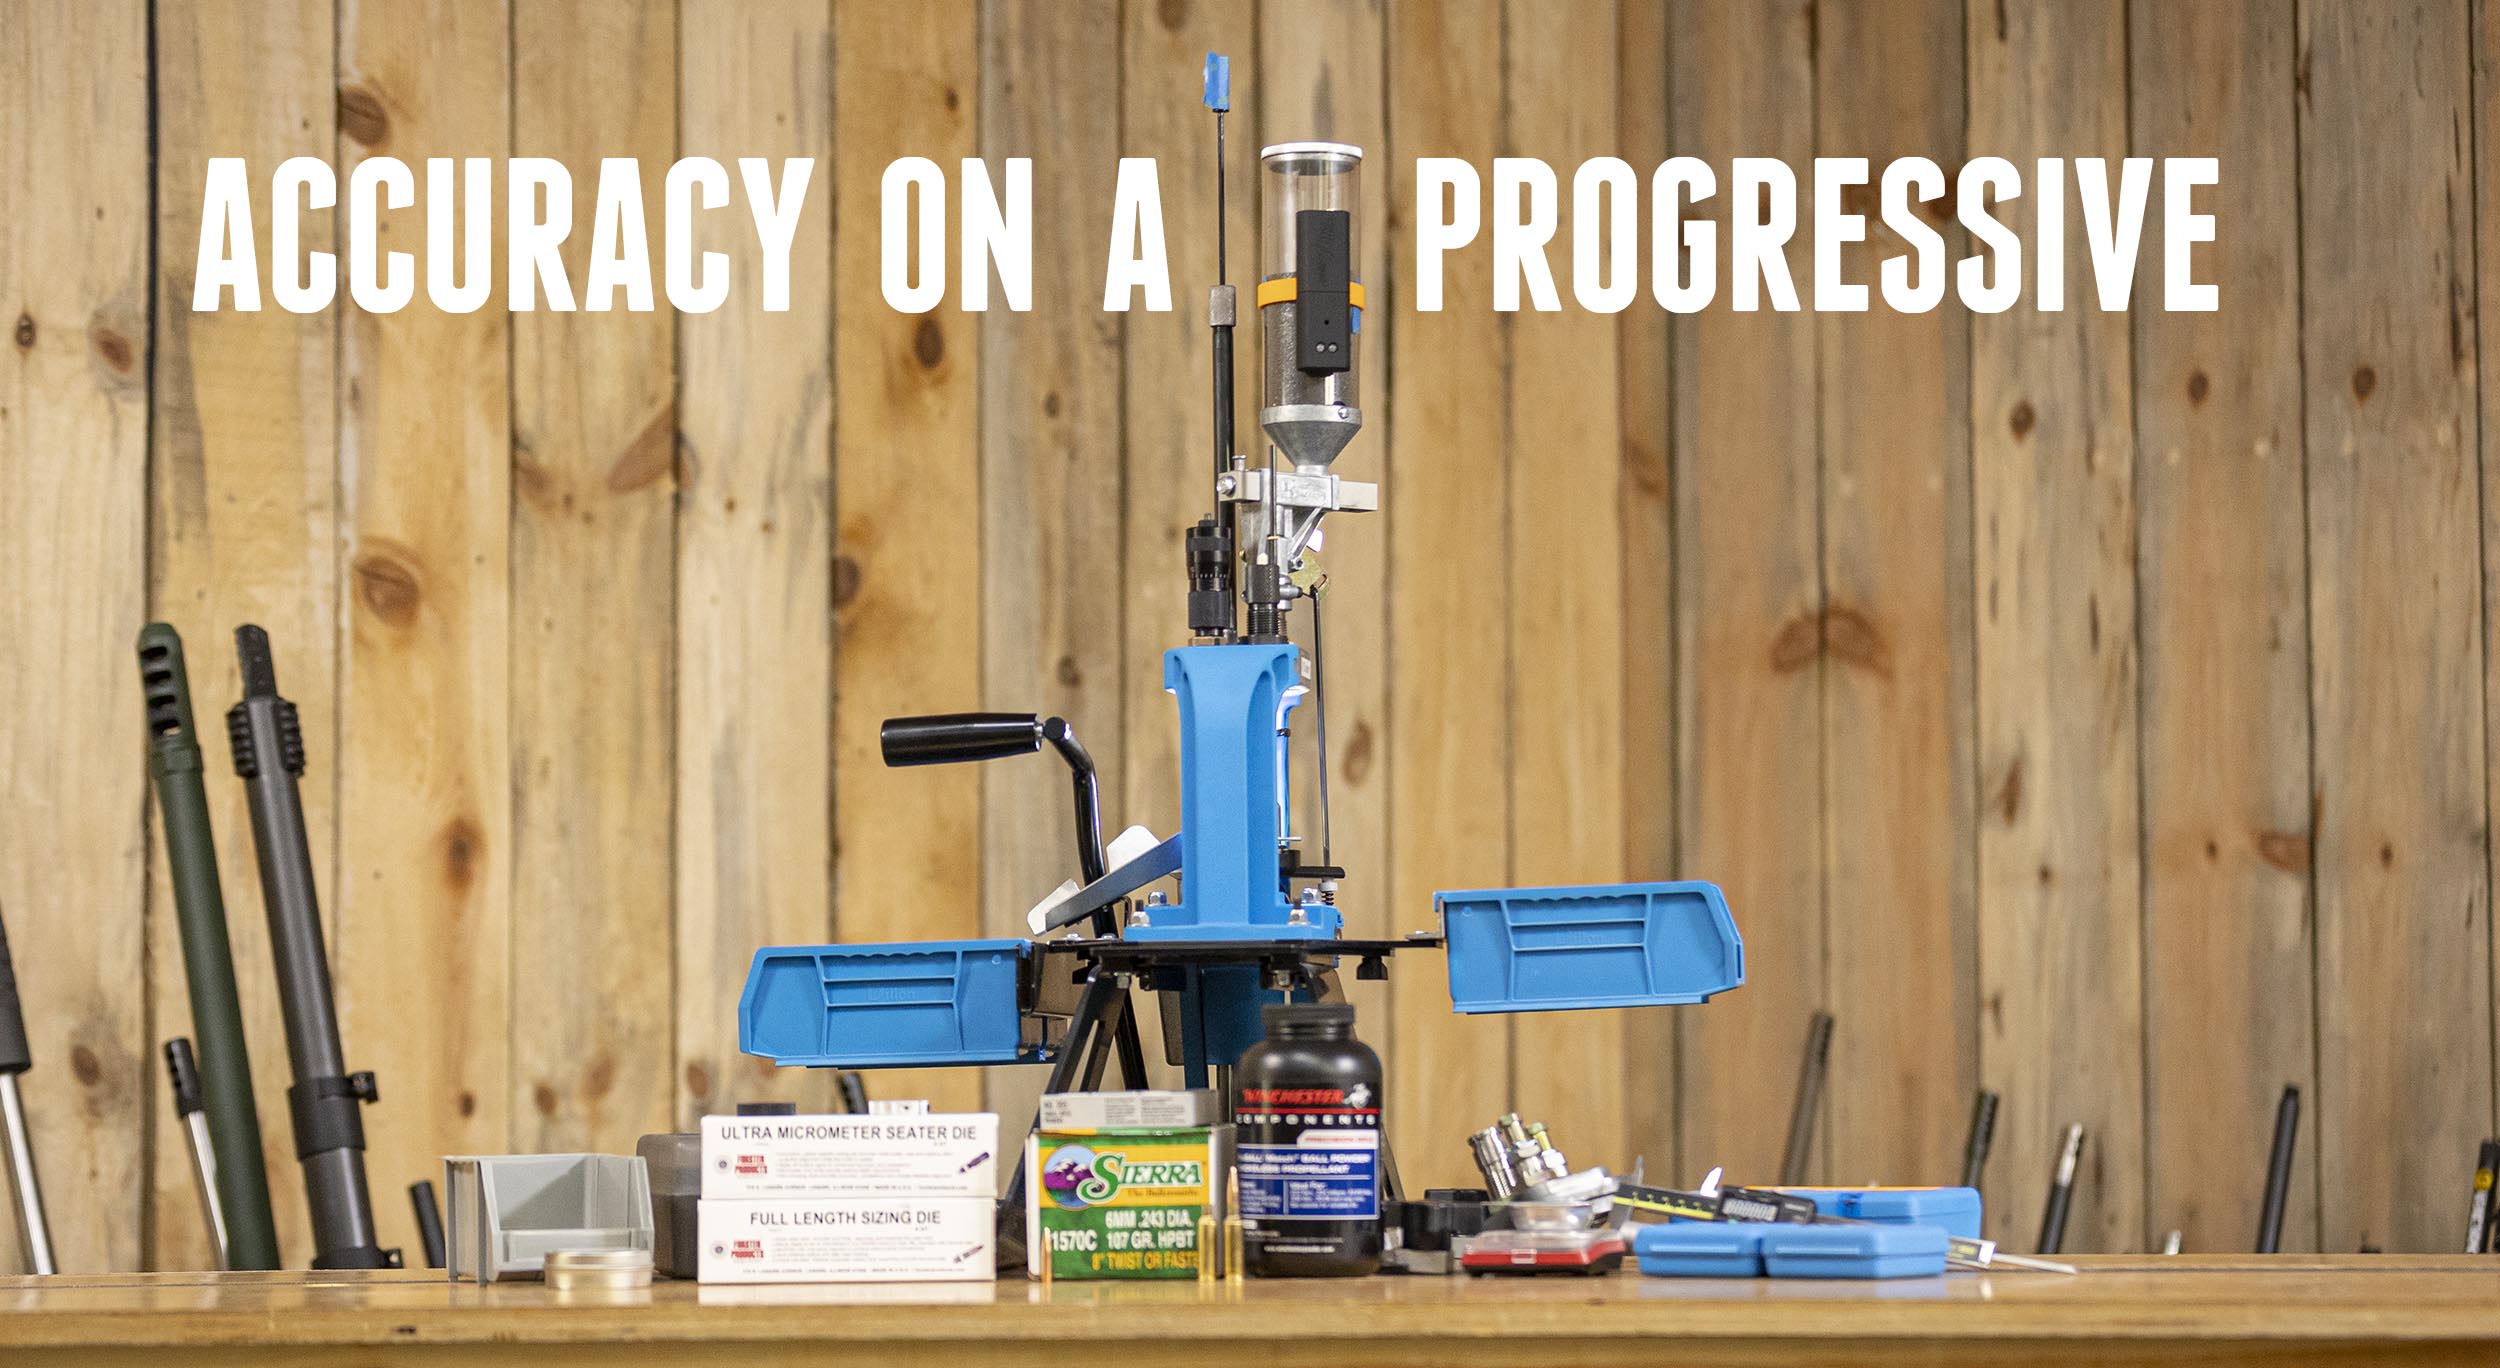
Precision on a Progressive: 6GT on the Dillon RL-550C
It’s time to crank out some precision 6GT ammunition on a progressive! In this story, I’ll outline what to look for when loading precision ammunition on a progressive, and get a Dillon RL-550C ready to roll with 6GT. Disclaimer Ultimate Reloader LLC / Making with Metal Disclaimer: (by reading this article and/or watching video content […]
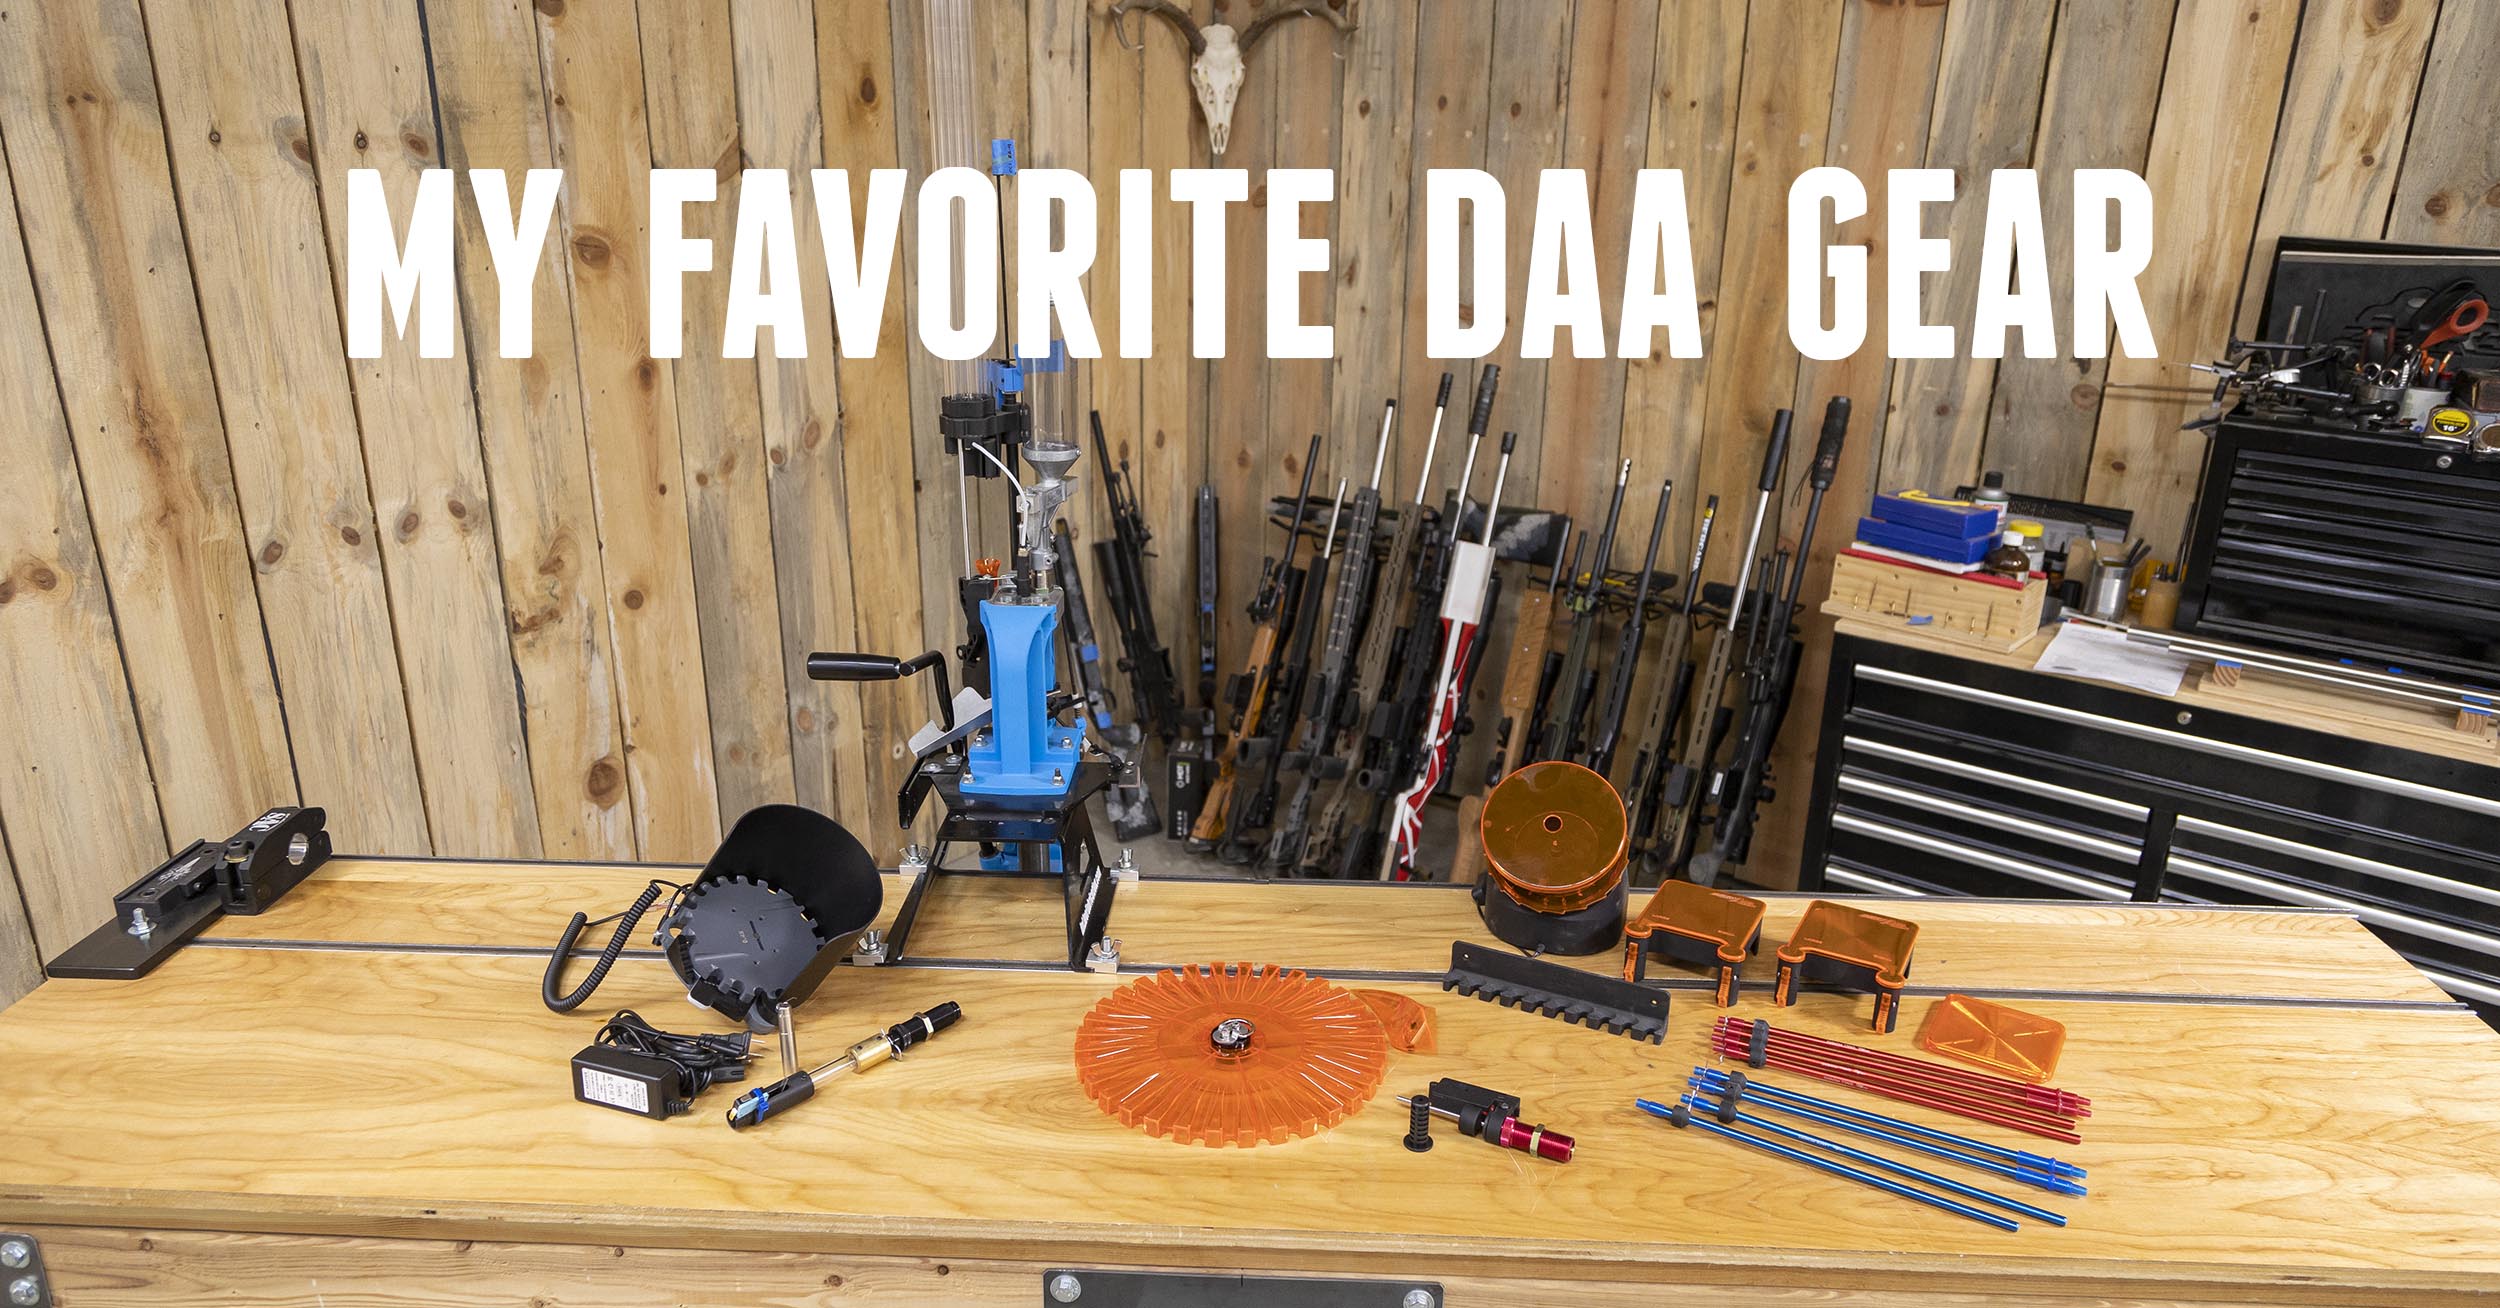
Double Alpha Academy Gear We Use Frequently
I’ve featured a lot of gear from the Double Alpha Academy, and have more coming, but here are some of our favorites. Disclaimer Ultimate Reloader LLC / Making with Metal Disclaimer: (by reading this article and/or watching video content you accept these terms). The content on this website (including videos, articles, ammunition reloading data, technical […]
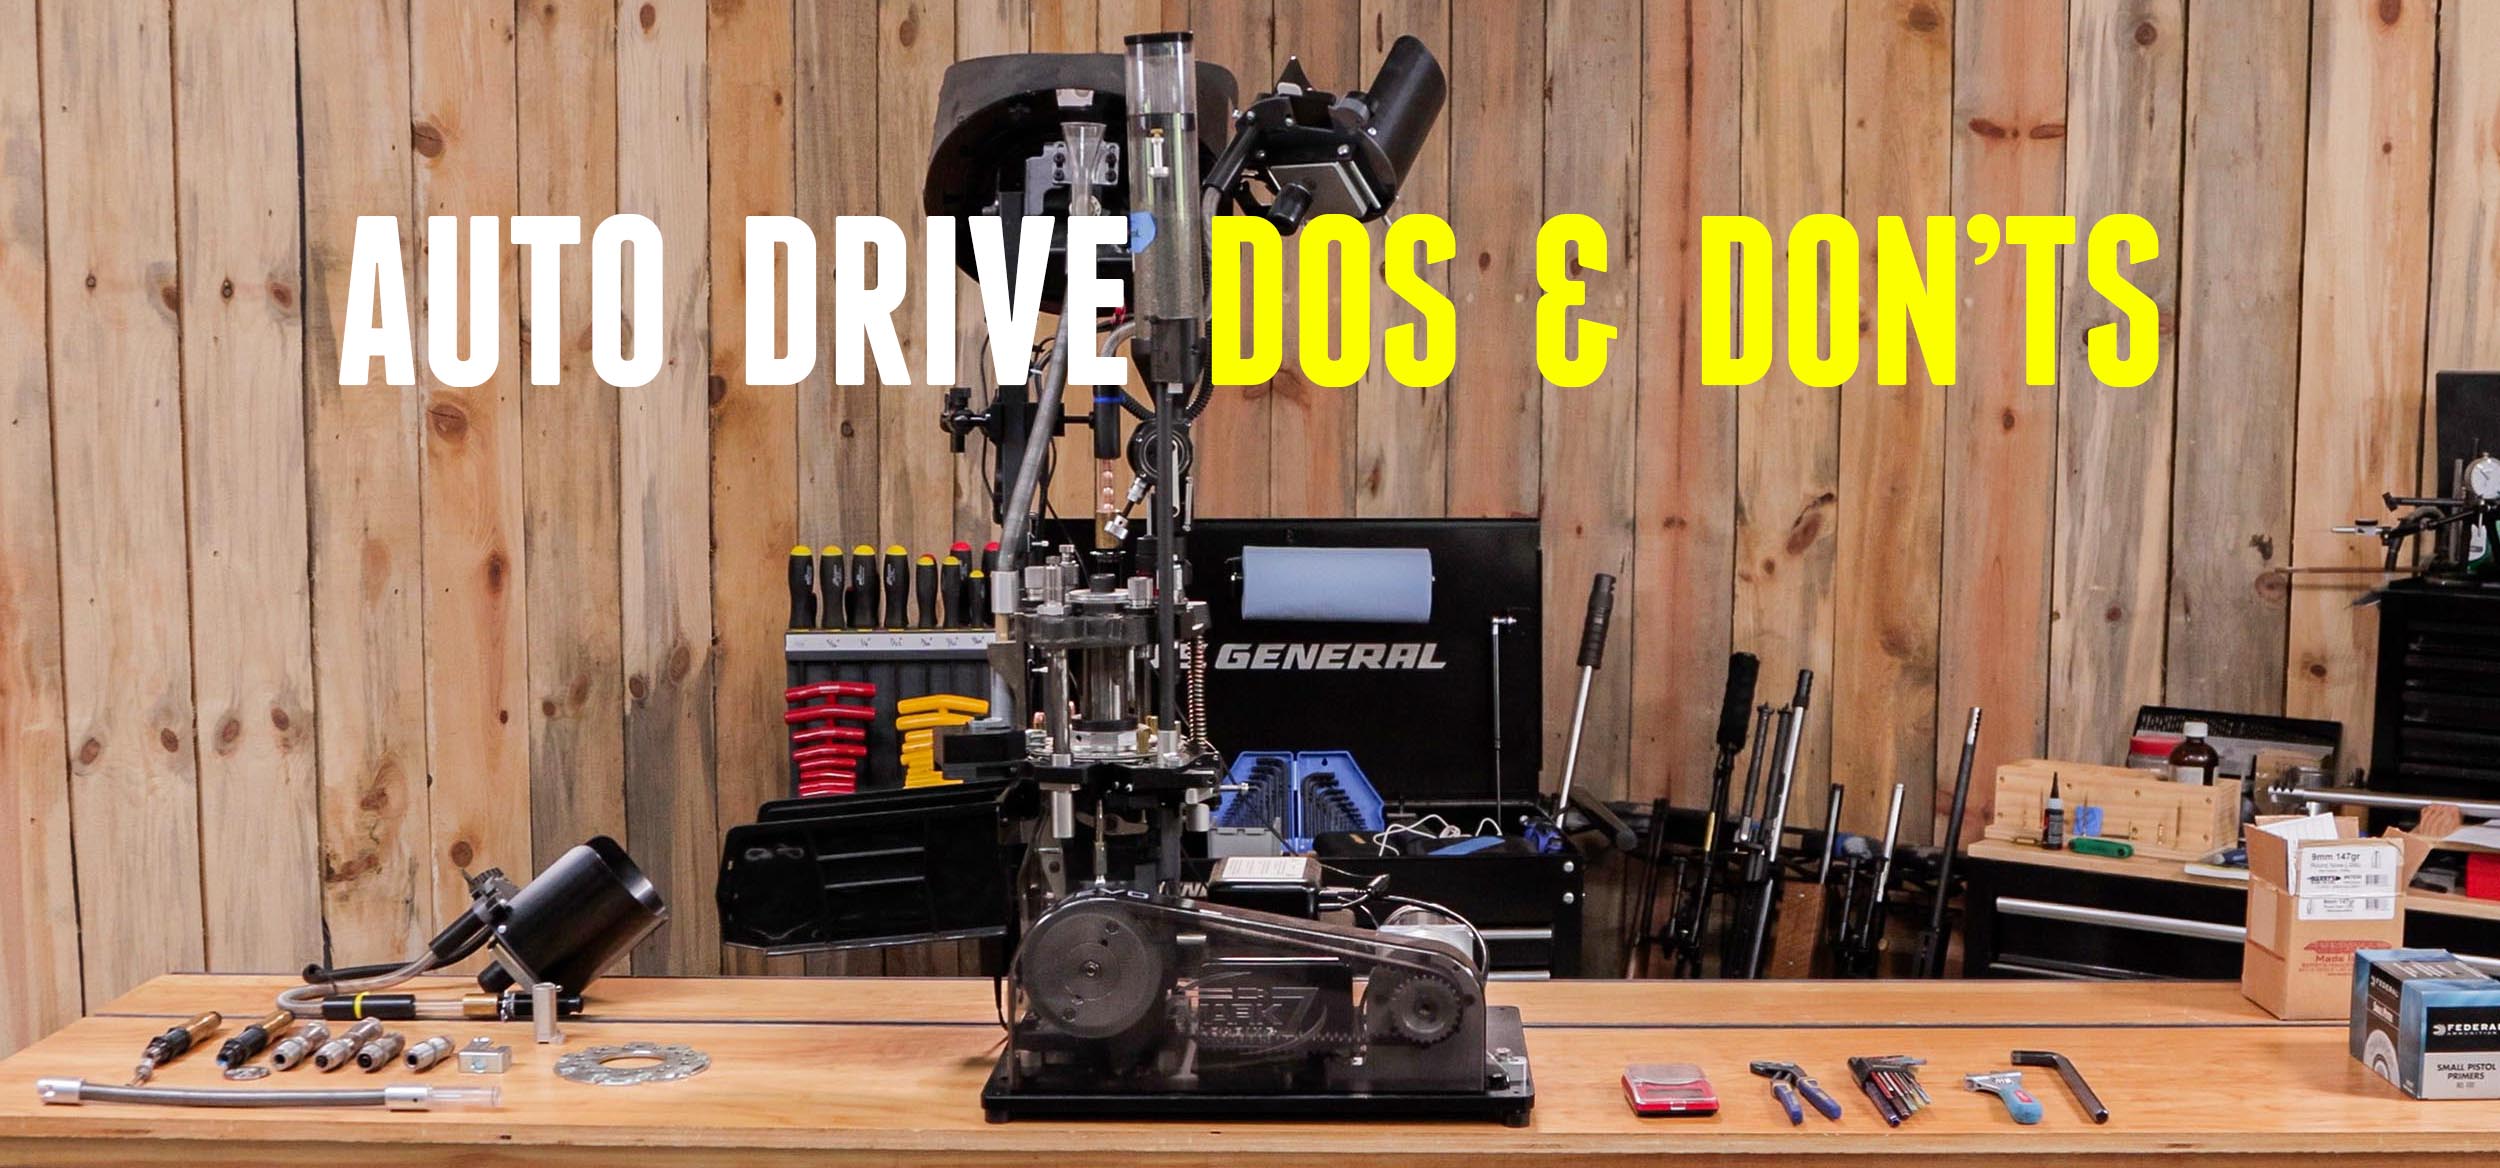
Tips to Make your Mark 7 Autodrive Run SMOOTHLY!
John Vlieger is one of the top technicians for Mark 7 Reloading. He helps users get their machines running, and keep them running. In this story, we take a look at the Do’s and Don’ts for the Mark 7 AutoDrive. Disclaimer Ultimate Reloader LLC / Making with Metal Disclaimer: (by reading this article and/or watching […]
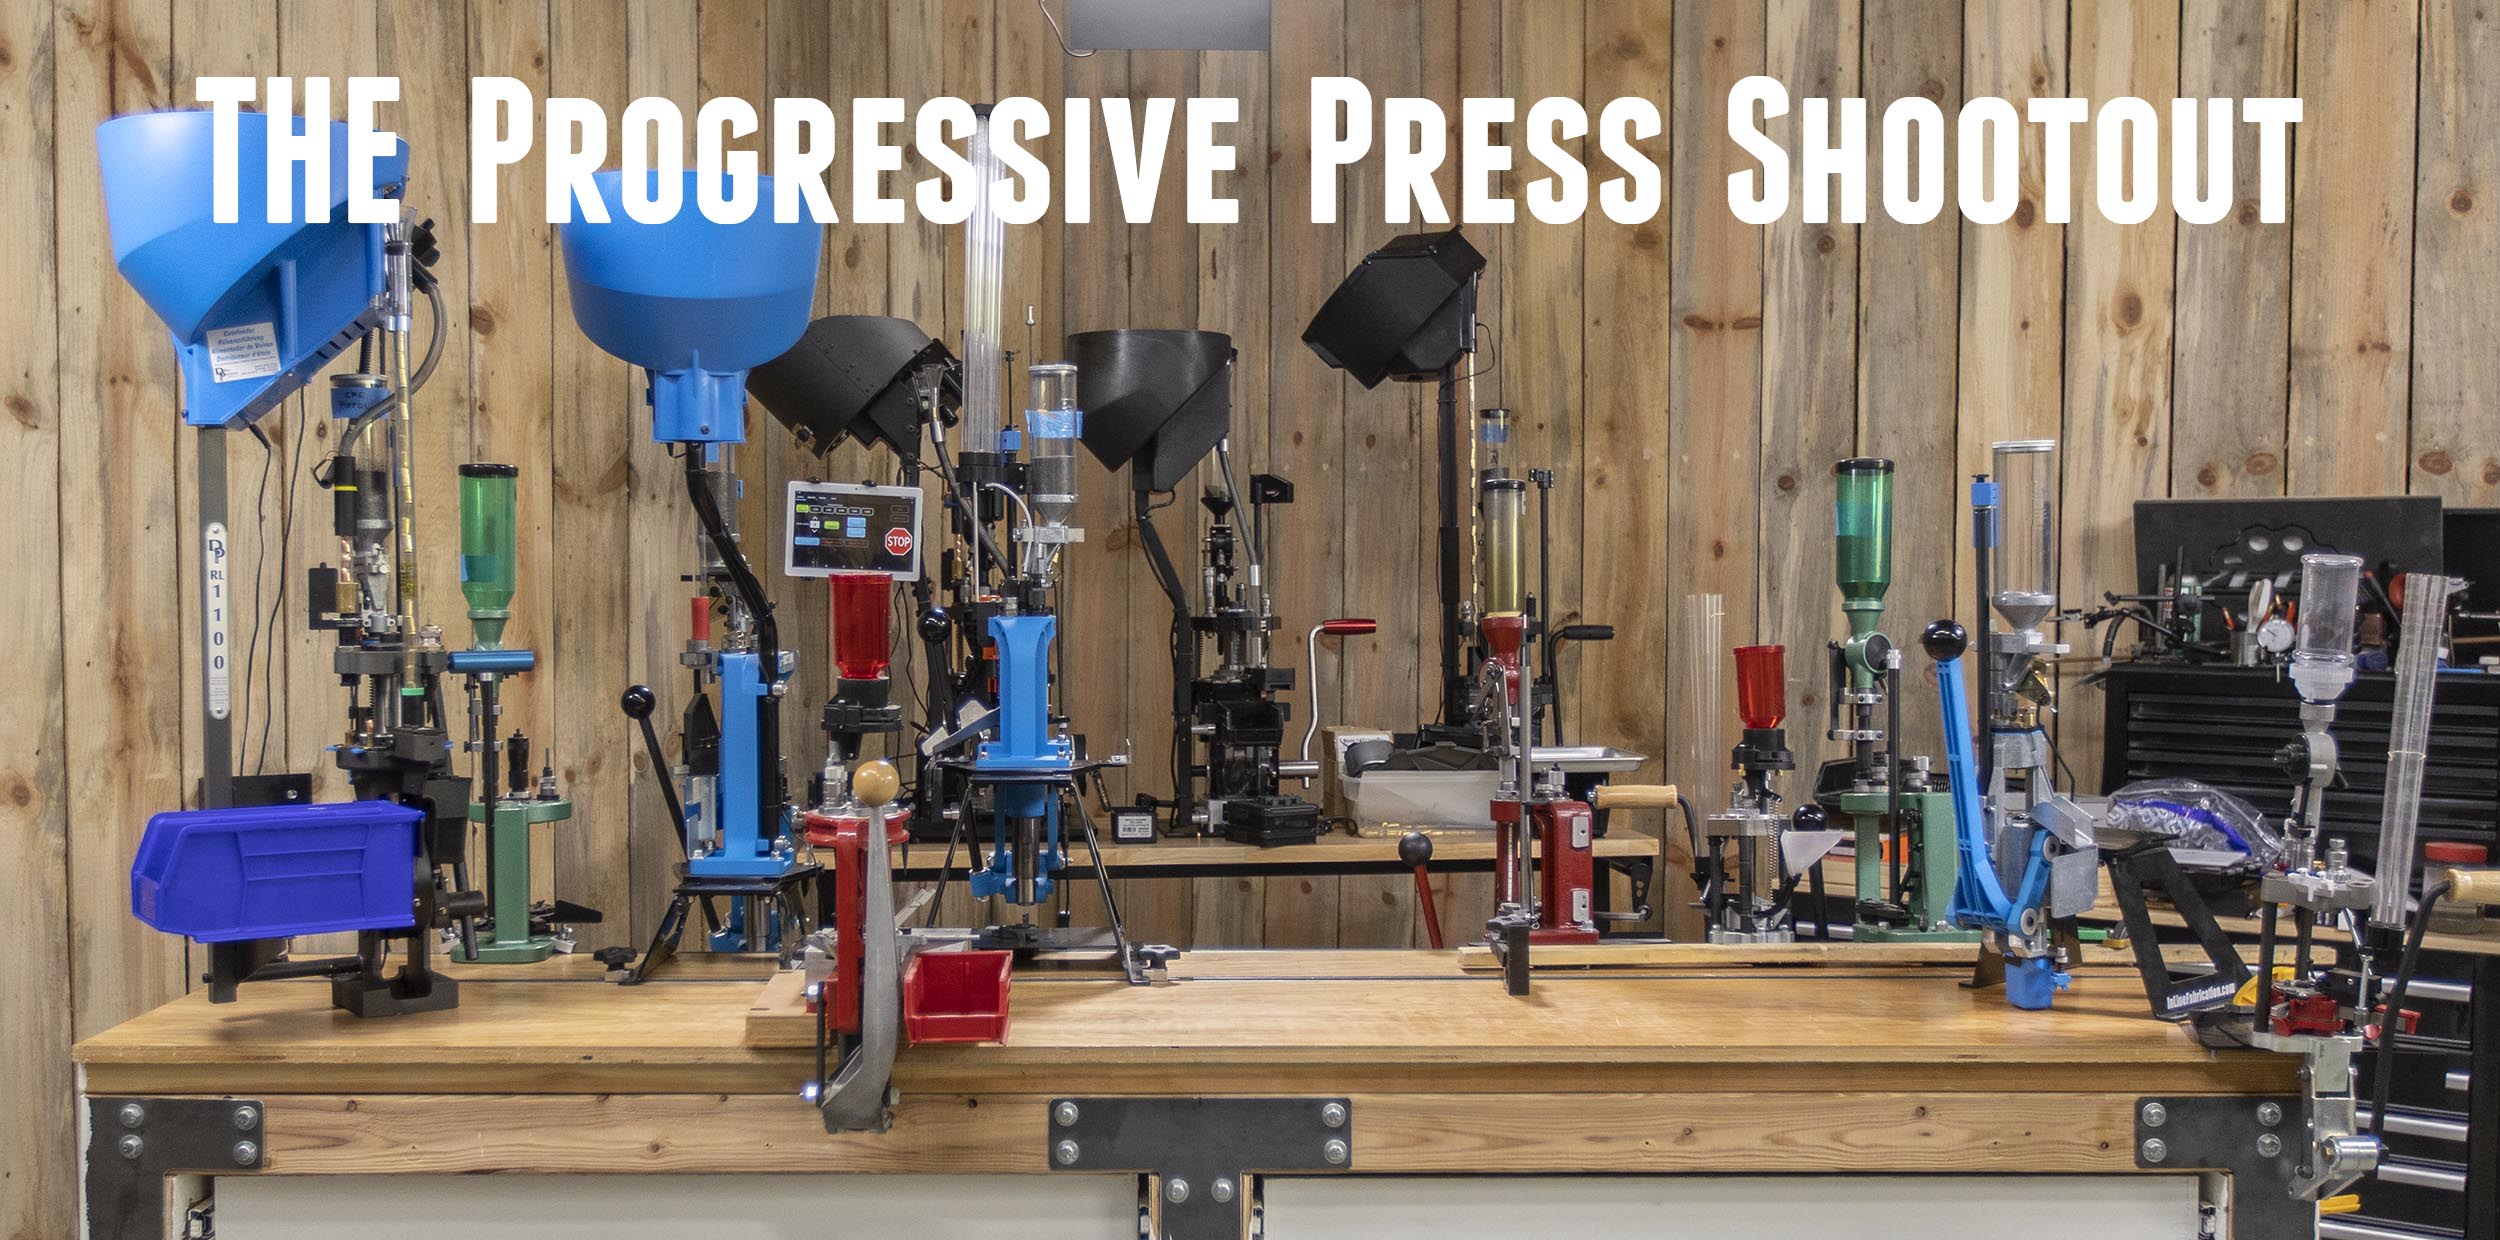
THE Progressive Press Shootout (12 presses compared)
Here it is! The long-awaited Progressive Press Shootout! This article and accompanying video is the most exhaustive and most in-depth look at progressive press reloading equipment. My goal is to help raise your level of awareness regarding what’s on the market and also to supply you with the insights, data, and supporting information to make […]
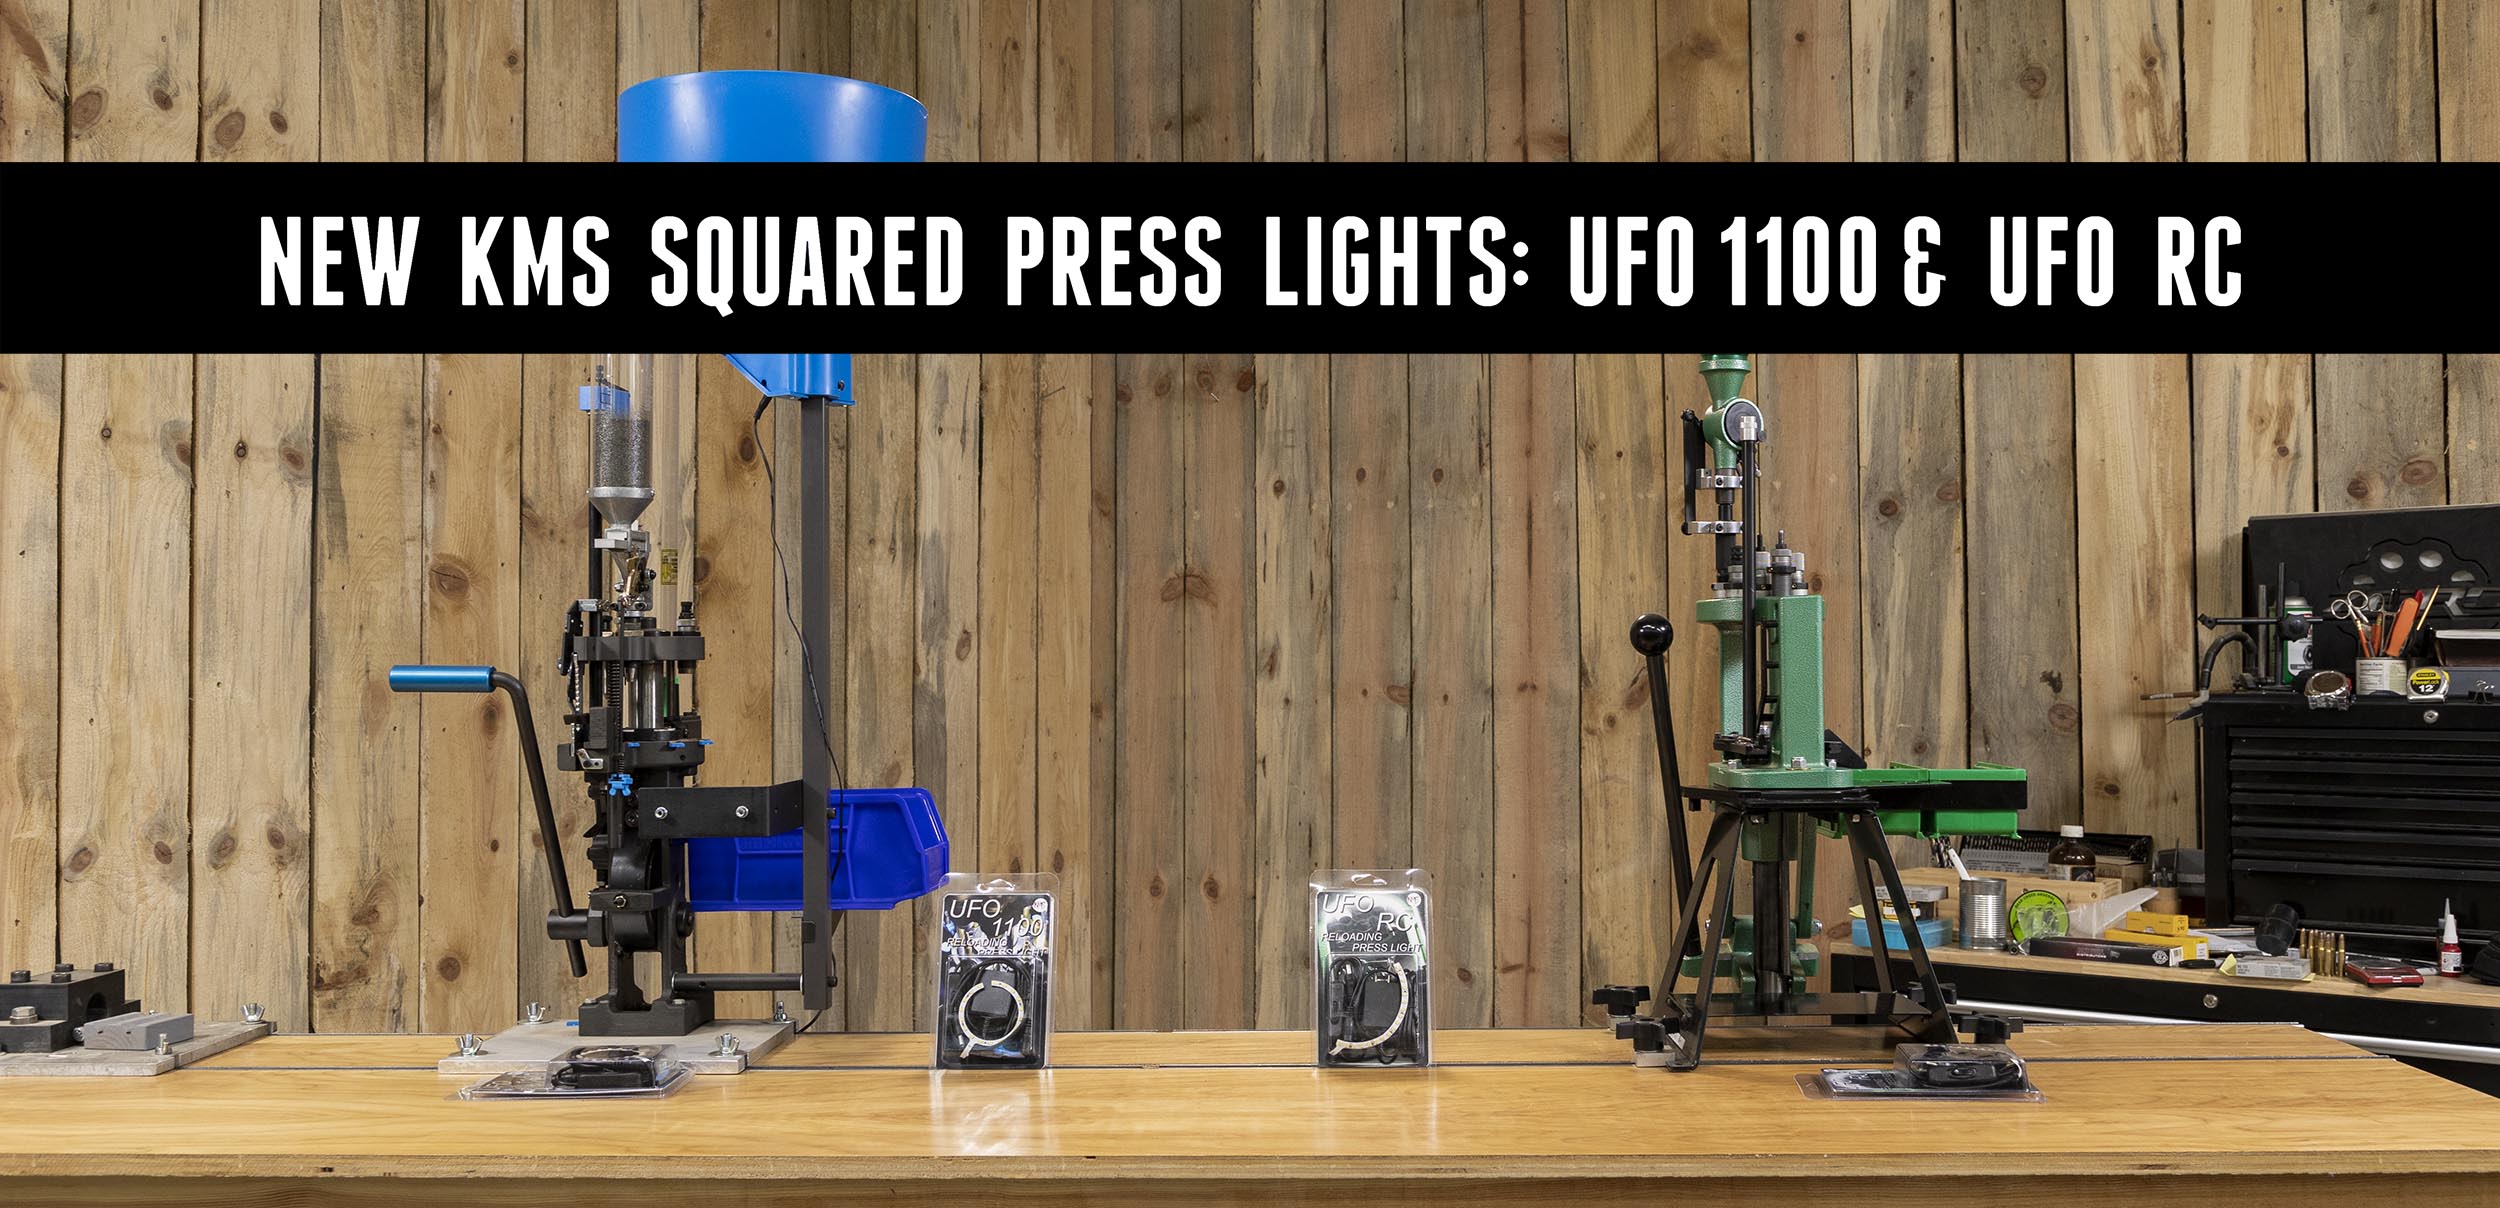
New UFO Lights for Dillon and RCBS (and save 10% site-wide)
If you are looking for a press light, you’ll want to check out these latest lights (for Dillon and RCBS) from KMS Squared, maker of the UFO Press light family of products! Plus, save 10% site-wide! NEW UFO 1100 From the KMS Squared product page: Unmatched Performance The UFO 1100 out performs all similar products […]
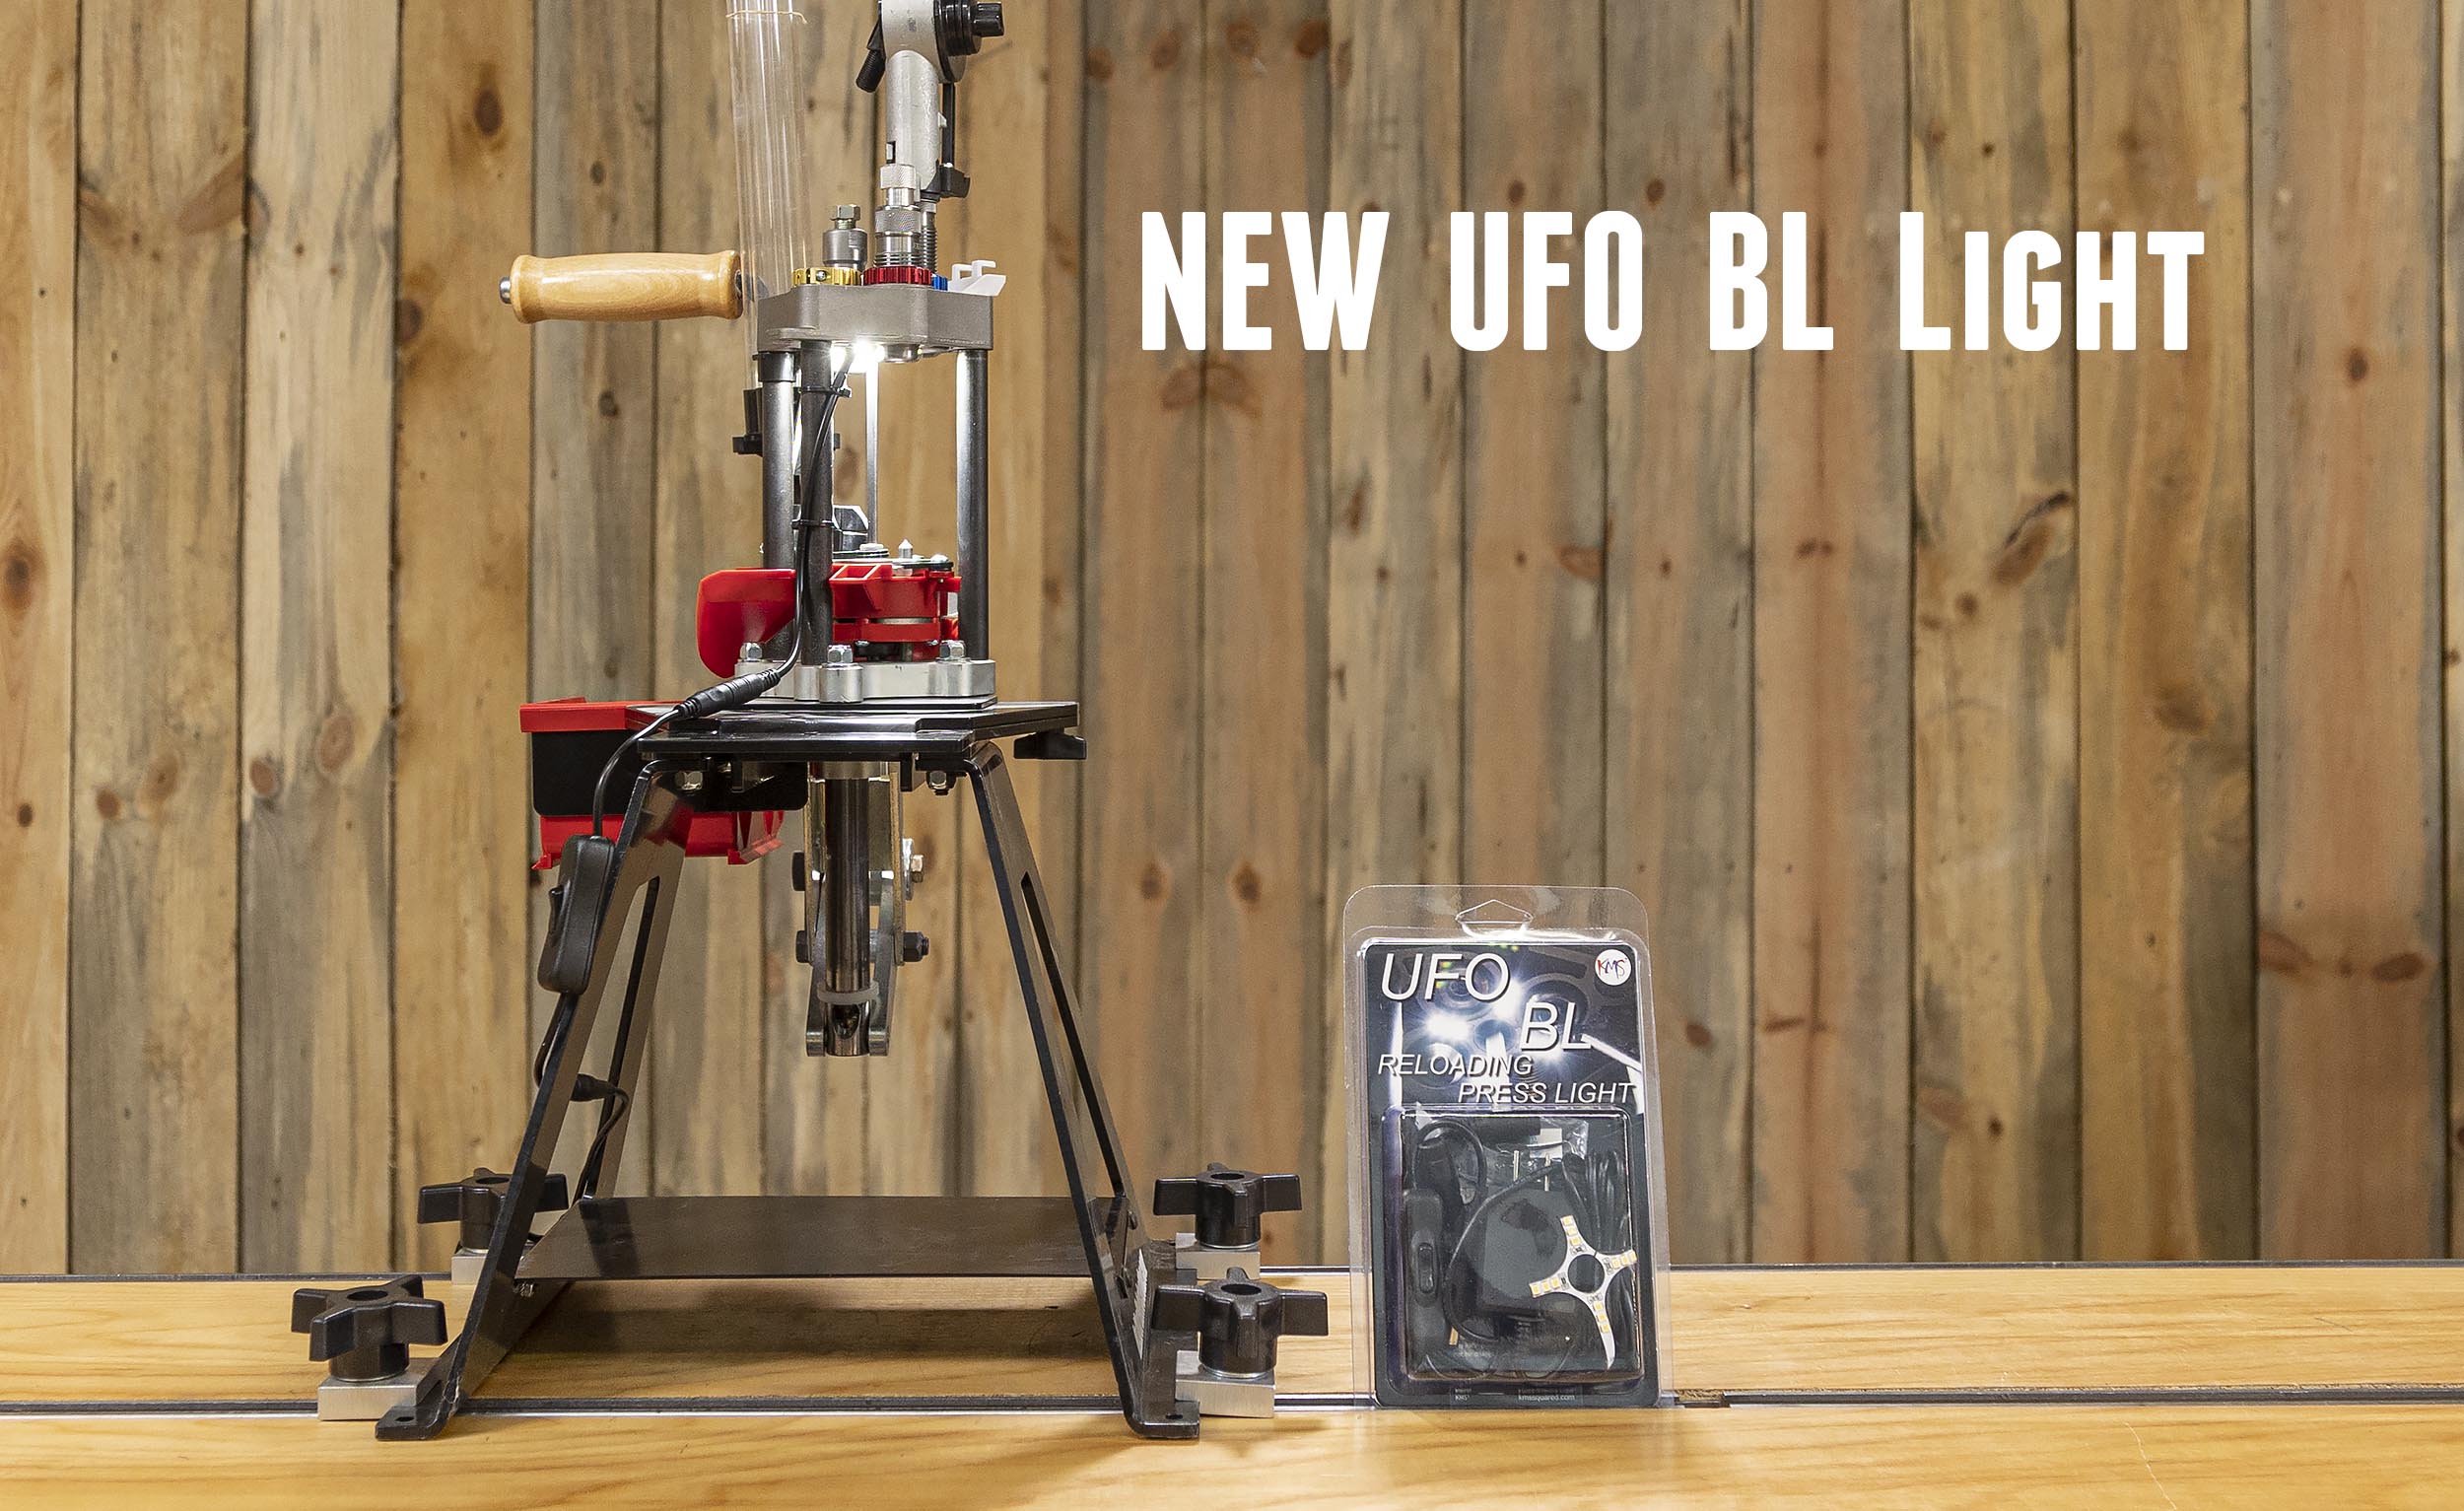
New LEE BL light + Save 10% Site-wide at KMS Squared
If you are looking for a press light, you’ll want to check out these latest light from KMS Squared, maker of the UFO Press light family of products! Plus, save 10% site-wide! NEW UFO BL Light for LEE Breech Lock / Pro-4000 It’s all new! From the KMS Squared product page: Unmatched Performance The UFO BL […]
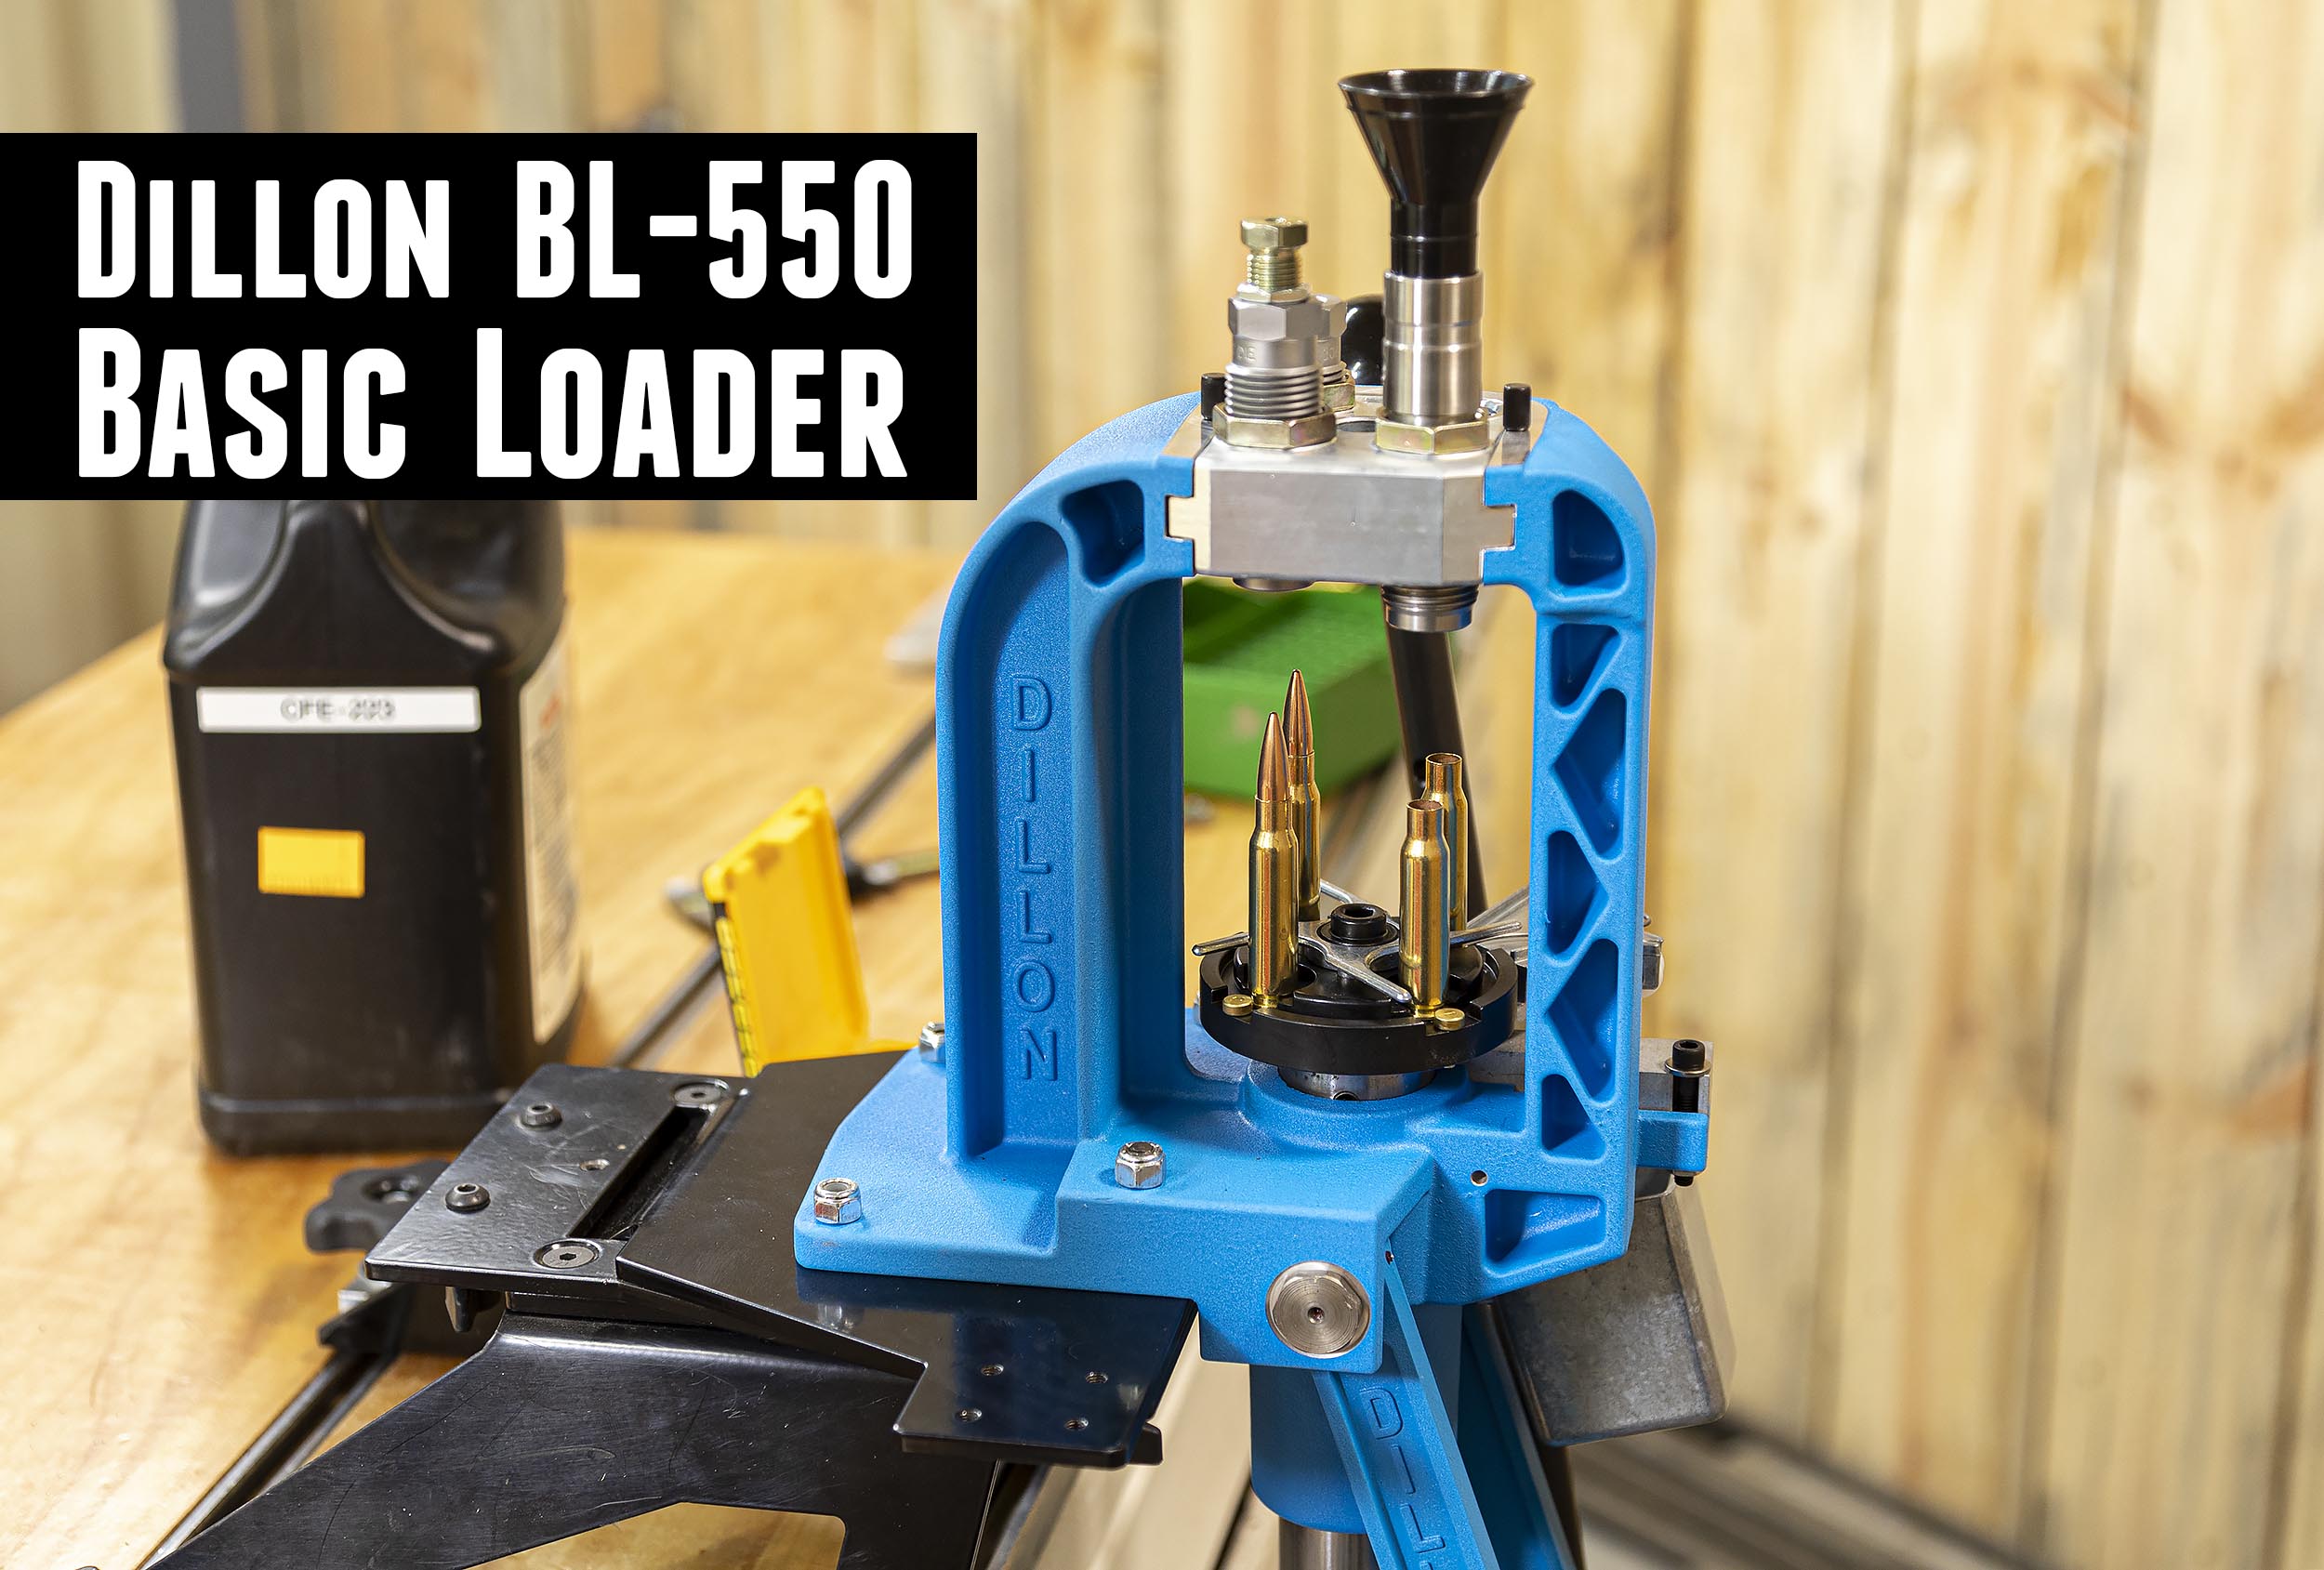
Dillon BL-550 Basic Loader: Unboxing, Setup, Loading 308 Winchester
Here at Ultimate Reloader I’ve shown a lot of Dillon presses including the XL-750, RL-550C, and RL 1100! In this story I’ll show you Dillon’s BL-550 basic loader. We’ll start with unboxing, and end with loading 308 Winchester. Let’s get to it! Disclaimer Ultimate Reloader LLC / Making with Metal Disclaimer: (by reading this article […]
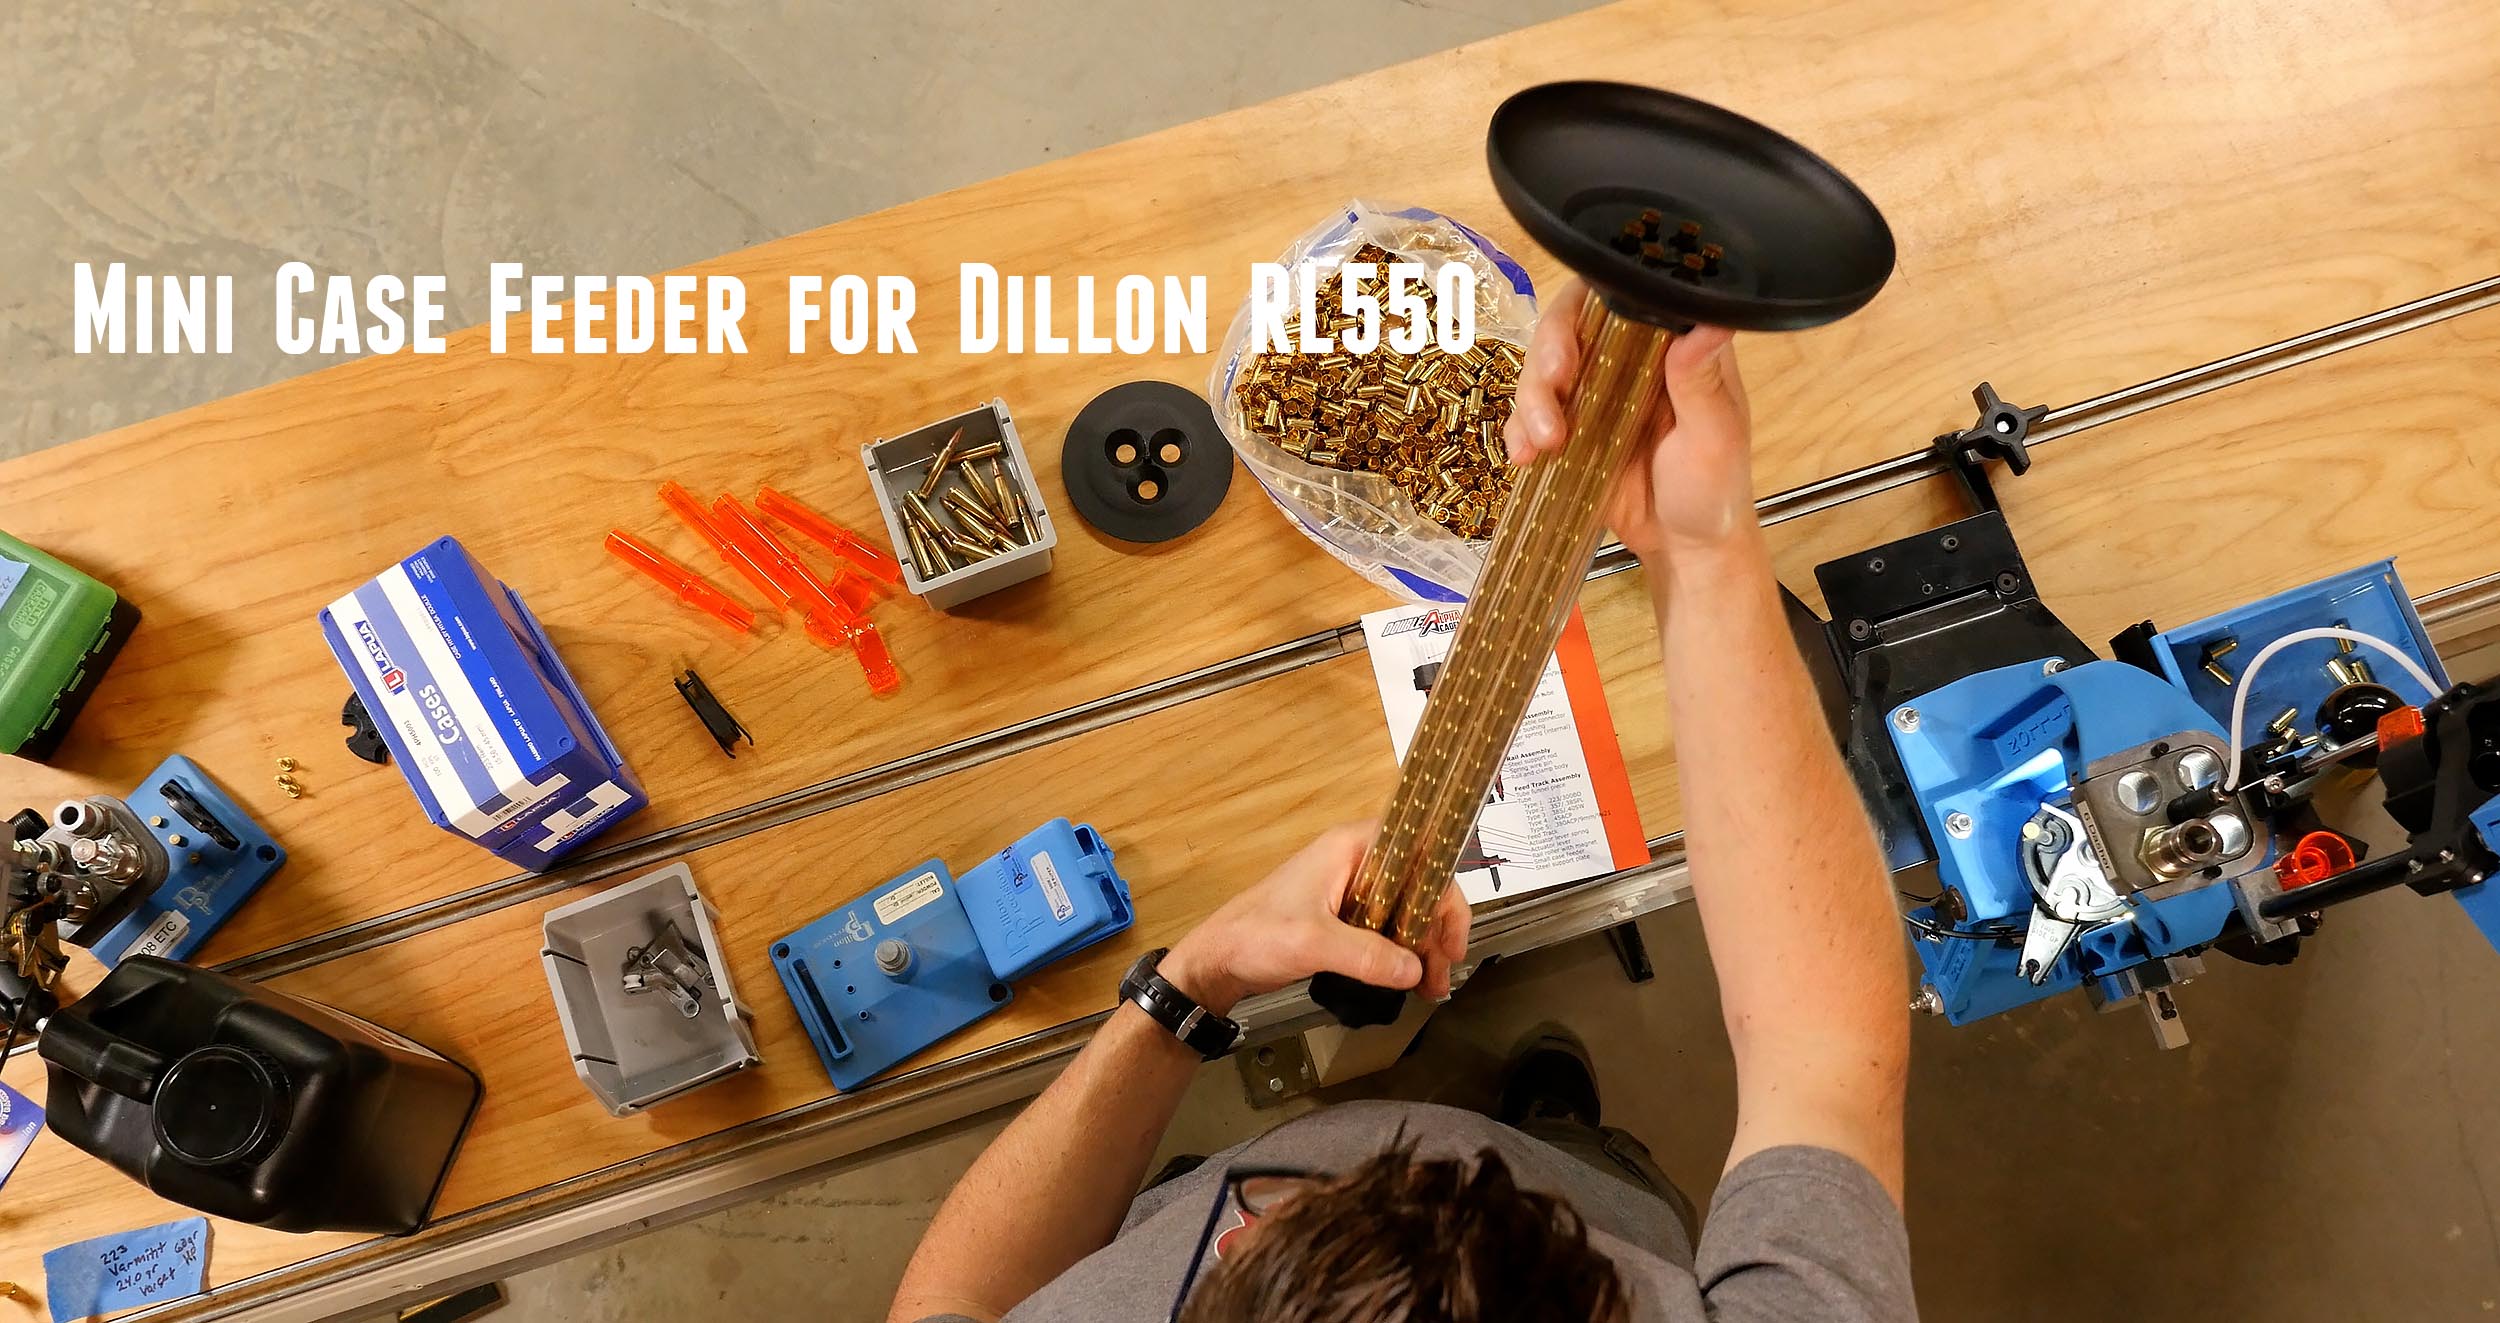
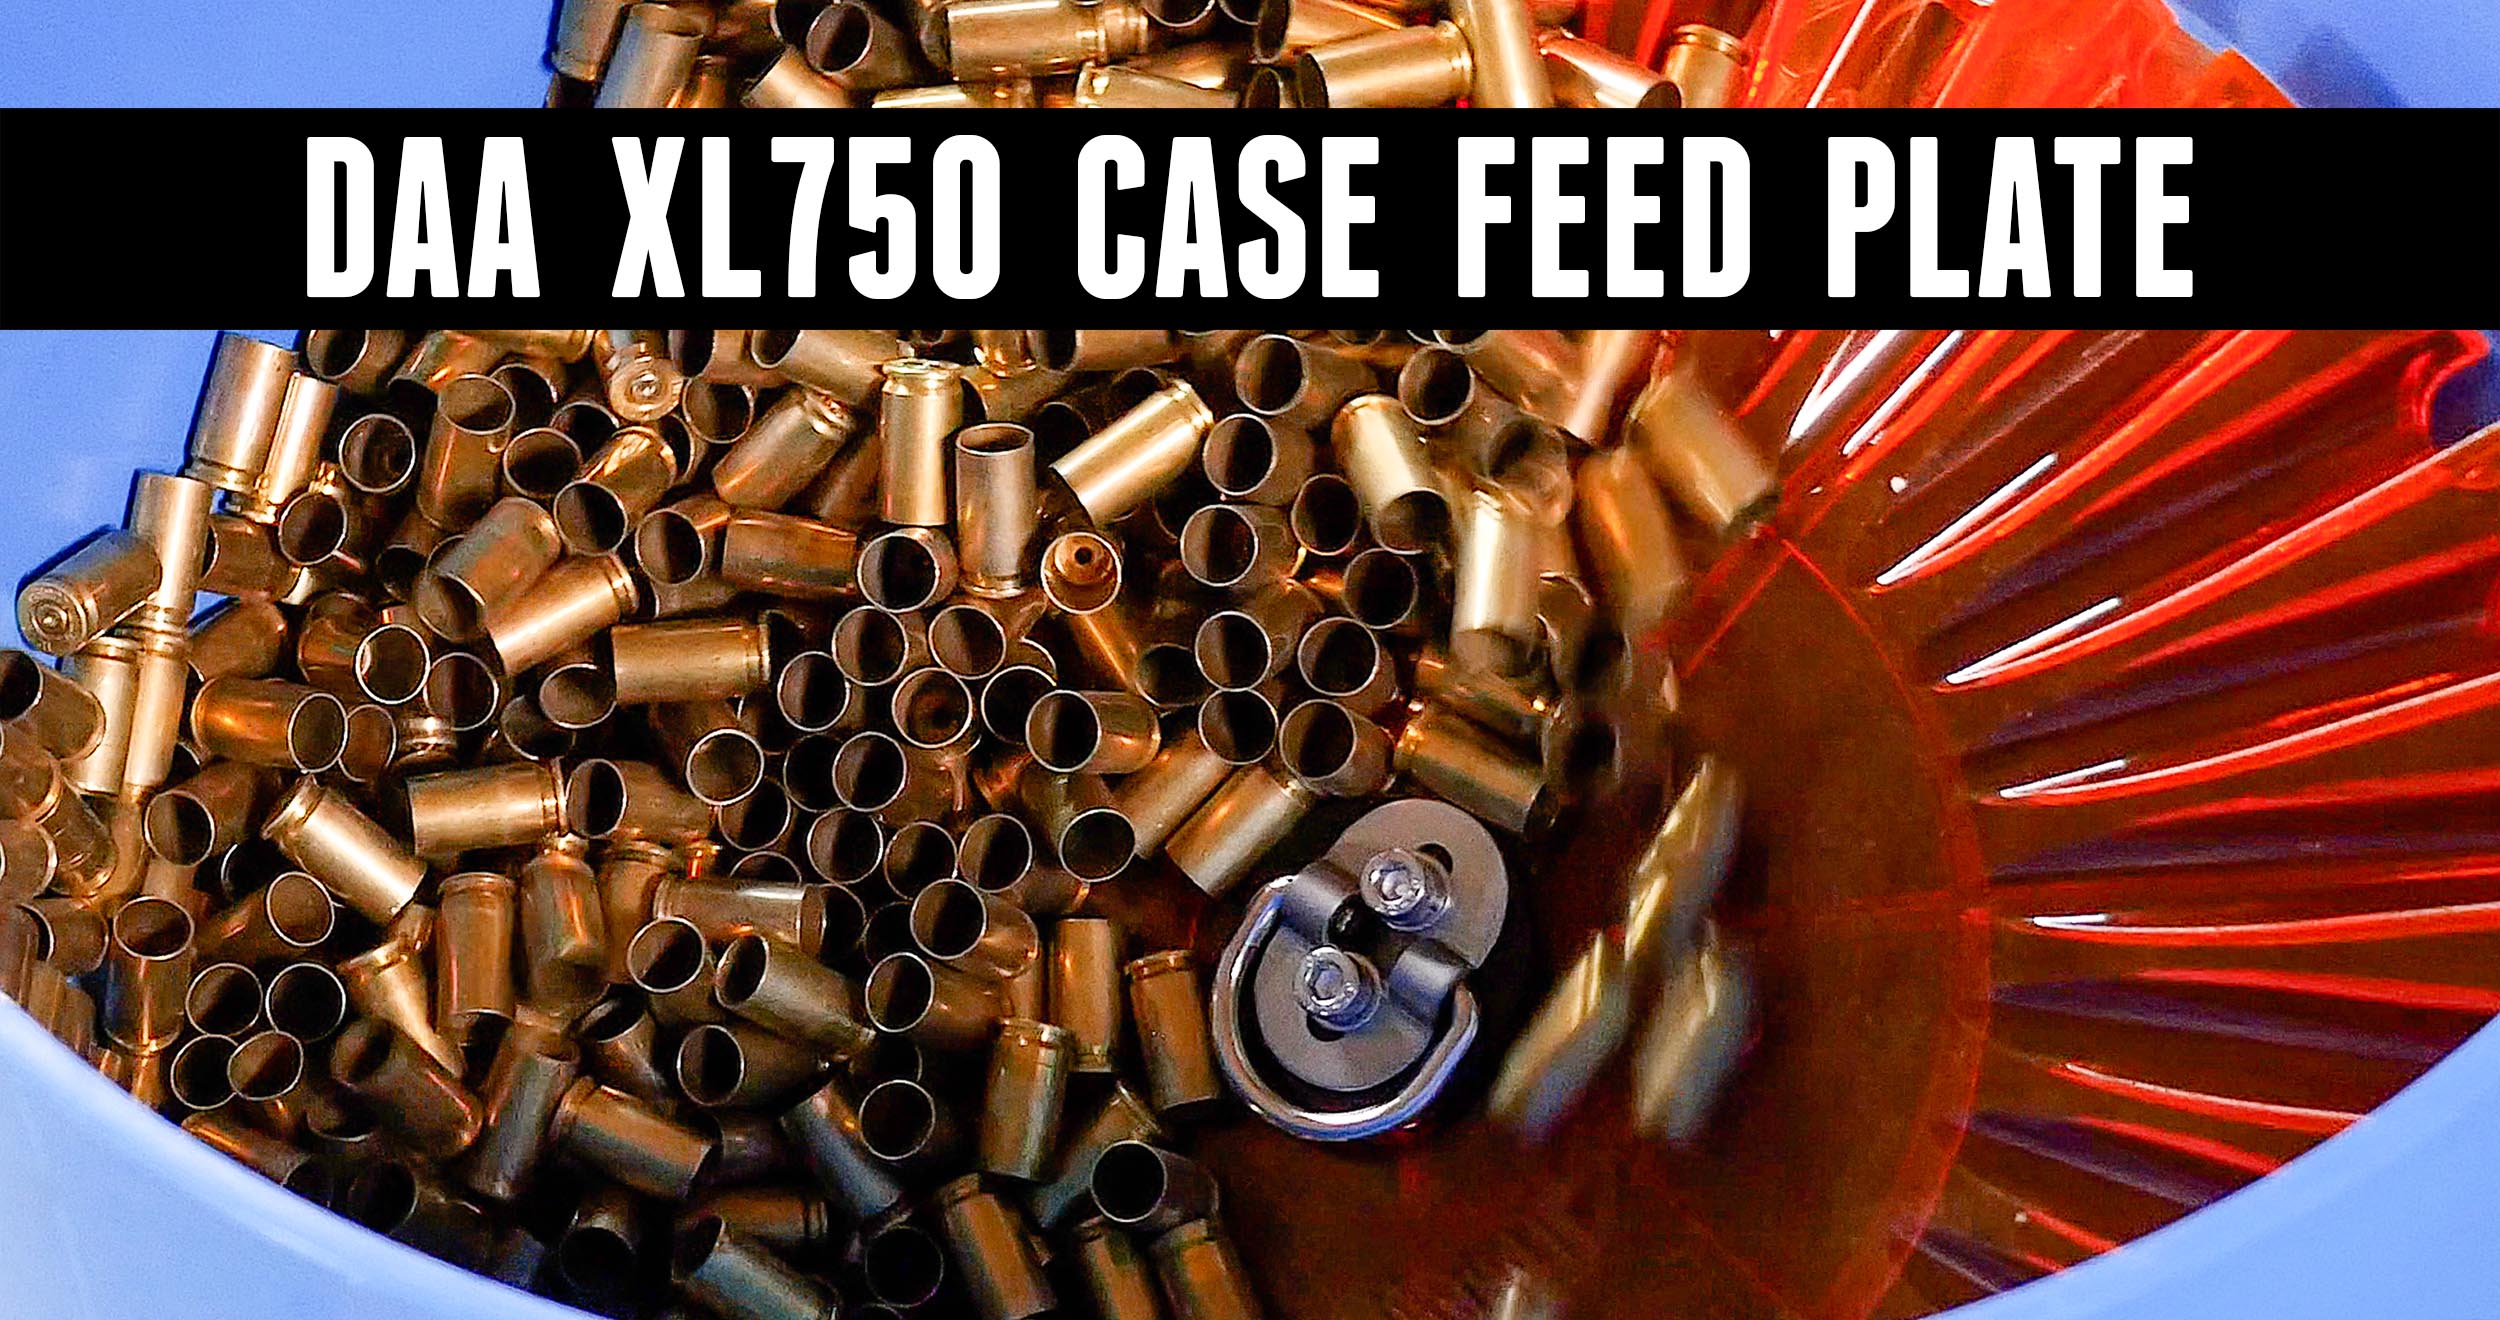
NEW DAA Mini Case Feeder for the Dillon RL550
The Double Alpha Academy just released their new affordable mini case feed system for the Dillon RL550, and in this story I’ll show you how it works! About the DAA RL550 Mini Case Feeder From the Double Alpha Academy product page: The DAA 550 Mini Case Feeder will greatly improve the efficiency of your Dillon 550 […]
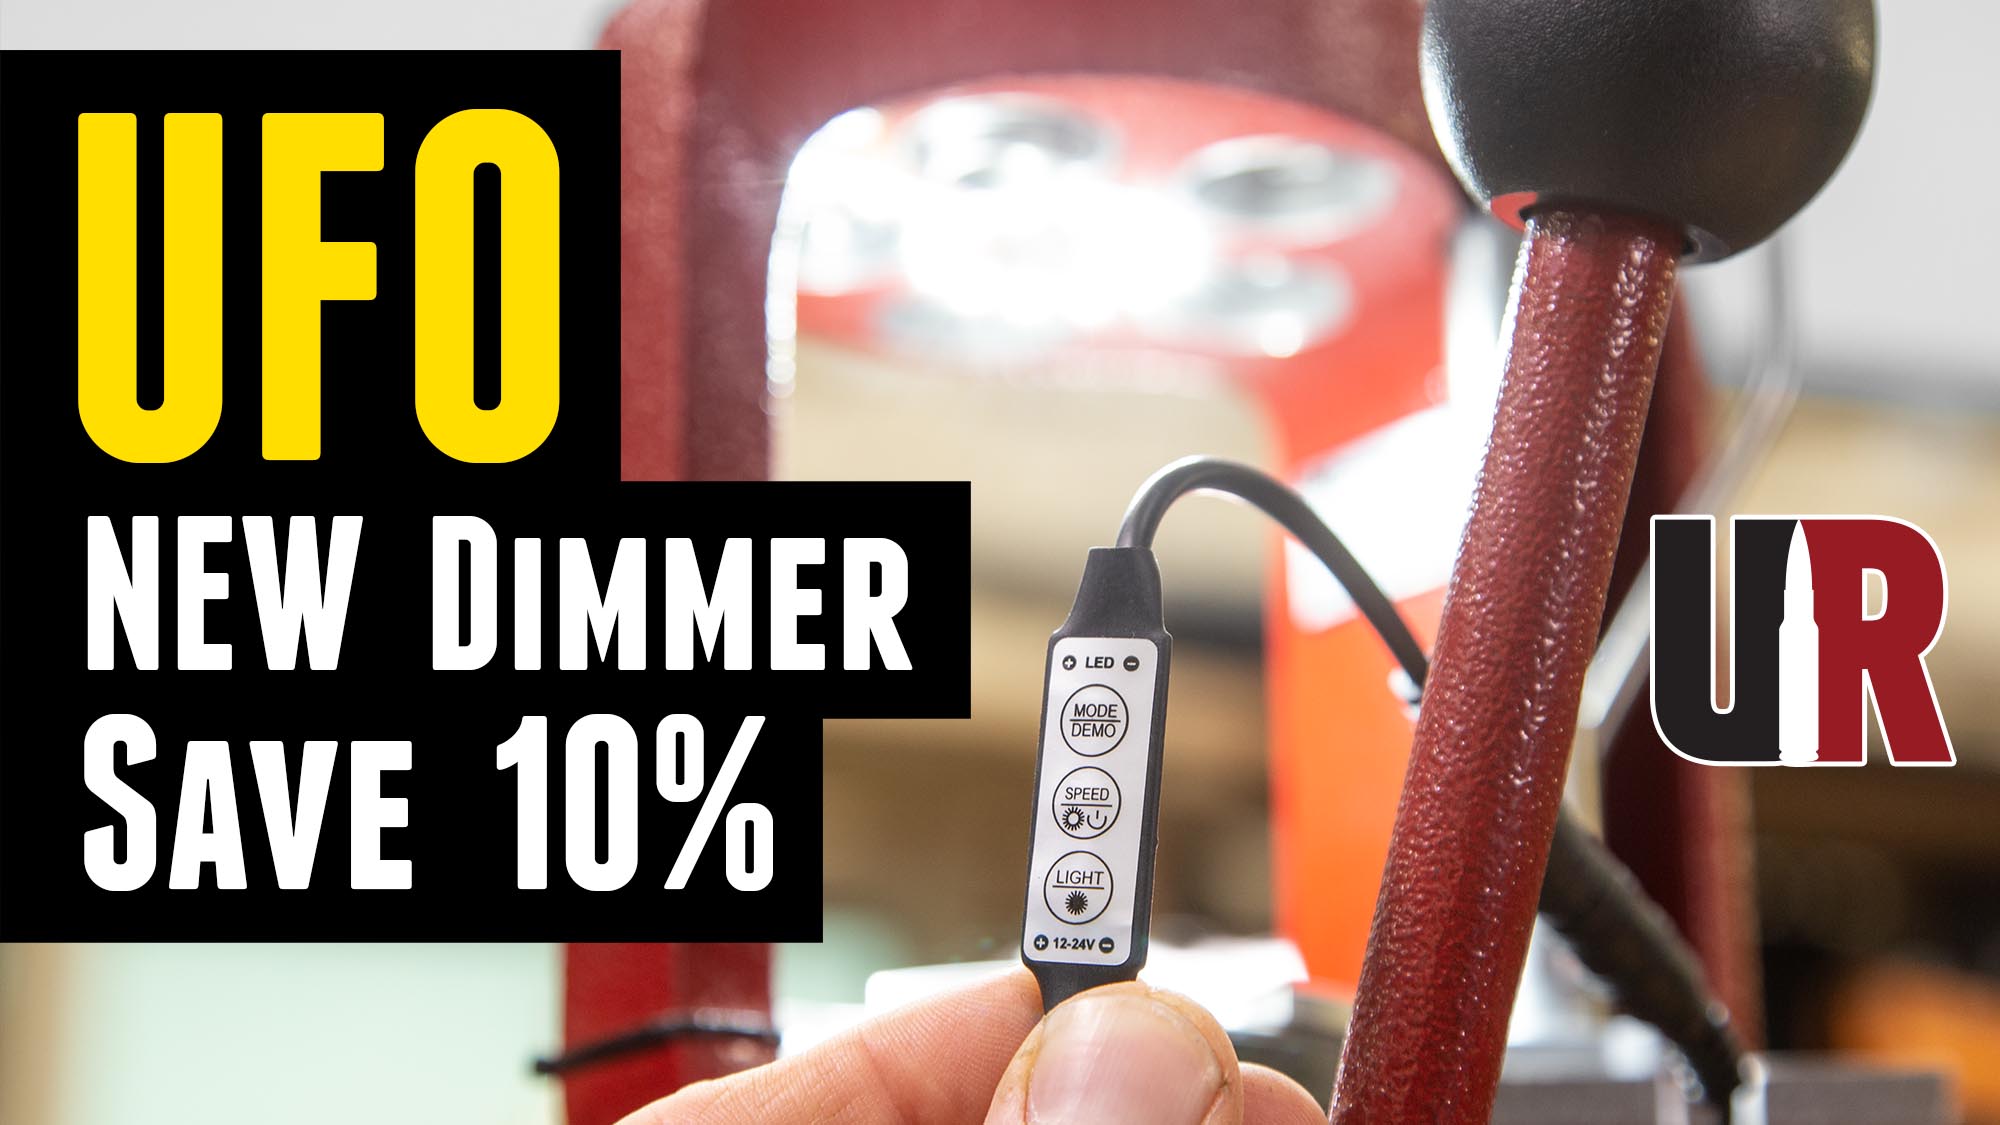
UFO Press Lights: New Dimmer, Updates, Save 10%
If you are looking for a press light, you’ll want to check out these latest updates from KMS Squared, maker of the UFO Press light family of products! NEW Dimmer KMS Squared just released their new dimmer, and what’s great is that it will work with all UFO press lights (even the older models). Improved […]
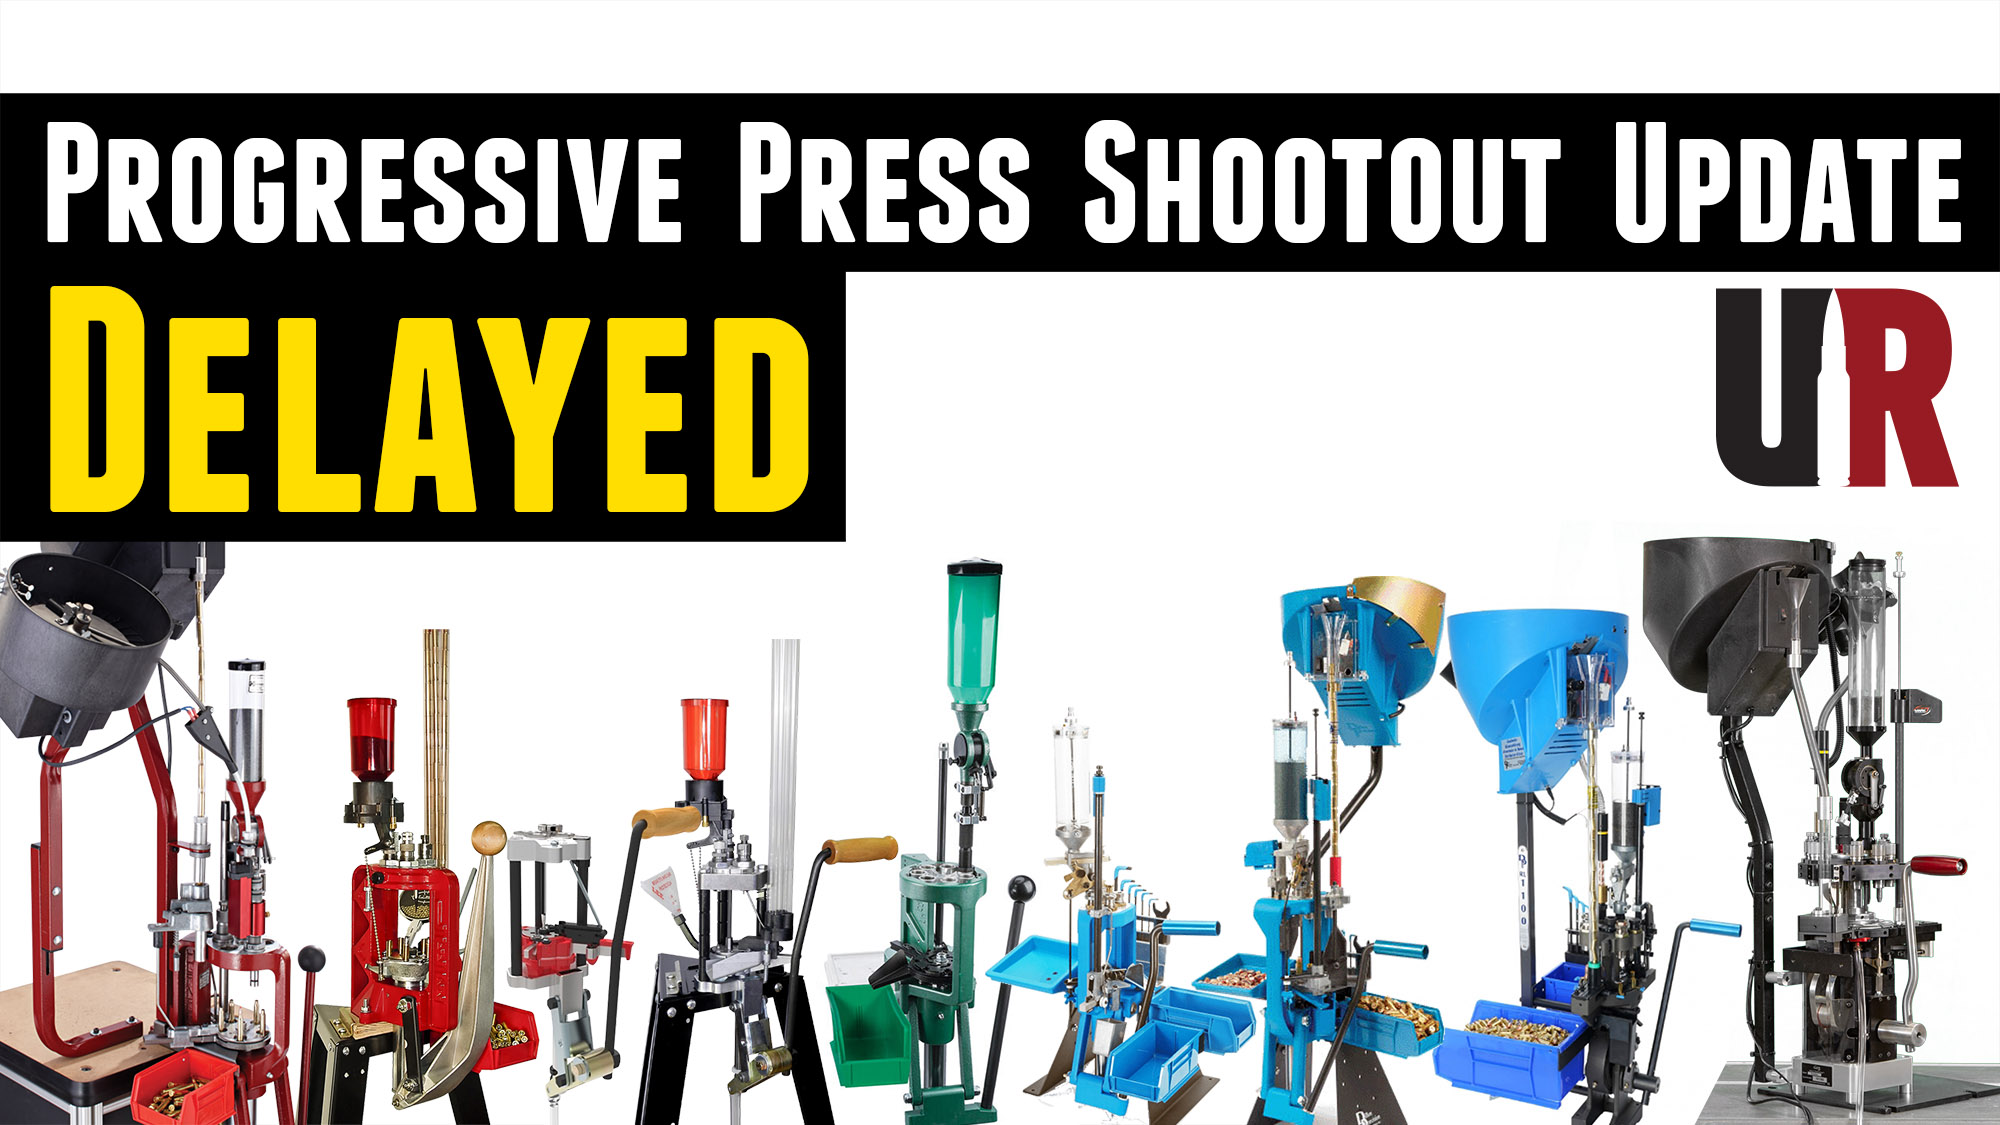
Delayed: Progressive Press Shootout Update and Specifics
Hello everyone! I wanted to provide a quick update as to what I have planned for the “Progressive Press Shootout”, talk about some delays I’ve encountered, and update the estimated date for the publication of this “mega story”. What Happened to Spring/Summer? Originally, I had planned to publish this story in either the late Spring […]
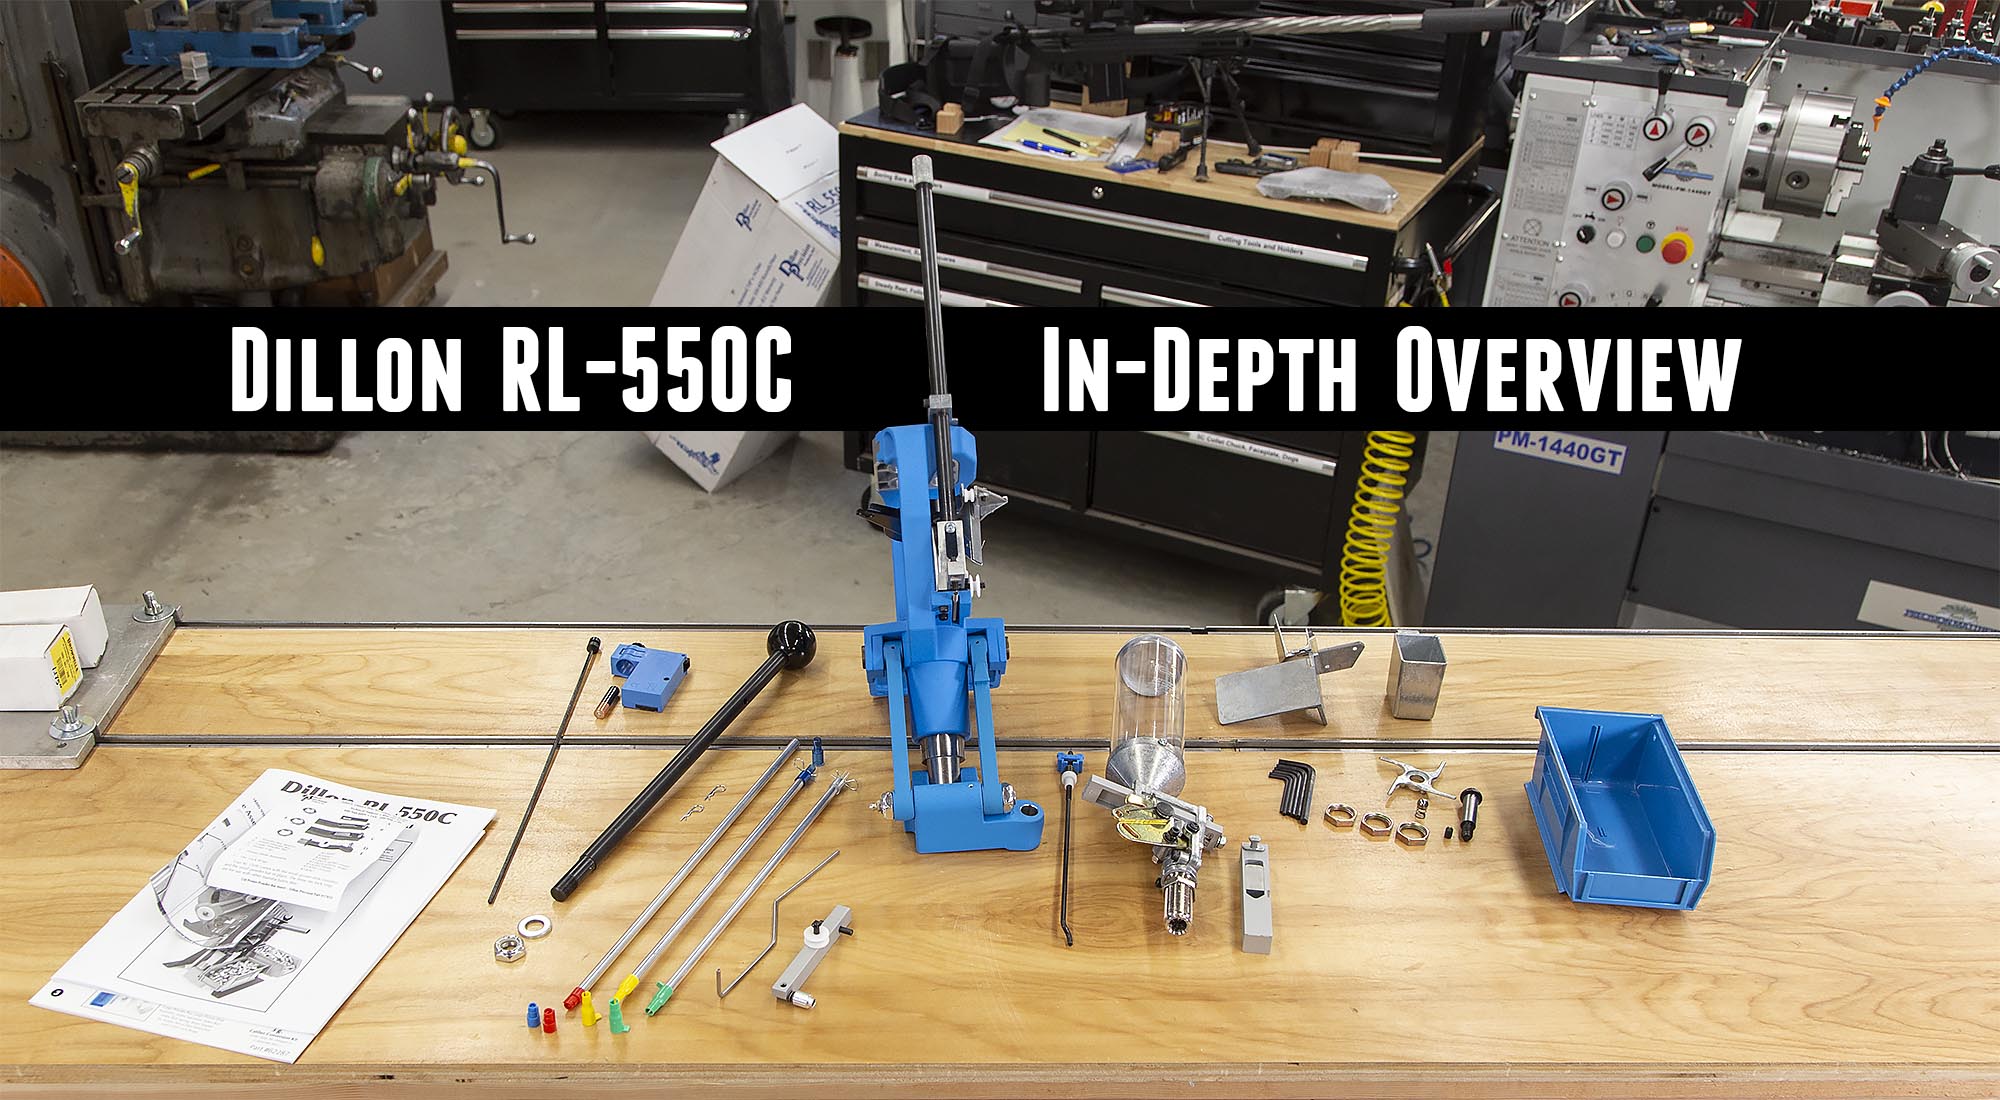
Dillon RL-550C: Unboxing, Overview, Setup, Loading Rifle and Pistol Ammunition
The Dillon RL-550C is arguably the most “tried and true” progressive reloading press on the market today. This press offers a blend of affordability, quality, and precision that’s truly unique. In this article, I’ll cover the RL-550C in-depth, starting with an unboxing, and finishing with loading rifle/pistol plus some insights into issues that you as […]
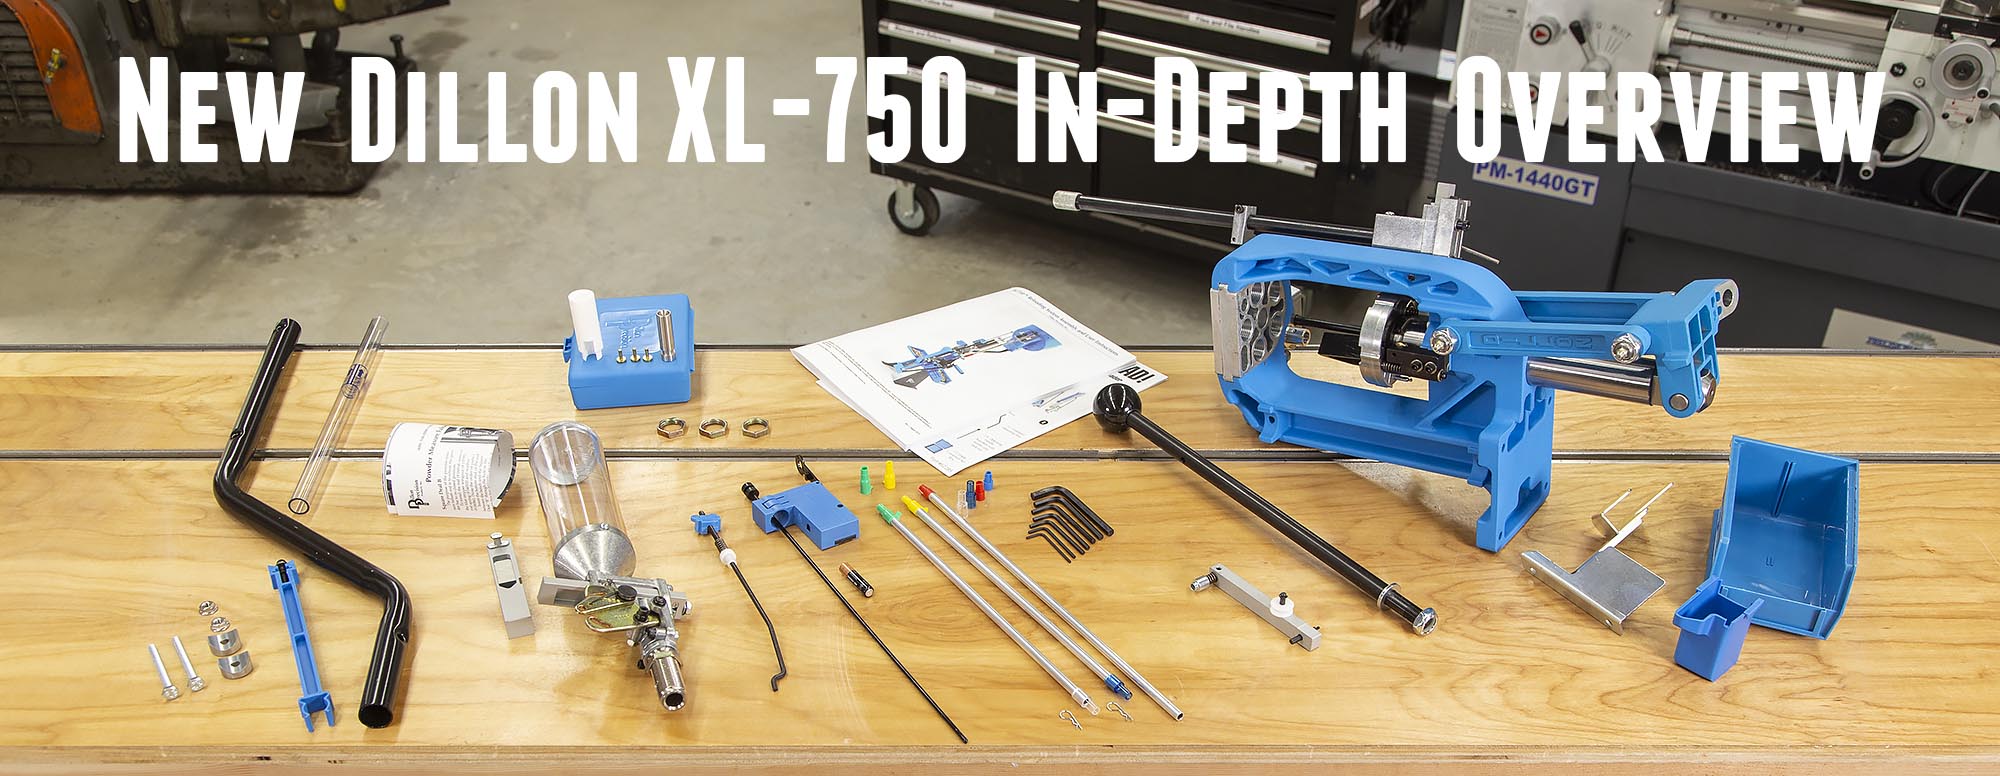
NEW Dillon XL-750: Unboxing, Setup, Loading Pistol and Rifle Ammo
It’s been a long time since Dillon Precision has introduced a new reloading press. Dillon Precision has taken the strategy to introduce products only when there’s really something new to bring to the market. And this is consistent with how I describe Dillon Precision products: “Tried and True”. So when I heard that Dillon had […]
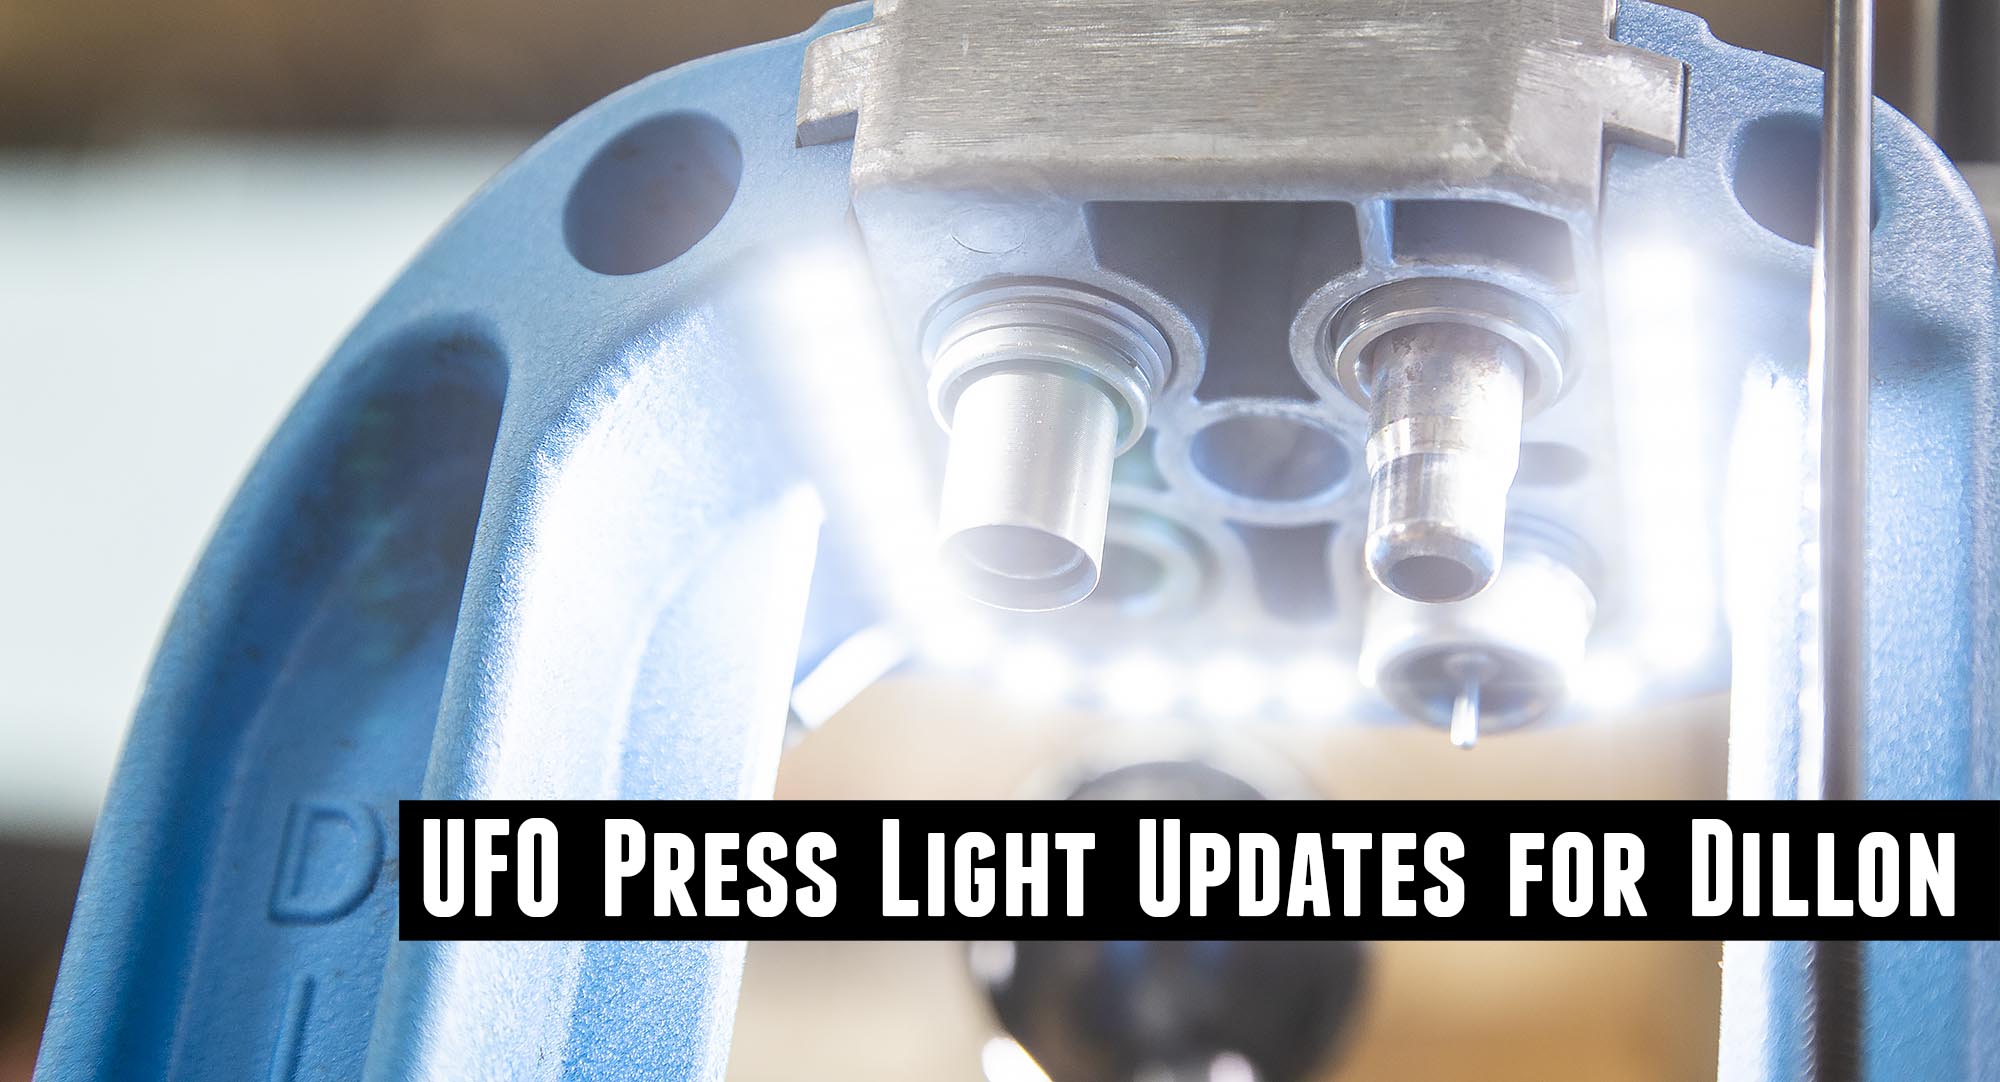
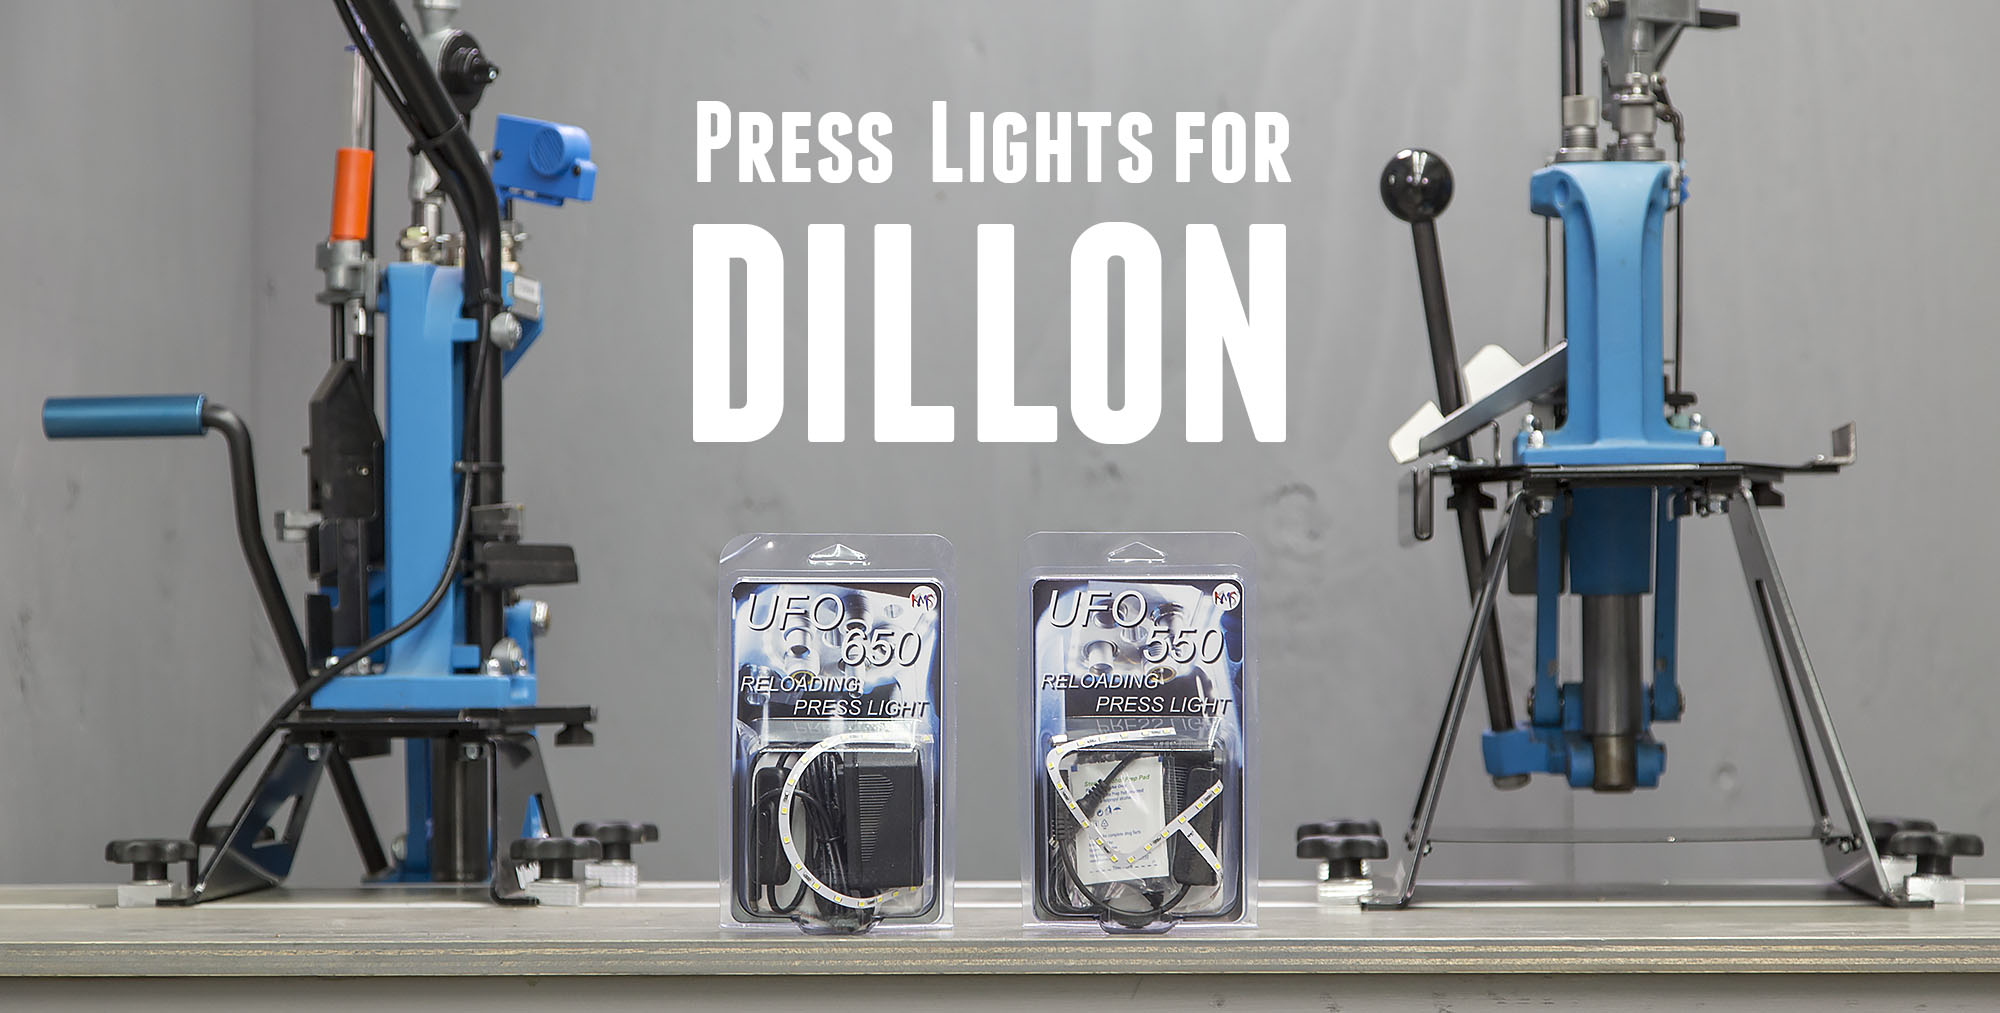
UFO LED Press Light Updates for Dillon
I’ve been using UFO press lights from KMS Squared for years now, and they just keep getting better! In fact, KMS just released updated versions of their lights for the Dillon RL-550 series and XL-650/XL-750 presses with some great improvements. And that’s what I’ll go over in this article! Improved Cord Routing It’s not super-easy […]
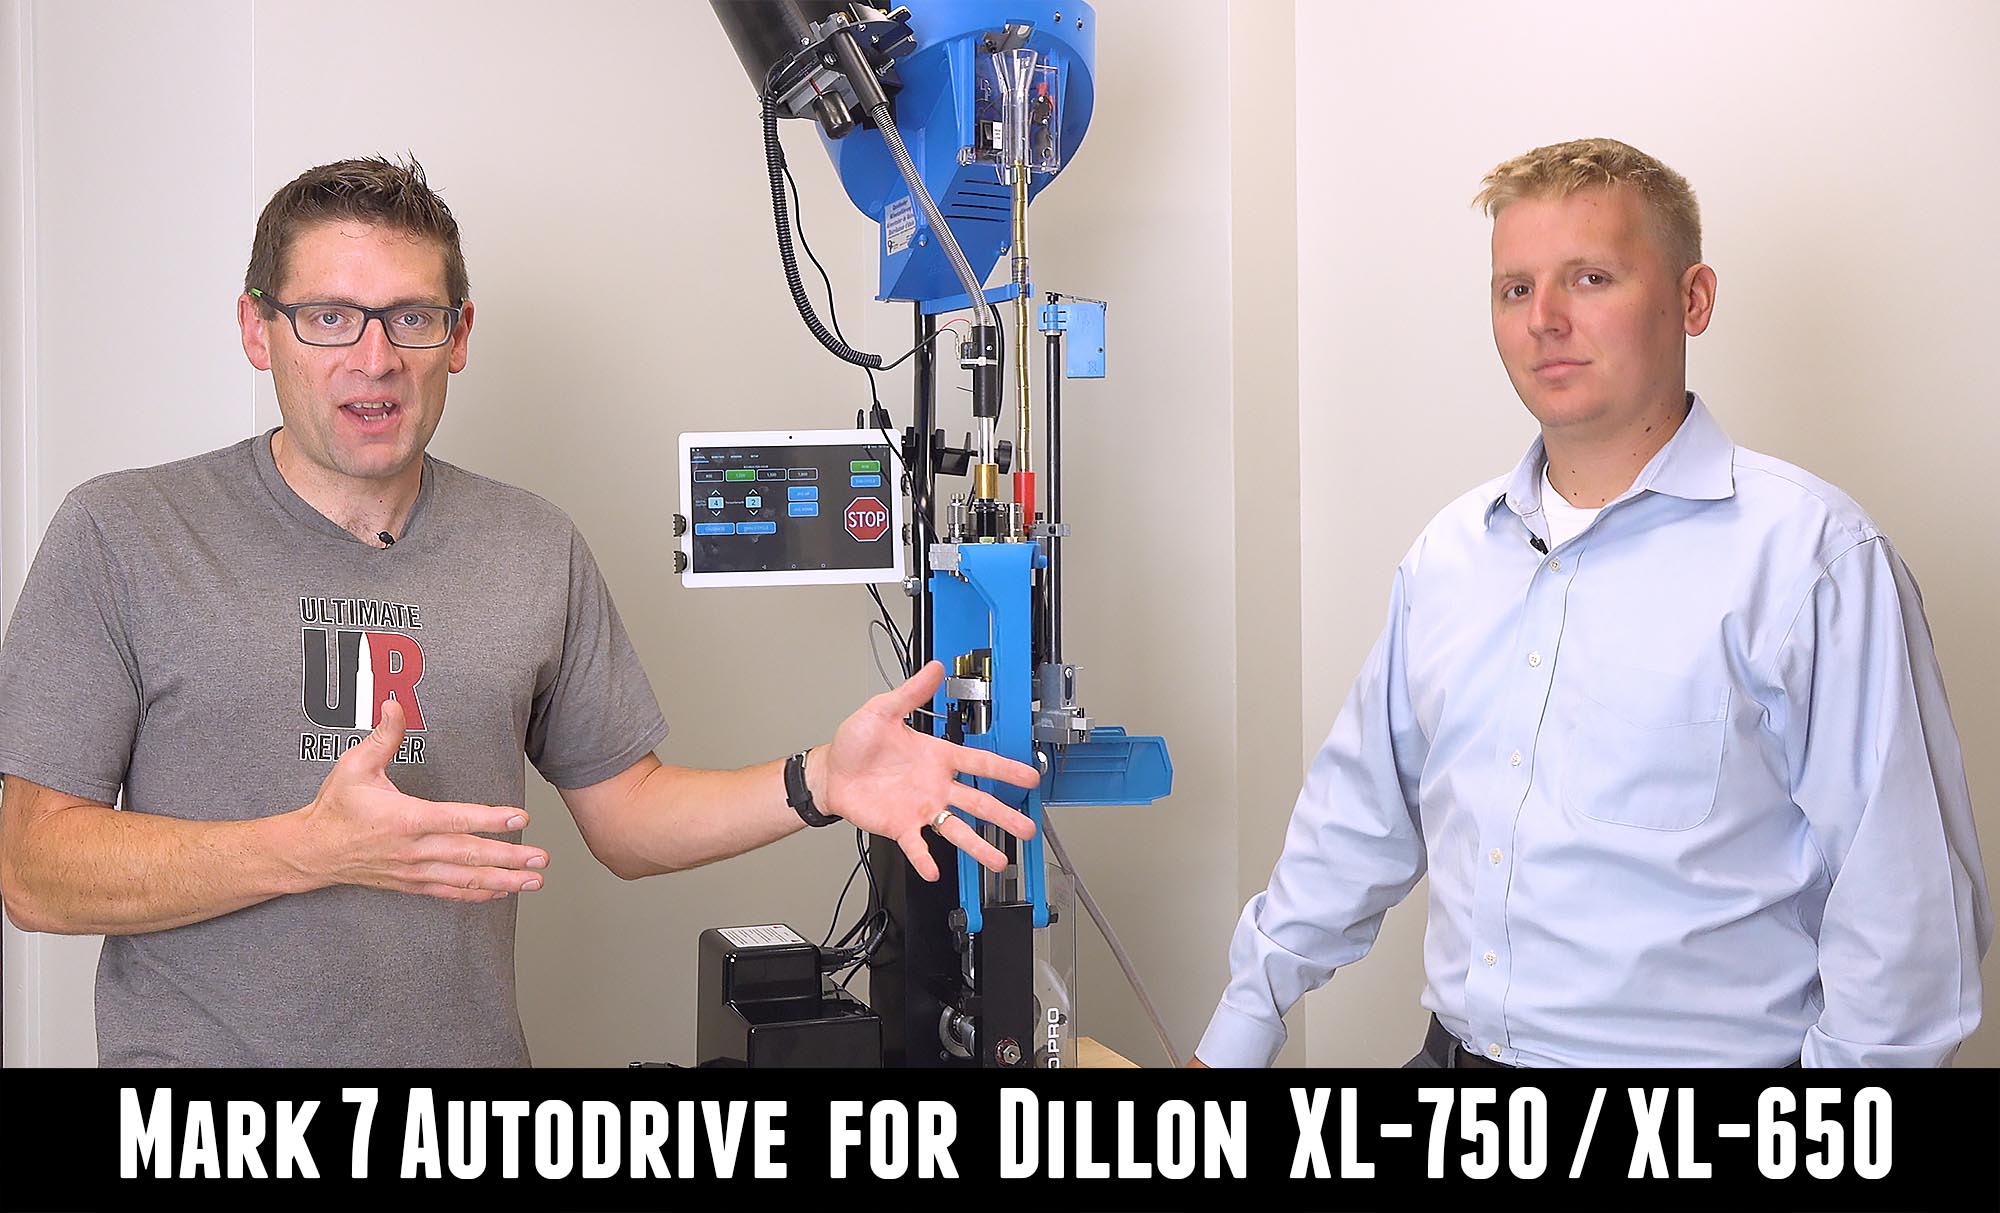
Overview: Mark 7 Autodrive for Dillon XL-750 and XL-650 Reloading Presses
Dillon is known for equipment that’s well suited for high-volume reloading. That’s why a lot of pistol competitors use Dillon equipment to load match ammo. Sometimes these competitors load literally thousands of rounds per month. And that that rate, you start to look for ways to increase speed and efficiency. One of the ways to […]
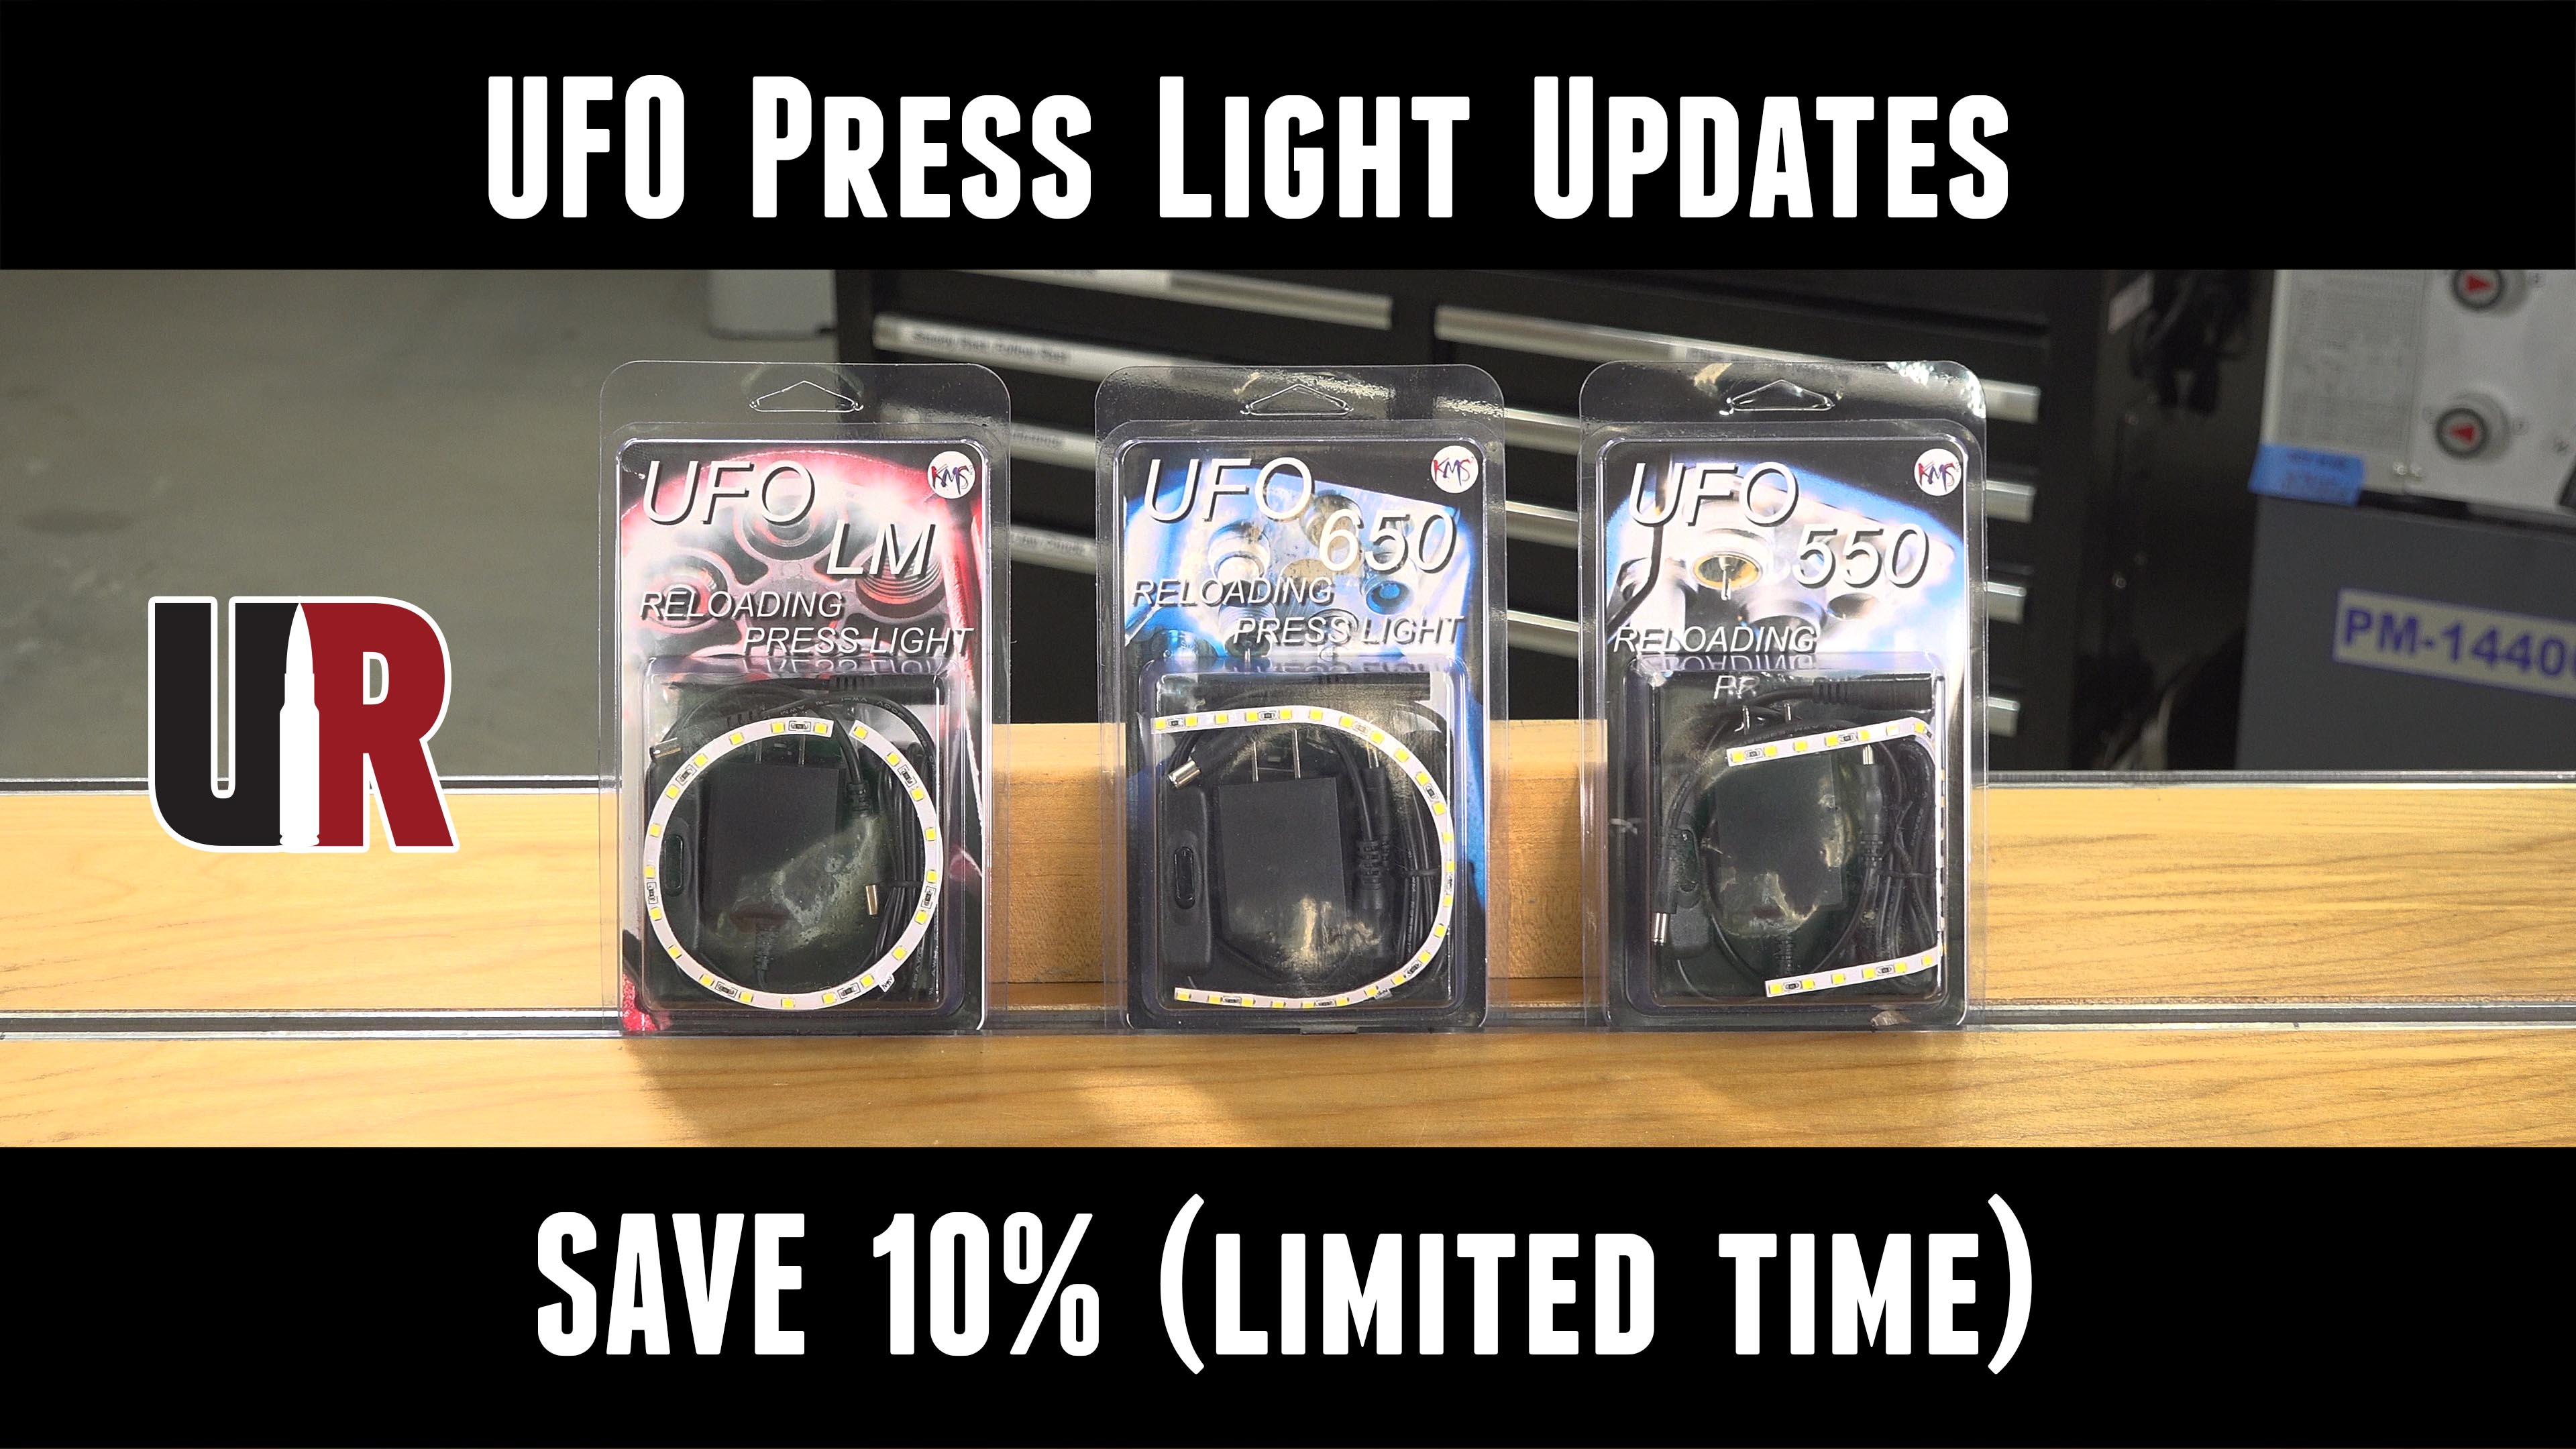
UFO Press Light Updtes from KMS Squared, Save 10% For a Limited Time
KMS Squared has just updated some of their most popular lights! I wanted to tell you all about it, and give you a chance to save 10% on all KMS Squared lights for a limited time. What’s NEW KMS Squared has made quite a few subtle changes to make their lights “that much better”. Here […]
Hands-On: KMS Squared UFO Press Light Kits for Dillon Presses
Winter is approaching, and for me that means it’s time to focus on indoor projects, namely reloading ammunition! Before this Winter season, I’m taking a look at all of my gear and “systems” and making improvements where possible. One such project is strategic lighting improvements. Enter the KMS Squared UFO lighting system! A while back […]

Ultimate Reloader Deal: 10% off Press Lights at KMS Squared
If you’ve been waiting to add a light kit to your press, now is the time! For the entire month of September 2017, you can save 10% off press lighting kits from KMS Squared! These kits install in minutes, and you’ll likely say “how did I reload in the dark for so long” after you […]
Resources: Fundamentals for Super-Accurate Rifle Reloads
Recently I blogged about reloading accurate rifle ammunition: 5 Tips for Reloading Accurate Rifle Ammunition In this blog post I outlined some primary considerations and processes: Start with proven loads and load data Fire form your brass Optimize bullet seating depth Optimize bullet concentricity Experiment I wanted to expand on some of these points by […]
Frankenlöder – 9mm with Hornady-RCBS Bullet Feeder Setup on Dillon XL-650 – Part III
In this third installment of the Frankenlöder 9mm Dillon+Hornady+RCBS series, we’ll build on what we talked about in the first post and second post. We’ve seen what it takes to setup the Dillon XL-650 with Hornady 9mm dies, and also modified the drop tube from the RCBS Pistol Bullet Feed kit in order to get […]
45 ACP Progressive Reloader Roundup
Hello all- In honor of the 100th anniversary of the Colt 1911 pistol, I thought I would put together a post that showcases various progressive reloading presses cranking out 45 ACP ammo! This caliber is very versatile, and continues to be a favorite for both target shooters, law enforcement, and self defense. There are plenty […]
RCBS Powder Checker Die
There’s one more powder check system that we’re going to look at on our reloading safety series- the “RCBS Powder Checker Die”. This unit is very simple, easy to setup, and works well. It’s comparable to the “Hornady Powder Cop Die”. This system is quite versatile, and intuitive to setup and use. Let’s take a […]
Reloading Safety: Powder Check Systems Overview
In my last post, I outlined some basic principles for reloading safety. One of the basic ways that you can ensure your safety while reloading is by using a quality powder check system- especially when loading with a progressive reloading press. So next, I thought it would be a good idea to look at some […]