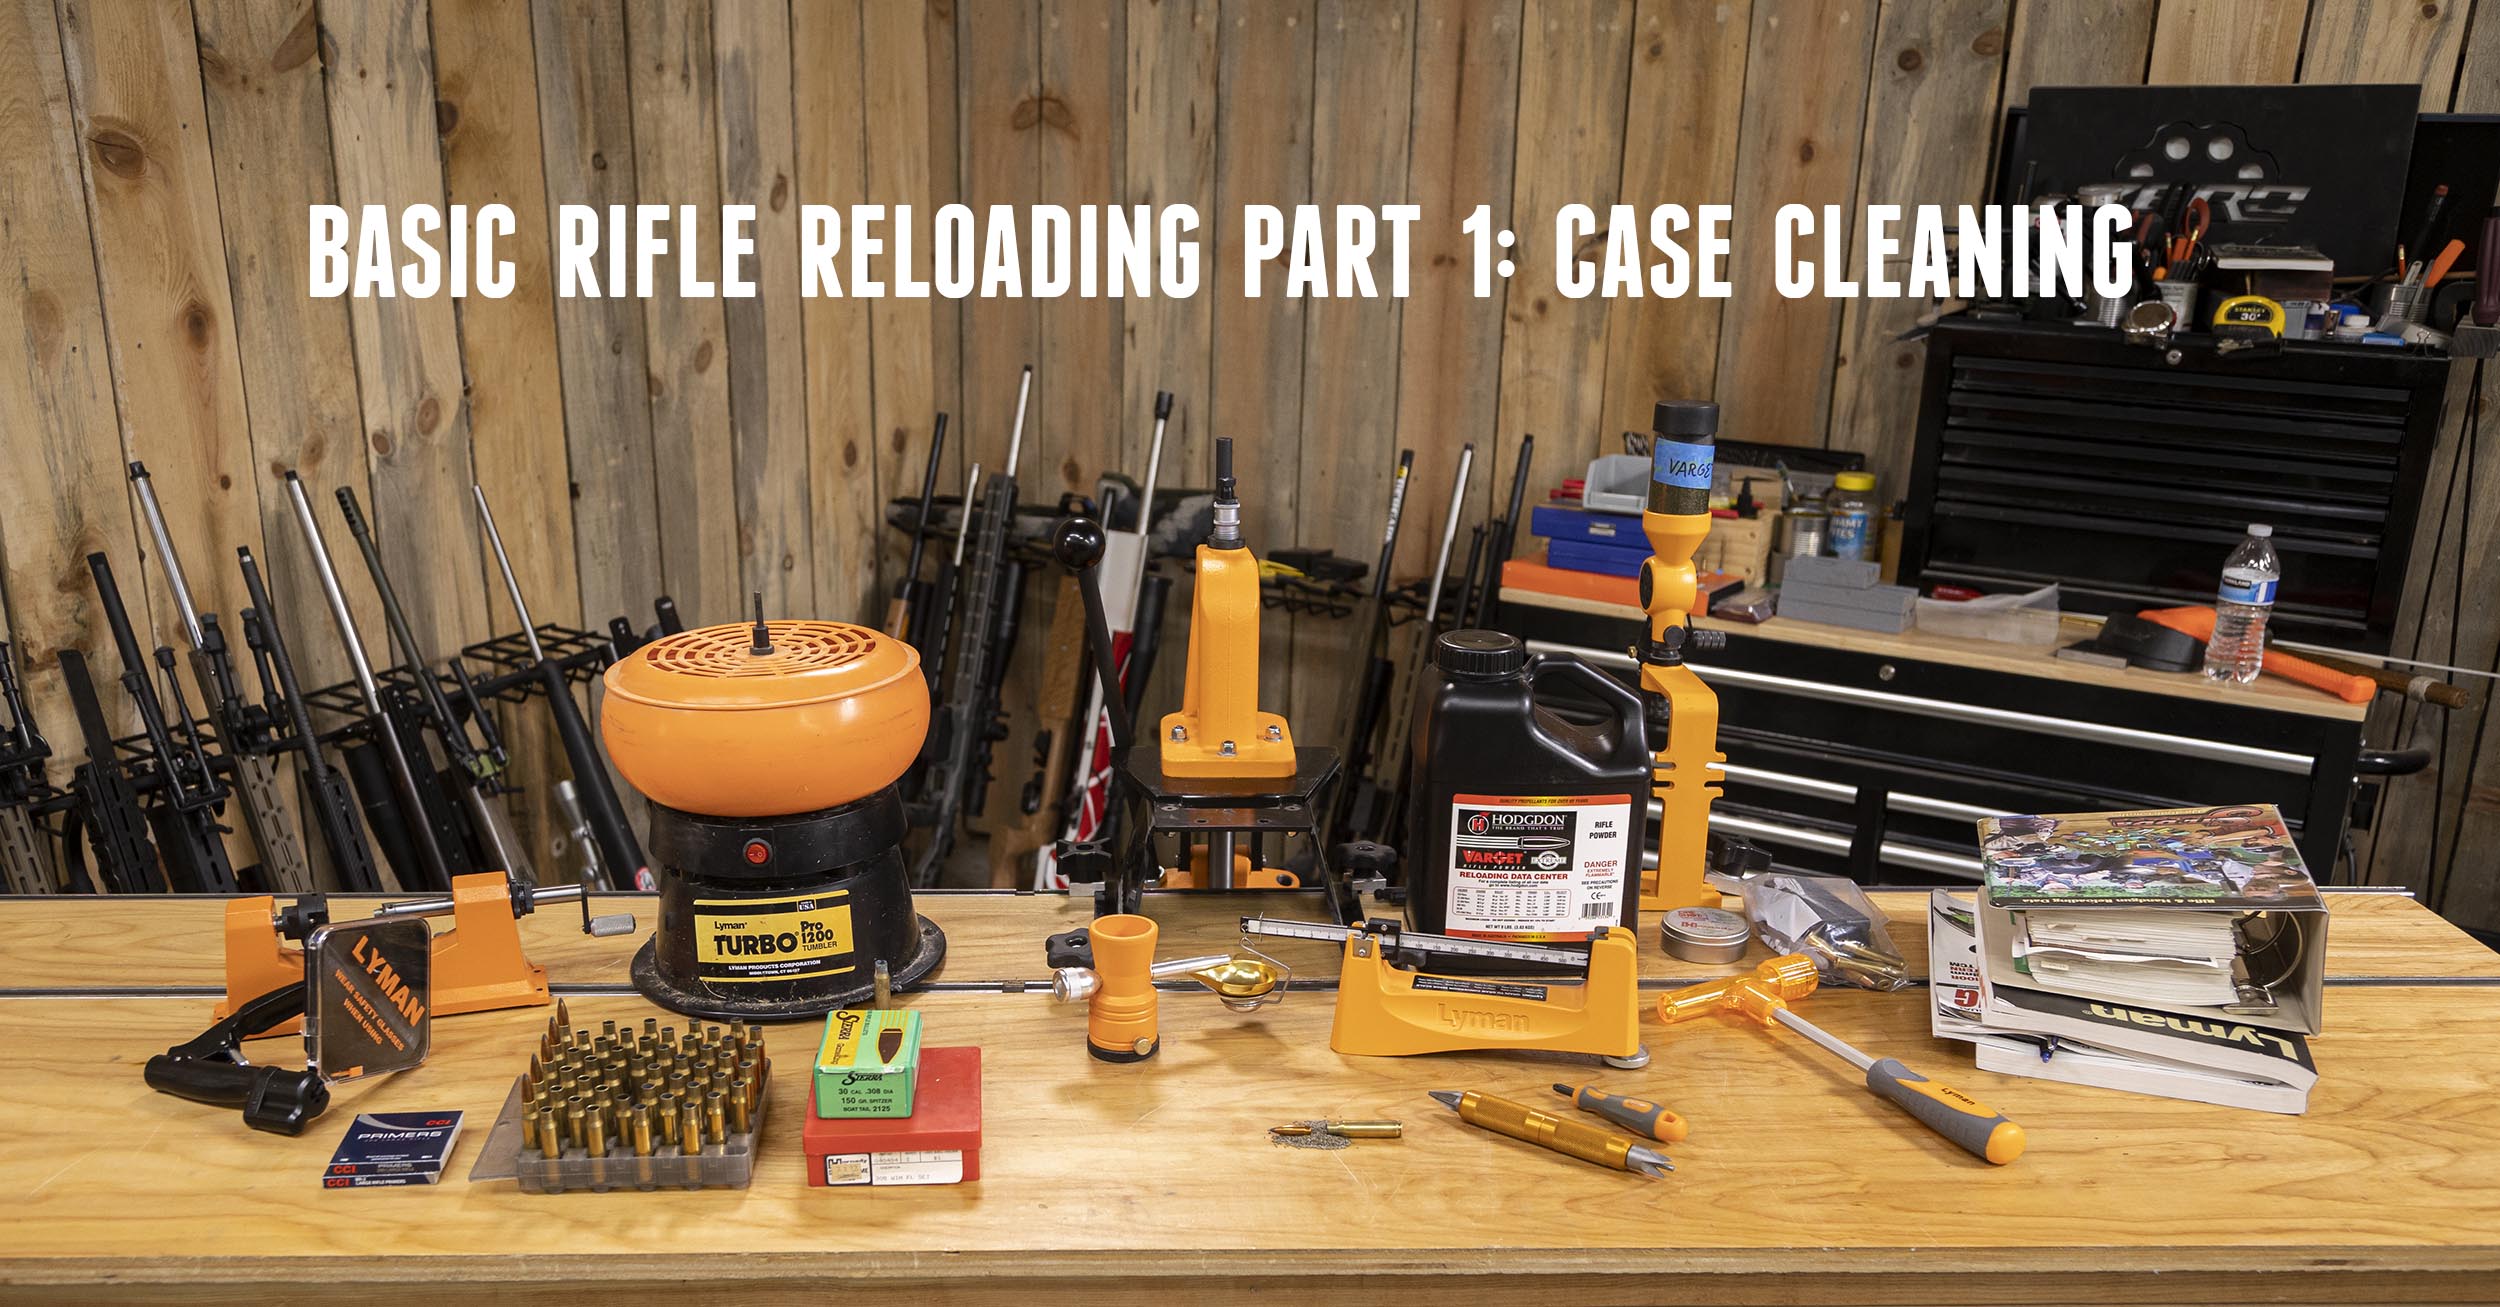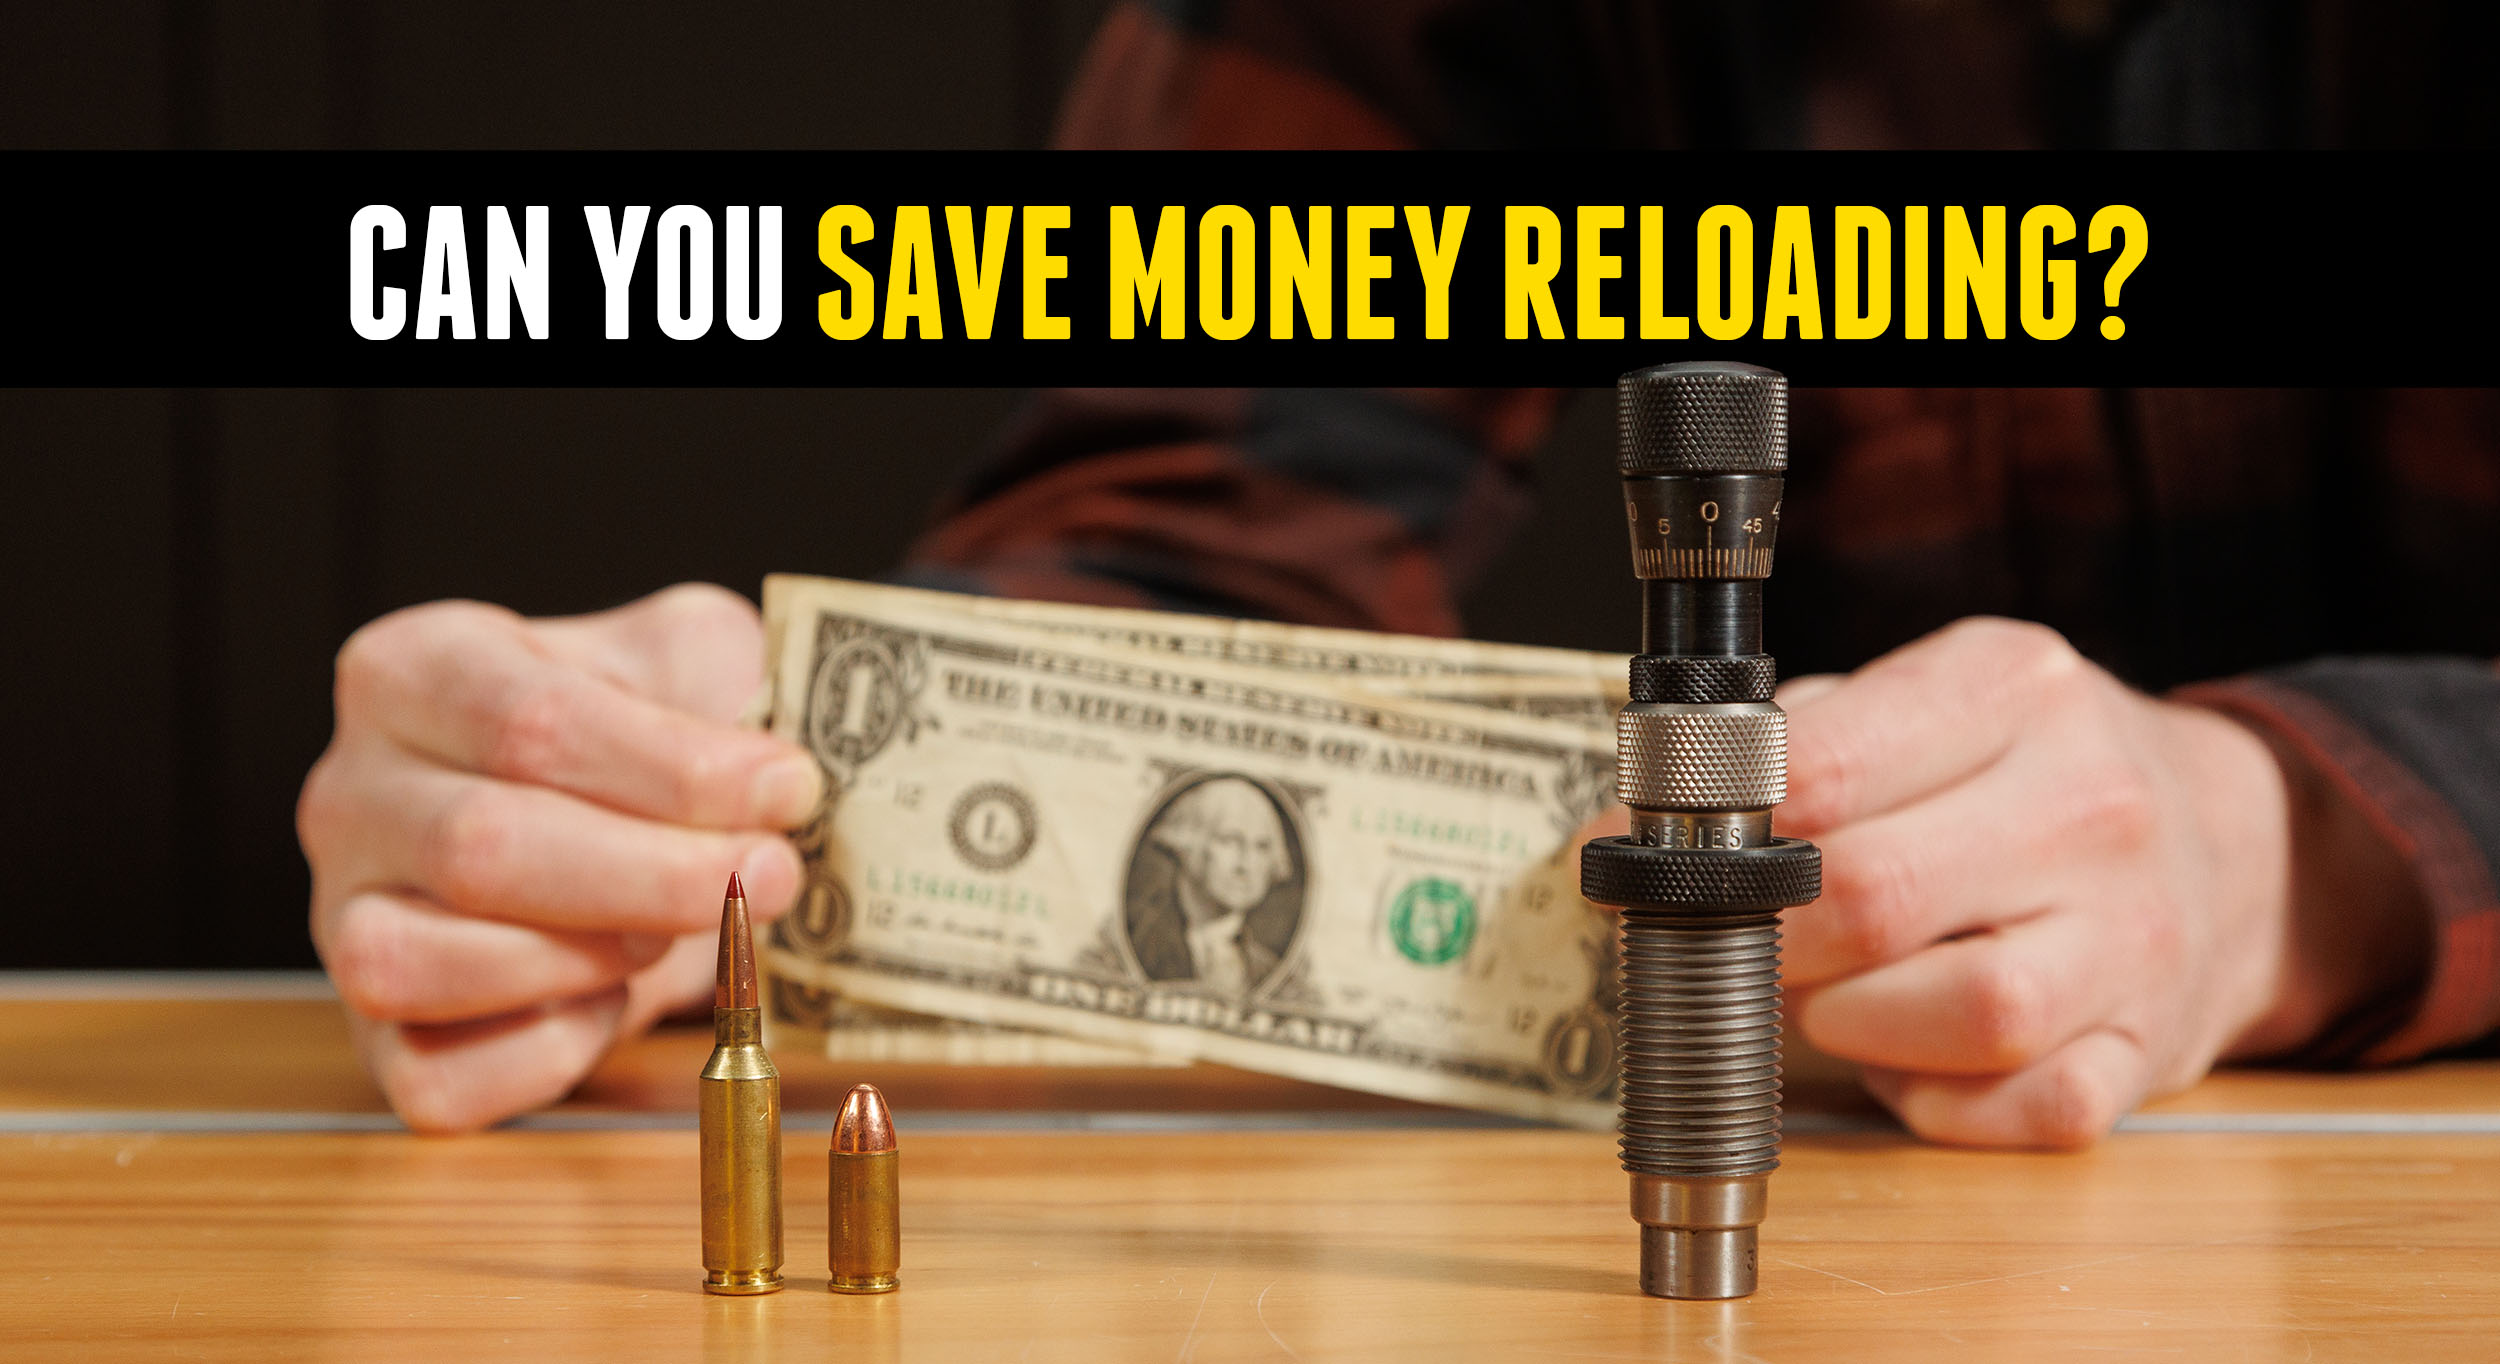
Can you really save money reloading? In this video we calculate how much it costs to load popular calibers and how much you need to load for the most savings. Disclaimer Ultimate Reloader LLC / Making with Metal Disclaimer: (by reading this article and/or watching video content you accept these terms). The content on this […]
Category: Hornady Lock-N-Load AP Videos
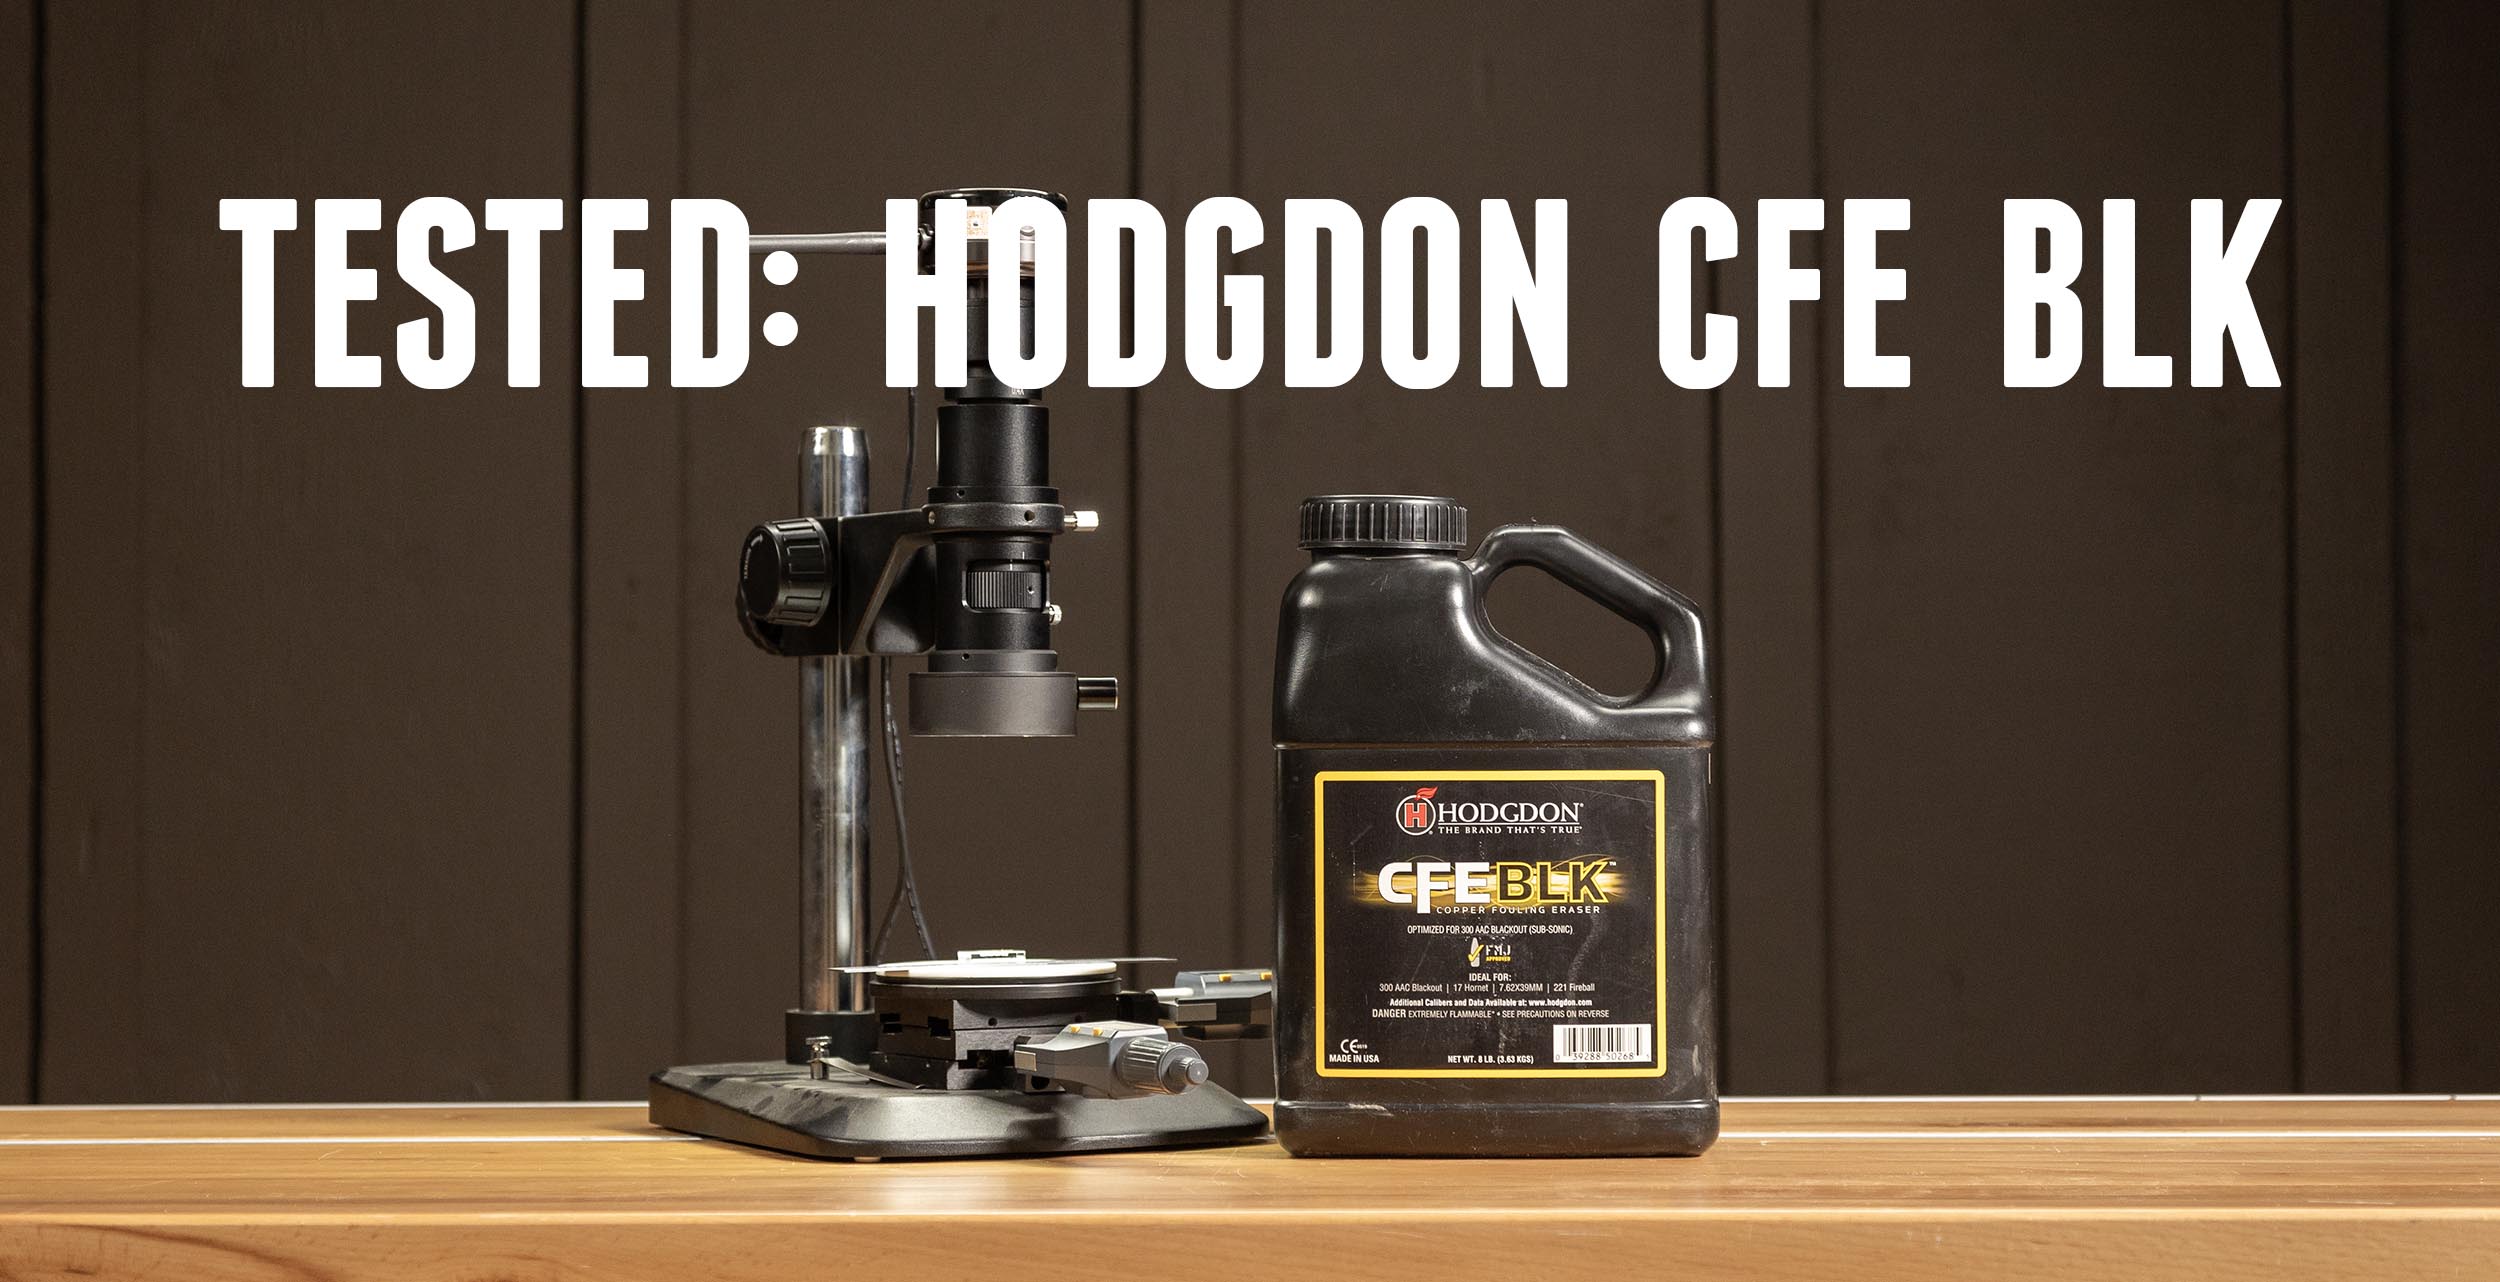
TESTED: Hodgdon CFE BLK
You see the powder on the shelf or in the book, but what exactly is it best for? This time I’m taking a closer look at Hodgdon’s CFE BLK, a powder I’ve used in both rifles and handguns. Disclaimer Ultimate Reloader LLC / Making with Metal Disclaimer: (by reading this article and/or watching video content […]
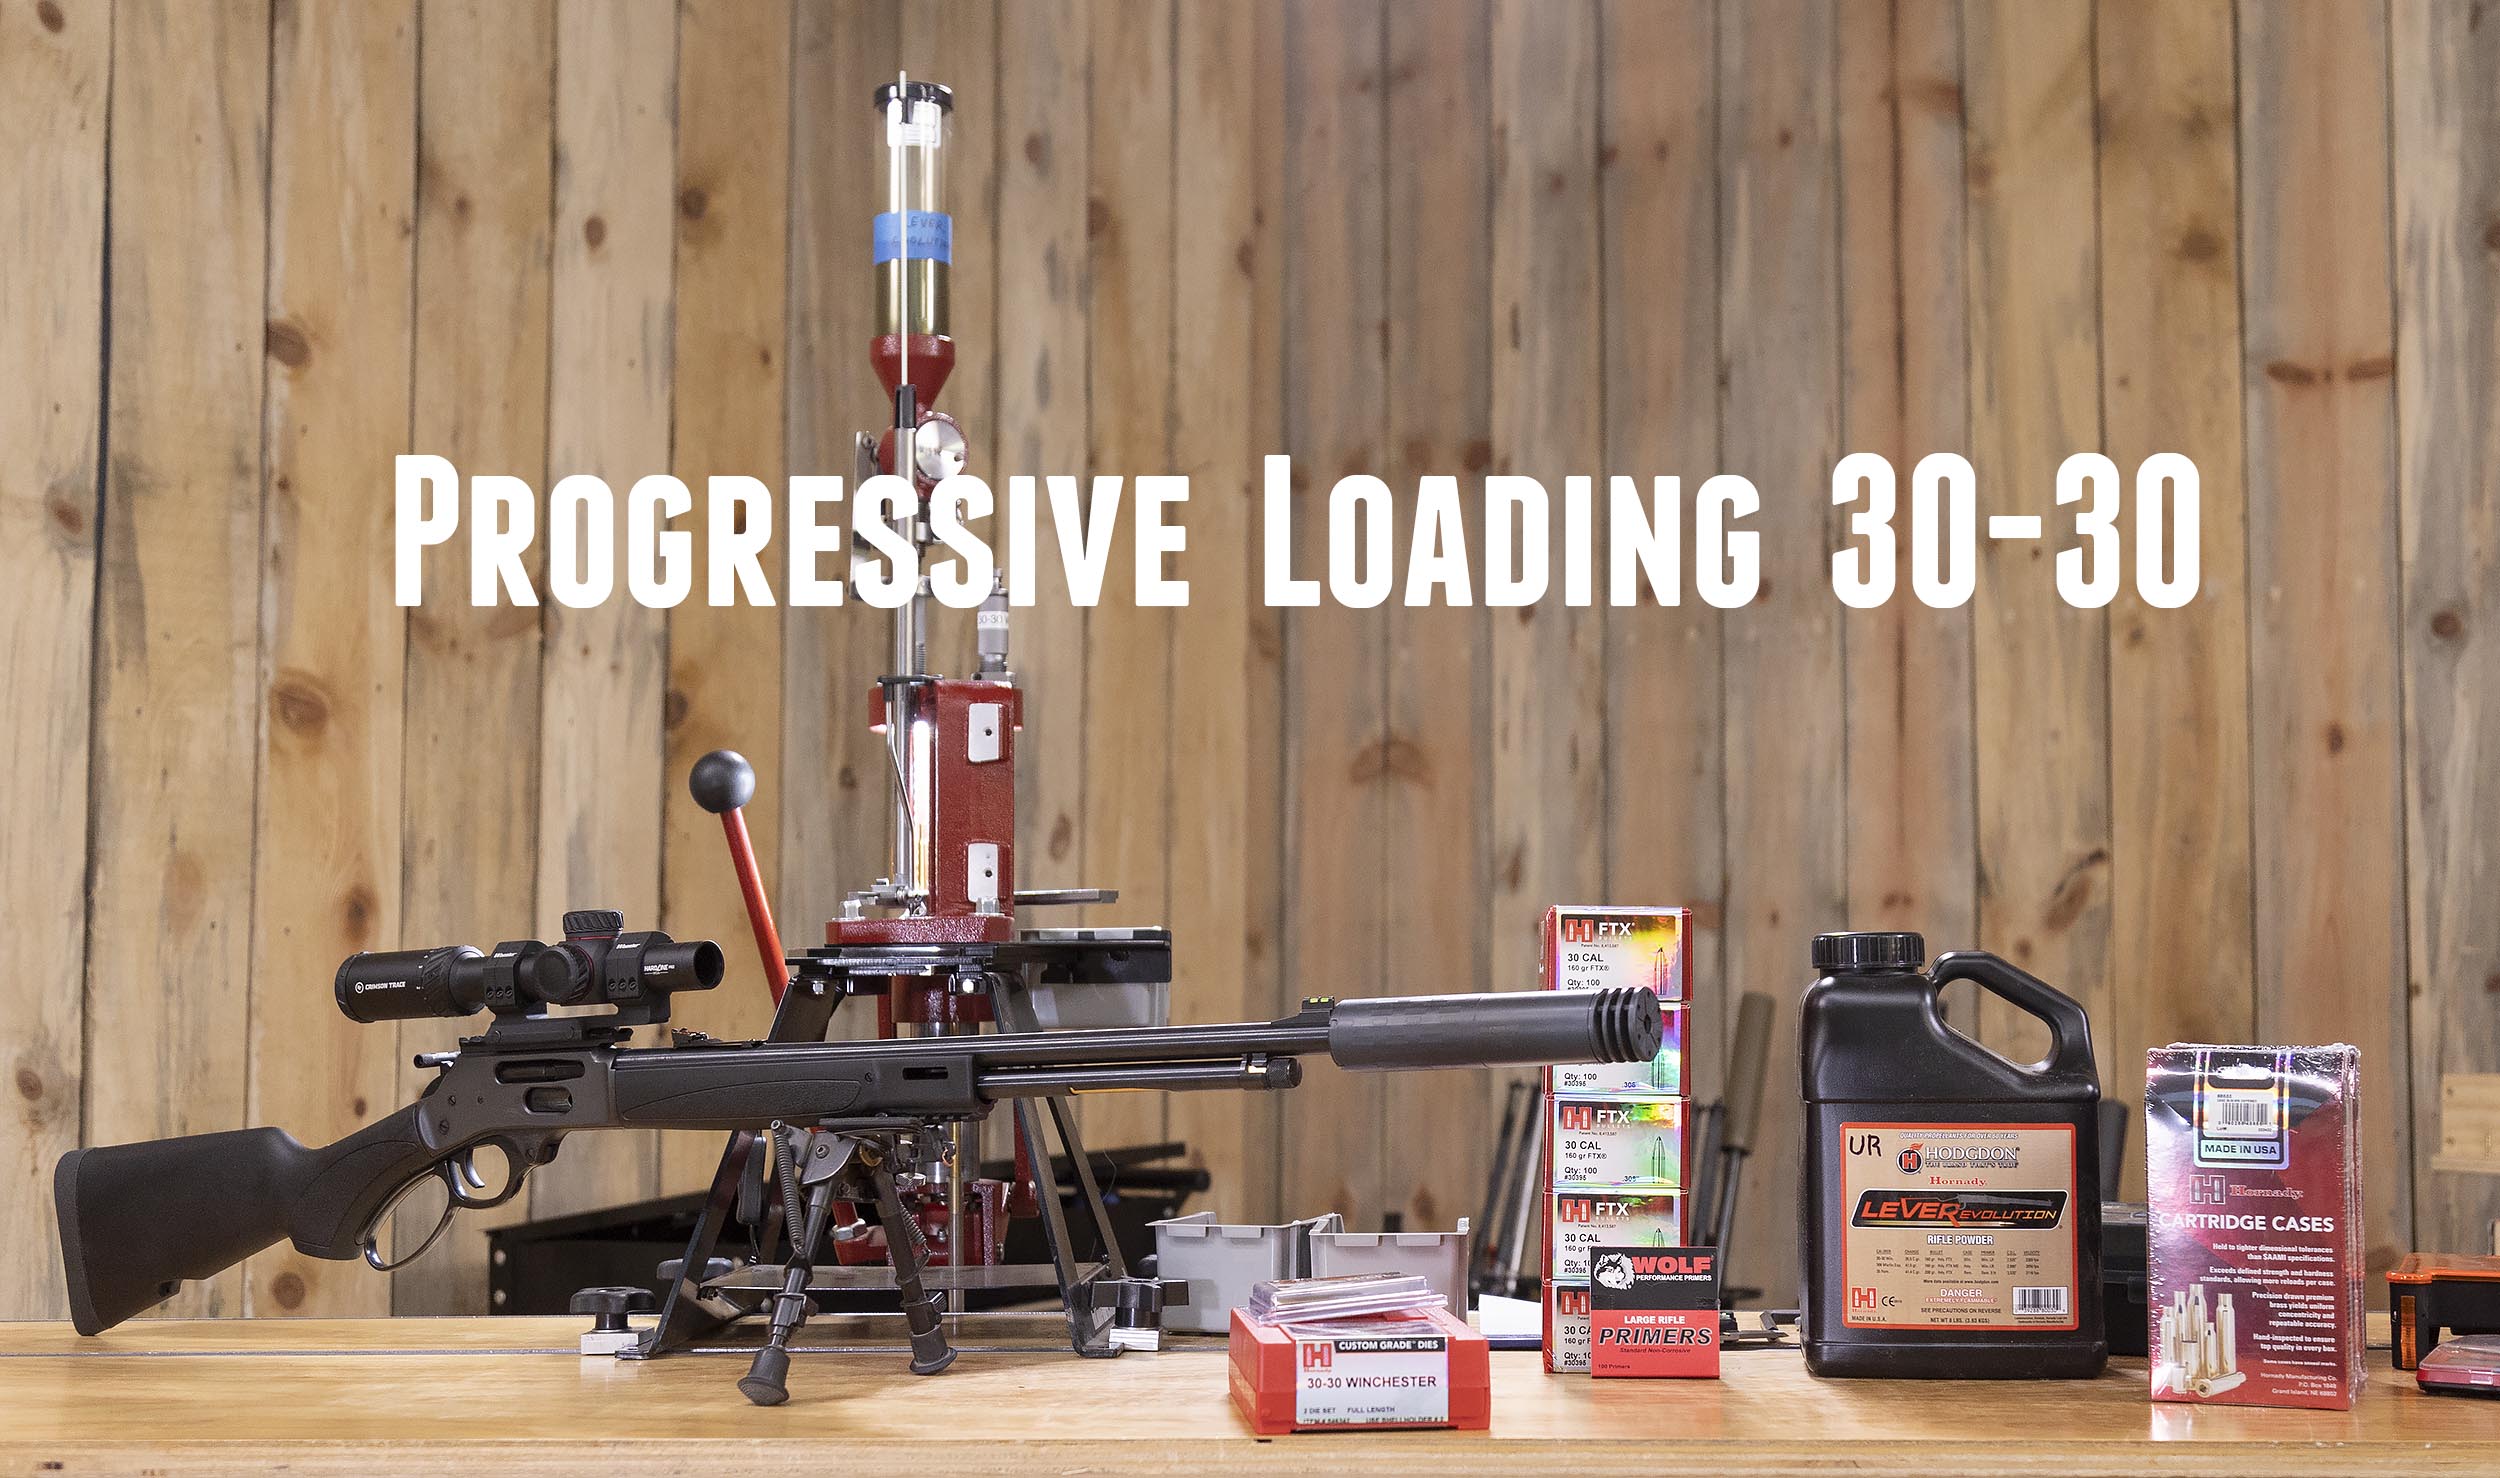
Progressive Loading 30-30 with Hornady FTX Bullets
When I got my 30-30 Henry X-Model, I discovered just how much 30-30 ammunition I can go through in a week. In this video, I’ll show you the process of progressive reloading of 30-30 ammunitinon to keep up with my demand! Disclaimer Ultimate Reloader LLC / Making with Metal Disclaimer: (by reading this article and/or […]
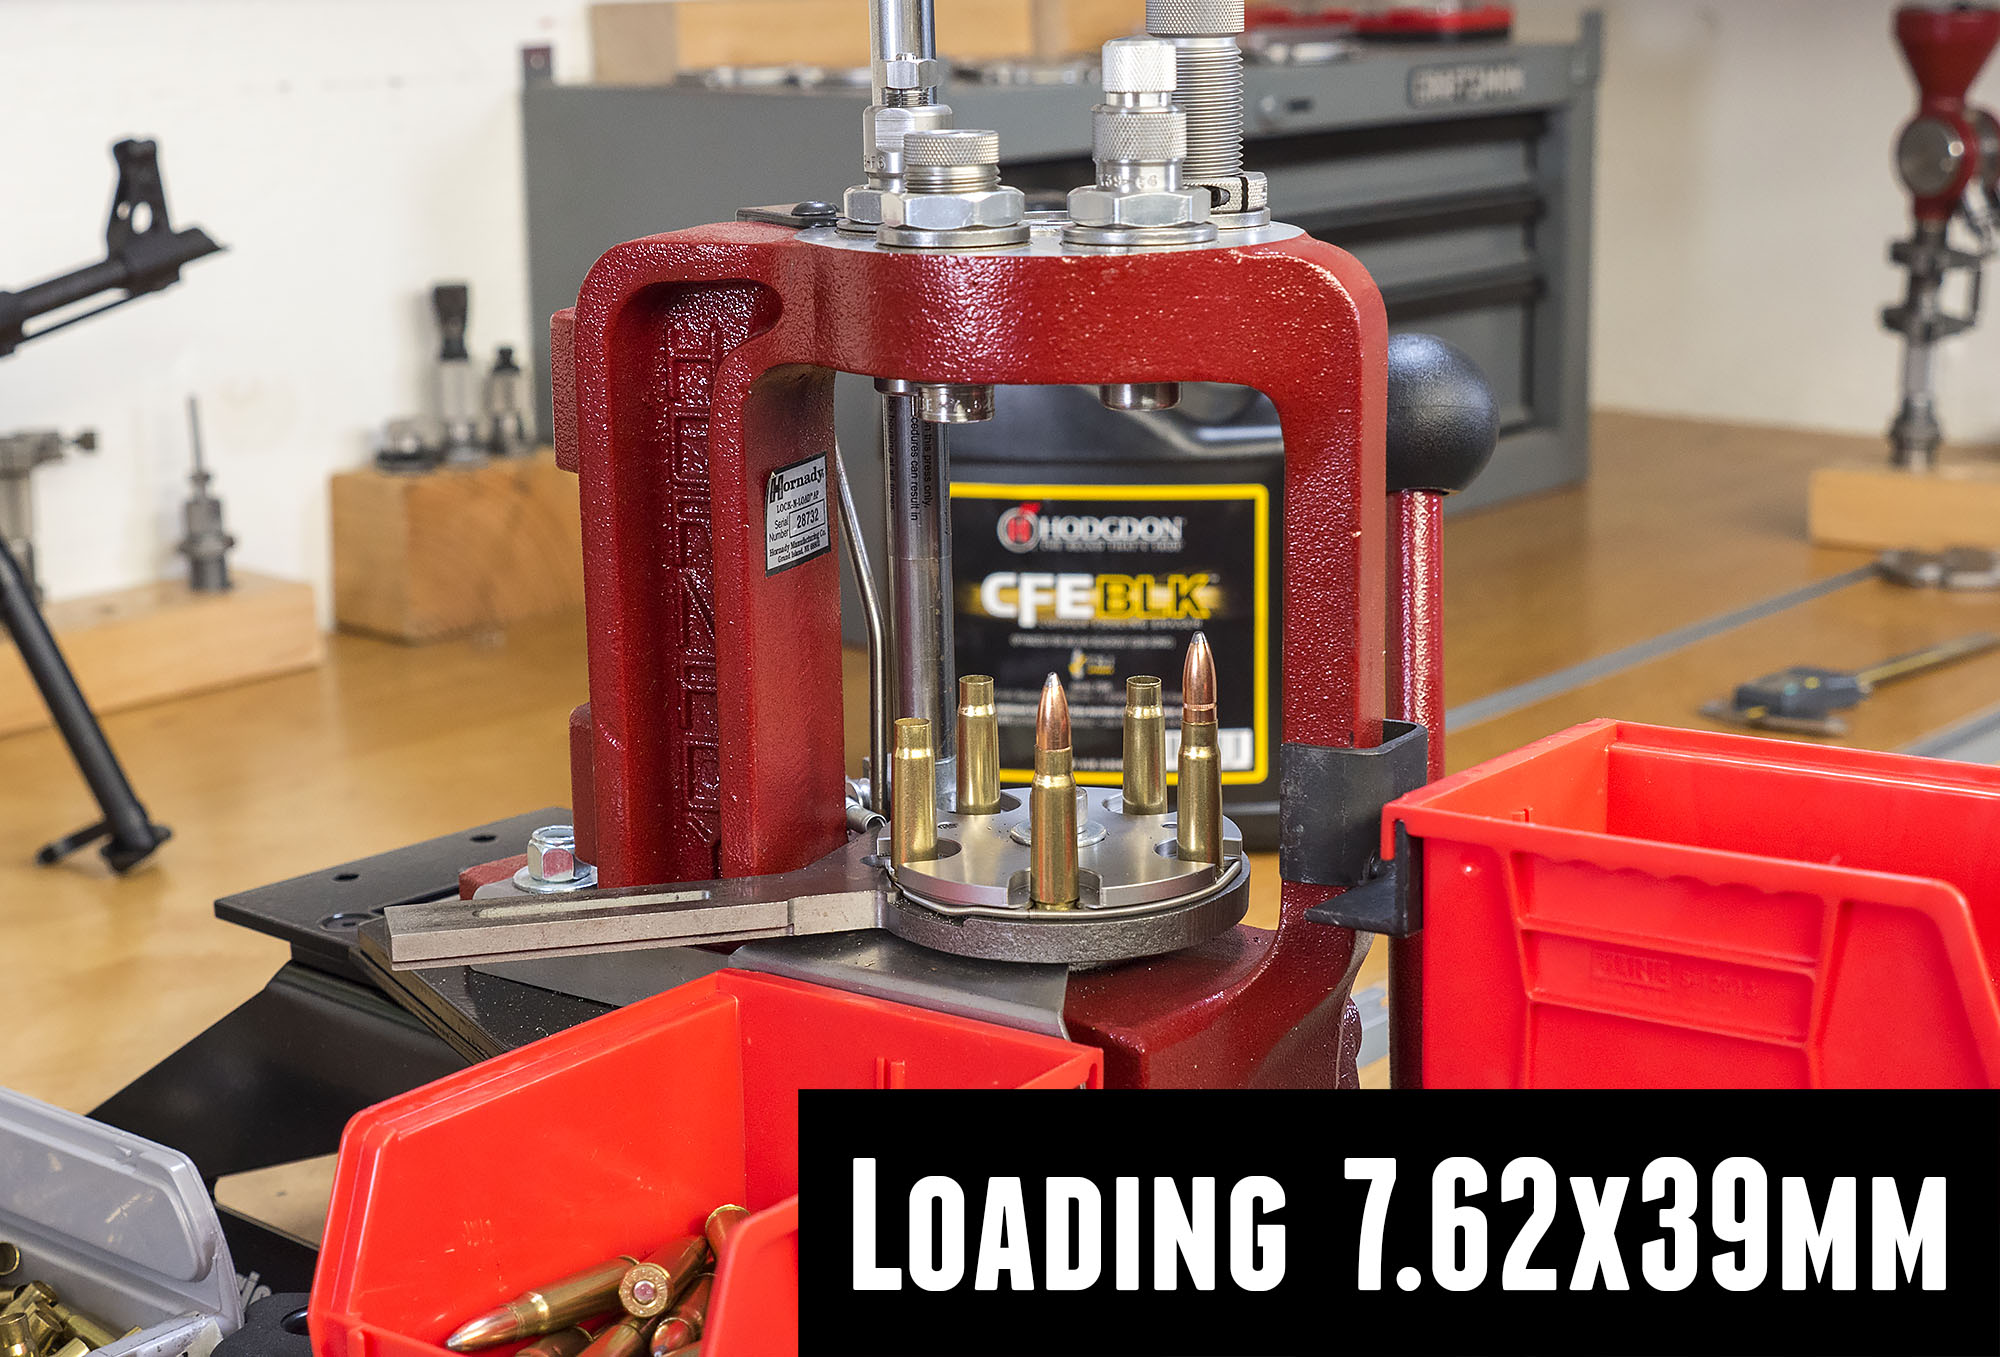
High-Performance 7.62x39mm Reloads for the AK-47
A lot of people love to collect and Shoot AK-47 style rifles, and for good reason. The AK platform is very practical, can be cost effective (in good political climates), is extremely reliable, is hard hitting, and these rifles have an epic legacy. Many AK owners do a lot of shooting, but very few reload their […]
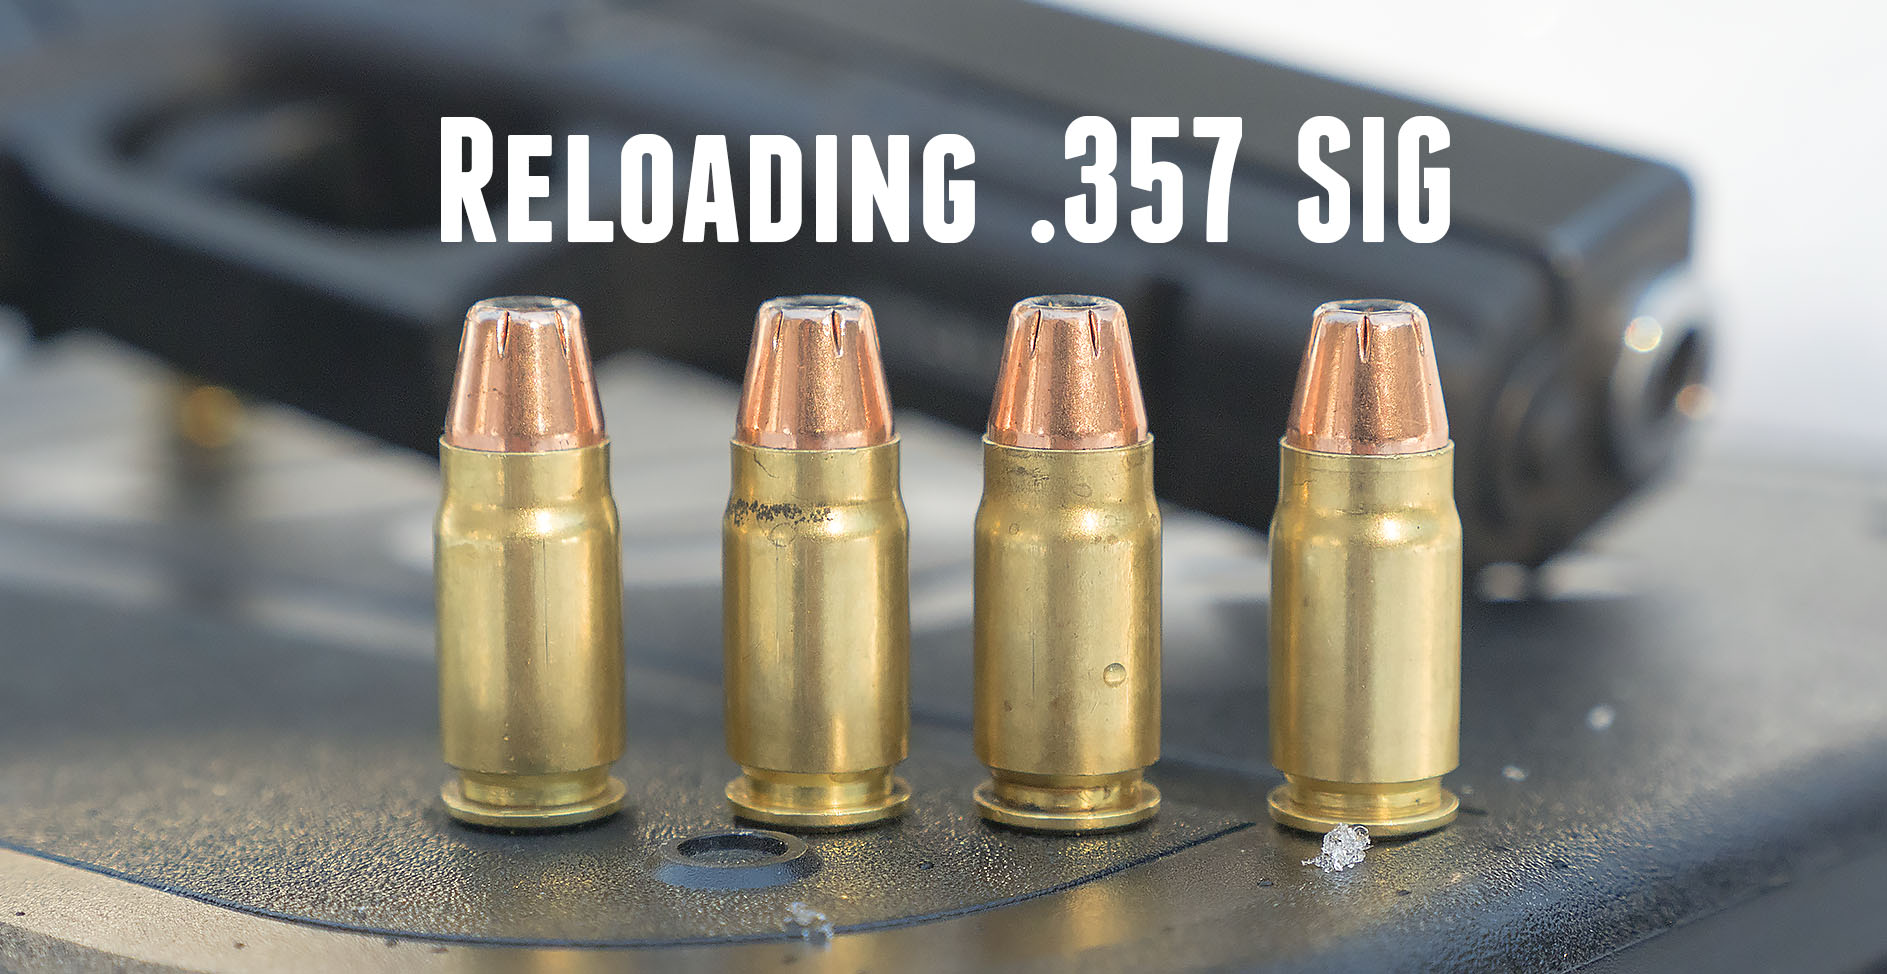
Reloading .357 SIG for the Glock 20
Wait a second, isn’t the Glock 20 chambered in 10mm Auto? What does .357 SIG have to do with the Glock 20 then? I’m glad you asked! The Glock 20 is awesome, but you can have even more fun with the “G20” with the addition of inexpensive drop-in barrels for different cartridges. With my Glock […]
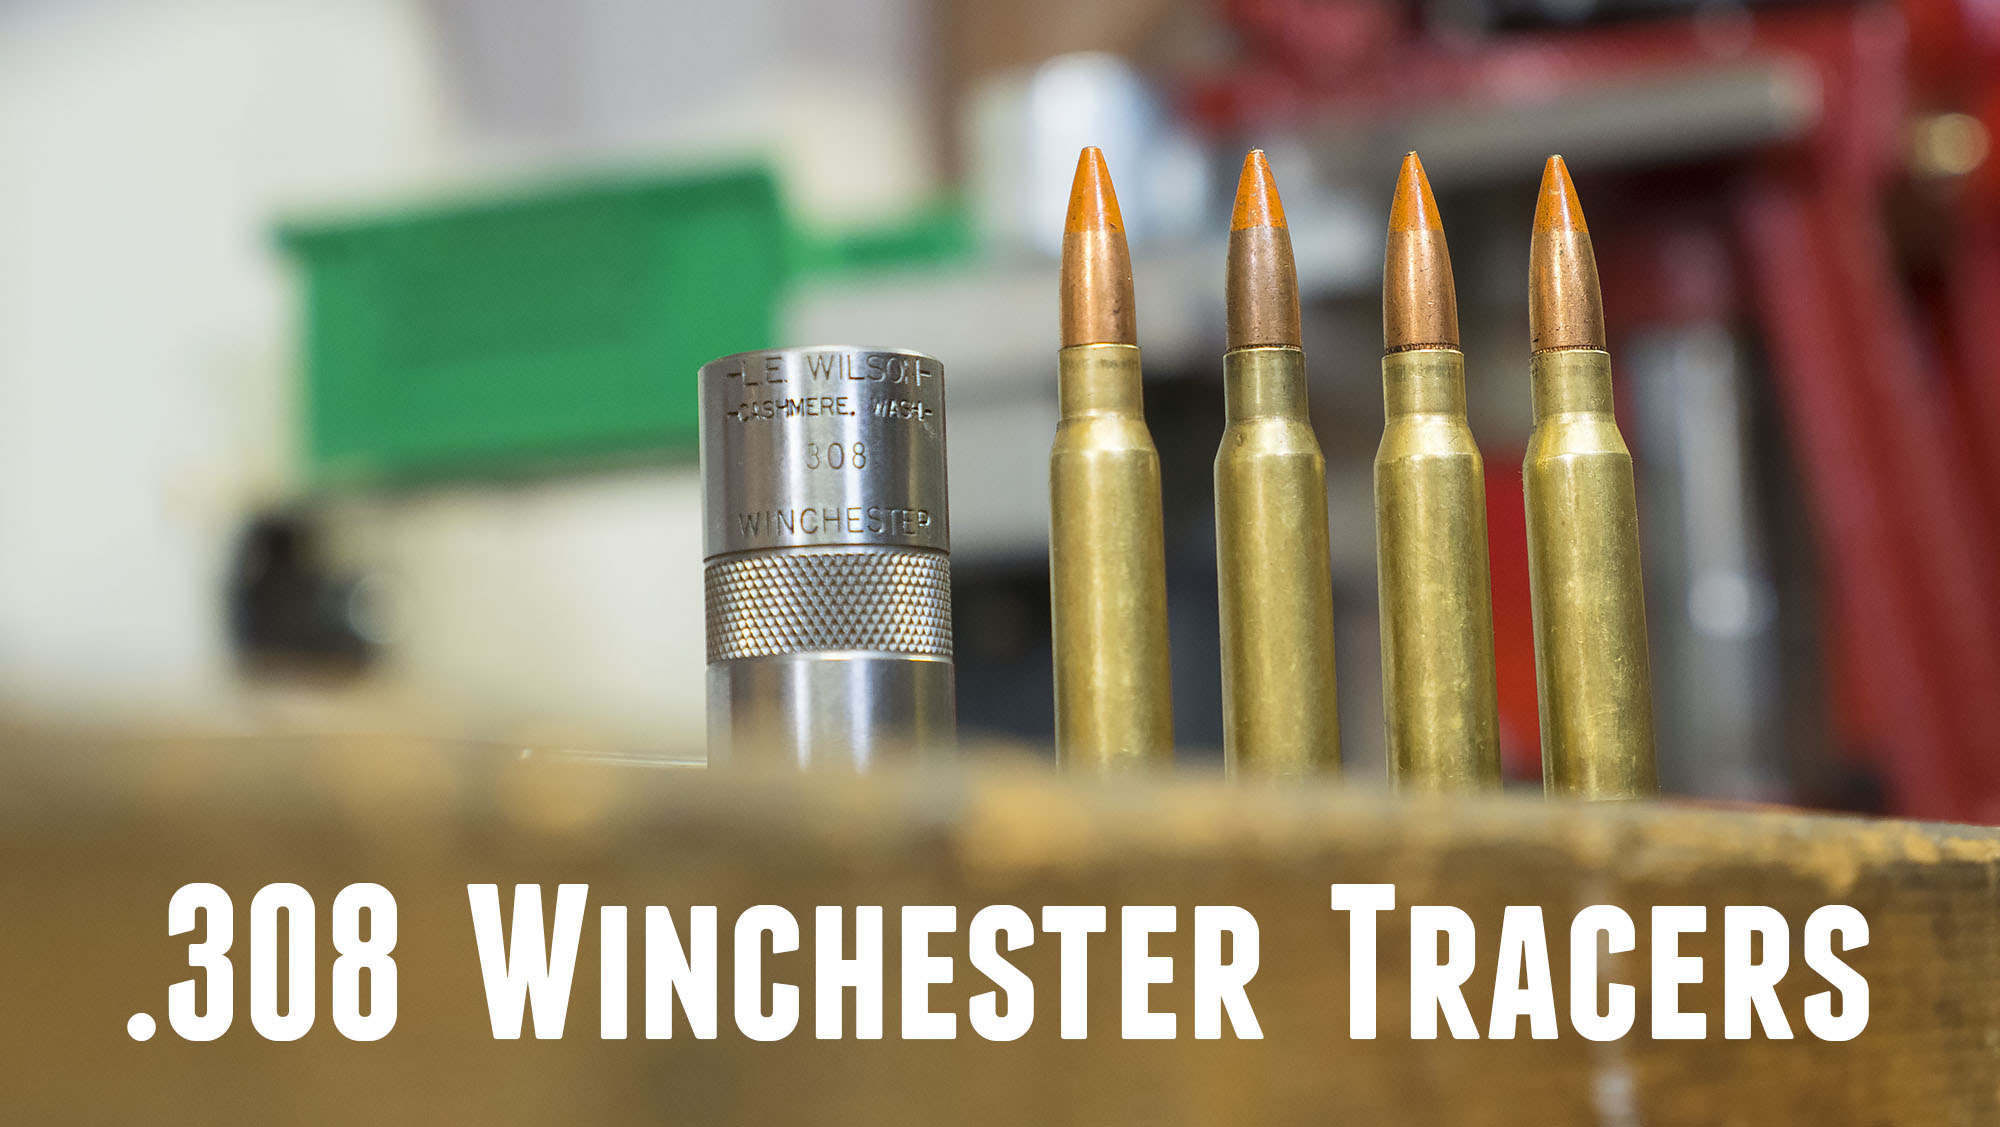
Light Up the Sky: Reloading and Shooting .308 Tracers
Since I was a boy I’ve been drawn to fire and fireworks. To me, the 4th of July wasn’t just a day of celebrating, it was an entire week of improvisational pyrotechnical “experiences”. Fast forward from 1985 to 2017, and I’m still just as excited about fire and destruction. So when friend Jim Findlay recently […]
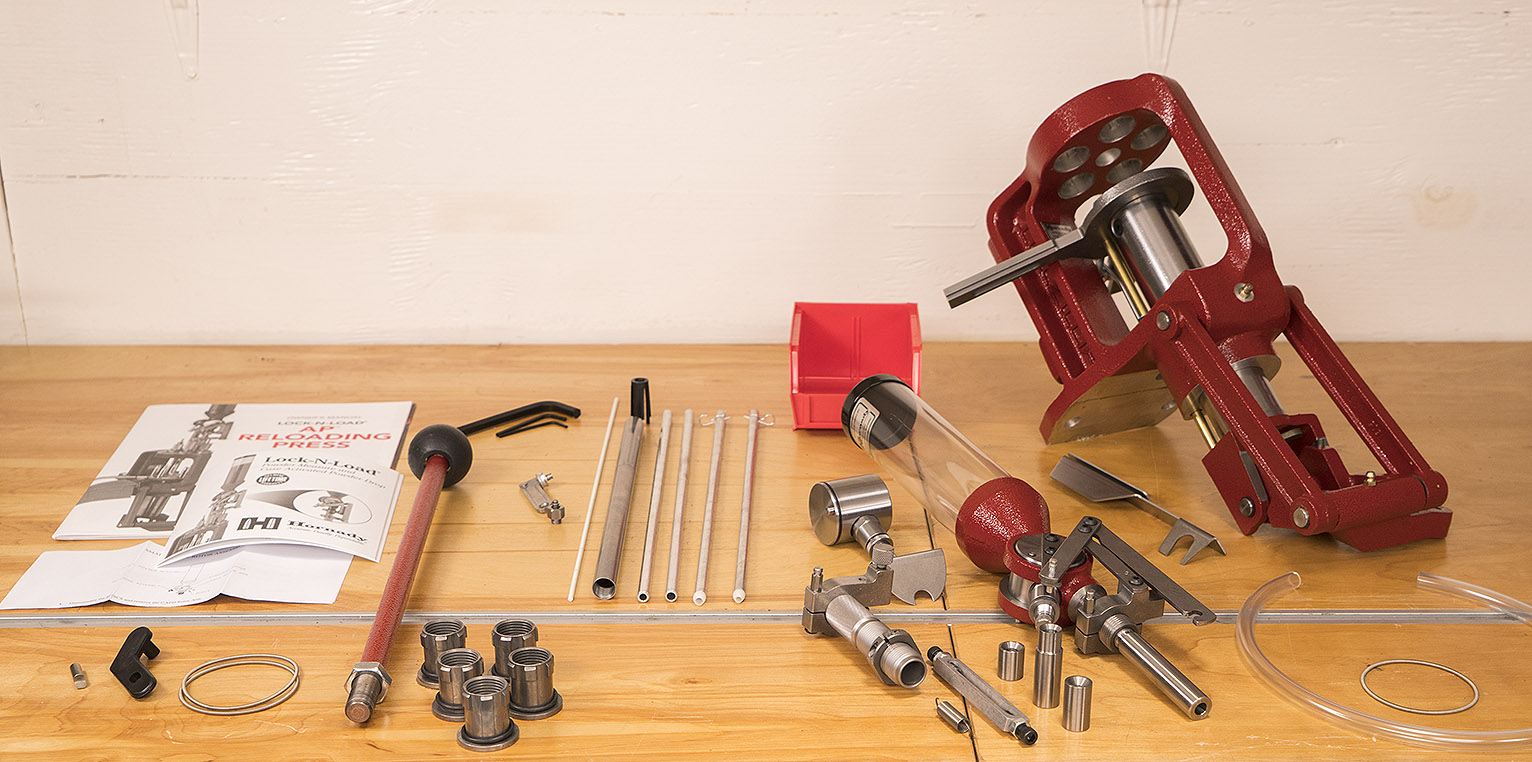
Hornady Lock-N-Load AP Unboxing, Overview, and Setup
The Hornady Lock-N-Load AP 5 station progressive reloading press is a popular tool for loading both pistol and rifle ammunition. I’ve published a lot of content related to this press, but one thing I have not yet covered is unboxing- so here you go! Time to take a look up close at the very latest (2016) version of […]
Video: Loading 40S&W with the Hornady Lock-N-Load AP
40 S&W is one of the most popular cartridges with handgun shooters, and it’s not hard to see why. Packing a powerful punch in a package smaller overall than 45 ACP, it’s a great cartridge for target shooting as well as defense/carry. Recently, I picked up a Glock 20 and 40 S&W conversion barrel, and […]
Hornady Lock-N-Load AP: Overview Part II
In my last post, I included a video covering some of the basic features of the Hornady Lock-N-Load AP progressive 5-station reloading press. In this post, I’ll finish the overview of this reloading press with another video covering the case feed system, and demonstrating the press in operation. I wanted to mention again that I’m […]
Hornady Lock-N-Load AP: Overview Part I
Well, I’m excited to announce that I’ll be publishing a full review of the Hornady Lock-N-Load AP in Northwest Gun Magazine Issue #1! I decided that since the last overview video I shot for the Hornady Lock-N-Load AP was uploaded over 4 years ago, it was time for a refresh! In this two part series […]
AR-308 – Loading 308 with the Hornady Lock-N-Load AP
Overview In my Last Post, I covered loading 308 Winchester for the AR-308 rifle on the RCBS Pro-2000 5 station progressive reloading press. I also showed the RCBS Rifle Bullet Feed kit in action. This time, we’ll use the Hornady Lock-N-Load AP reloading press (also a 5-station progressive press), but this time with a case […]
AR-MPR – Hornady Lock-N-Load AP Loading 223
Continuing with our coverage of high-volume loading of .223 Remington and 5.56 NATO ammunition for the AR-MPR project, this time we’ll look at using the Hornady Lock-N-Load AP to load for the AR-15. In this video, I’ll show loading in full progressive mode with the use of the Hornady Lock-N-Load Case Feeder system as well. […]
AR-MPR- RCBS Rifle Bullet Feeder Overview
Phase III of the AR-MPR AR-15 rifle project is really all about “precision mass production” of the ammunition that we’re developing in Phase II (precision single stage loading). There are a couple key things that we’ll explore: first, we’ll look at progressive reloading of .223 / 5.56 ammunition. We’ll also extend our production rates by […]
RCBS Bullet Feeder on Hornady Lock-N-Load AP 45ACP (HD)
Hornady LNL-AP 9mm part II (HD)
Hornady LNL-AP 9mm part I (HD)
LNL AP Loading 30-06 (HD)
LNL-AP 45 ACP Part II (HD)
LNL-AP 45 ACP Part I (HD)
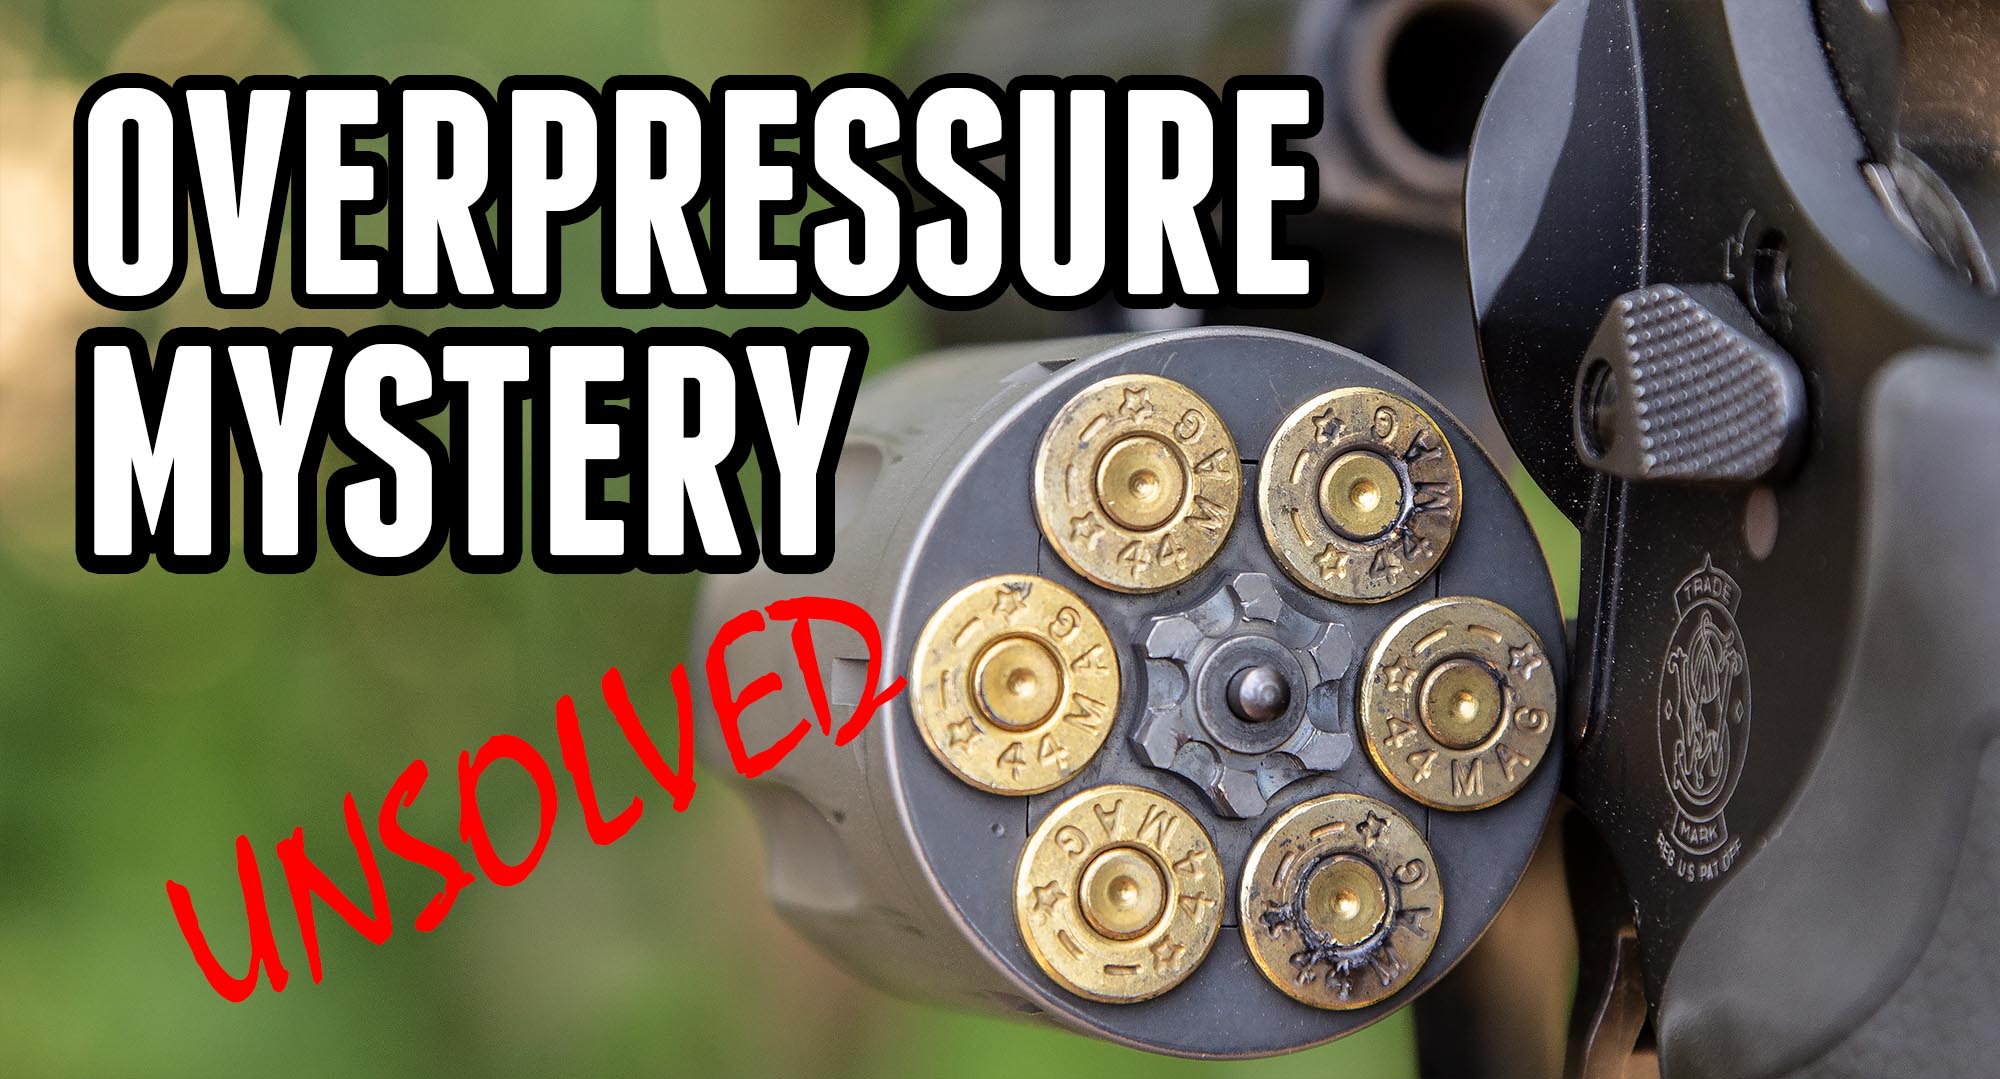
LNL AP Loading 44 Magnum (HD)
In this video, you’ll see an overview of how 44 Magnum ammunition is loaded with the Hornady Lock-N-Load AP Progressive reloading press with EZ-Ject. Also covered is the use of the Hornady Lock-N-Load AP Progressive case feeder. In this video, the Hornady Lock-N-Load progressive reloading press is setup with a combination seating and crimping die. […]
EZ-Ject Kit Install Part II (HD)
This second video in a two part video series gives an overview of the EZ-Ject upgrade kit for the Hornady Lock-N-Load AP Progressive reloading press and demonstrates how to install the kit. I found that this kit installs with little trouble, and I’m impressed that Hornady even includes a special tool for the primer tool […]
EZ-Ject Kit Install Part I (HD)
This first video in a two part video series gives an overview of the EZ-Ject upgrade kit for the Hornady Lock-N-Load AP Progressive reloading press and demonstrates how to install the kit. In the second video, you’ll see what additional steps are necessary to complete this job on your Hornady Lock-N-Load AP progressive reloading press.
LNL-AP Powder Measure (HD)
In this video, you’ll learn about the powder measure that comes with the Hornady Lock-N-Load AP progressive reloading press. You’ll see how it works, learn about changing metering inserts, and see a demo of changing between small and large rotors. You may also want to see the Hornady Lock-N-Load Bench Powder Measure video The features […]
LNL-AP Overview
In this post, you’ll learn about the basic construction and features of the Hornady Lock-N-Load AP Progressive reloading press including: The unique Lock-N-Load bushing system About the shellplate and case retention system How the priming system works How the powder measure works You may also want to view the newer HD videos on this site […]
LNL-AP Stand
One of the best ways you can improve the reliability and overall effectiveness of you reloading press is to make sure it is mounted to something with no flex at all. This sounds easier than it really is to pull off. Even sturdy workbenches will typically flex enought to cause a bit of “mush” when […]