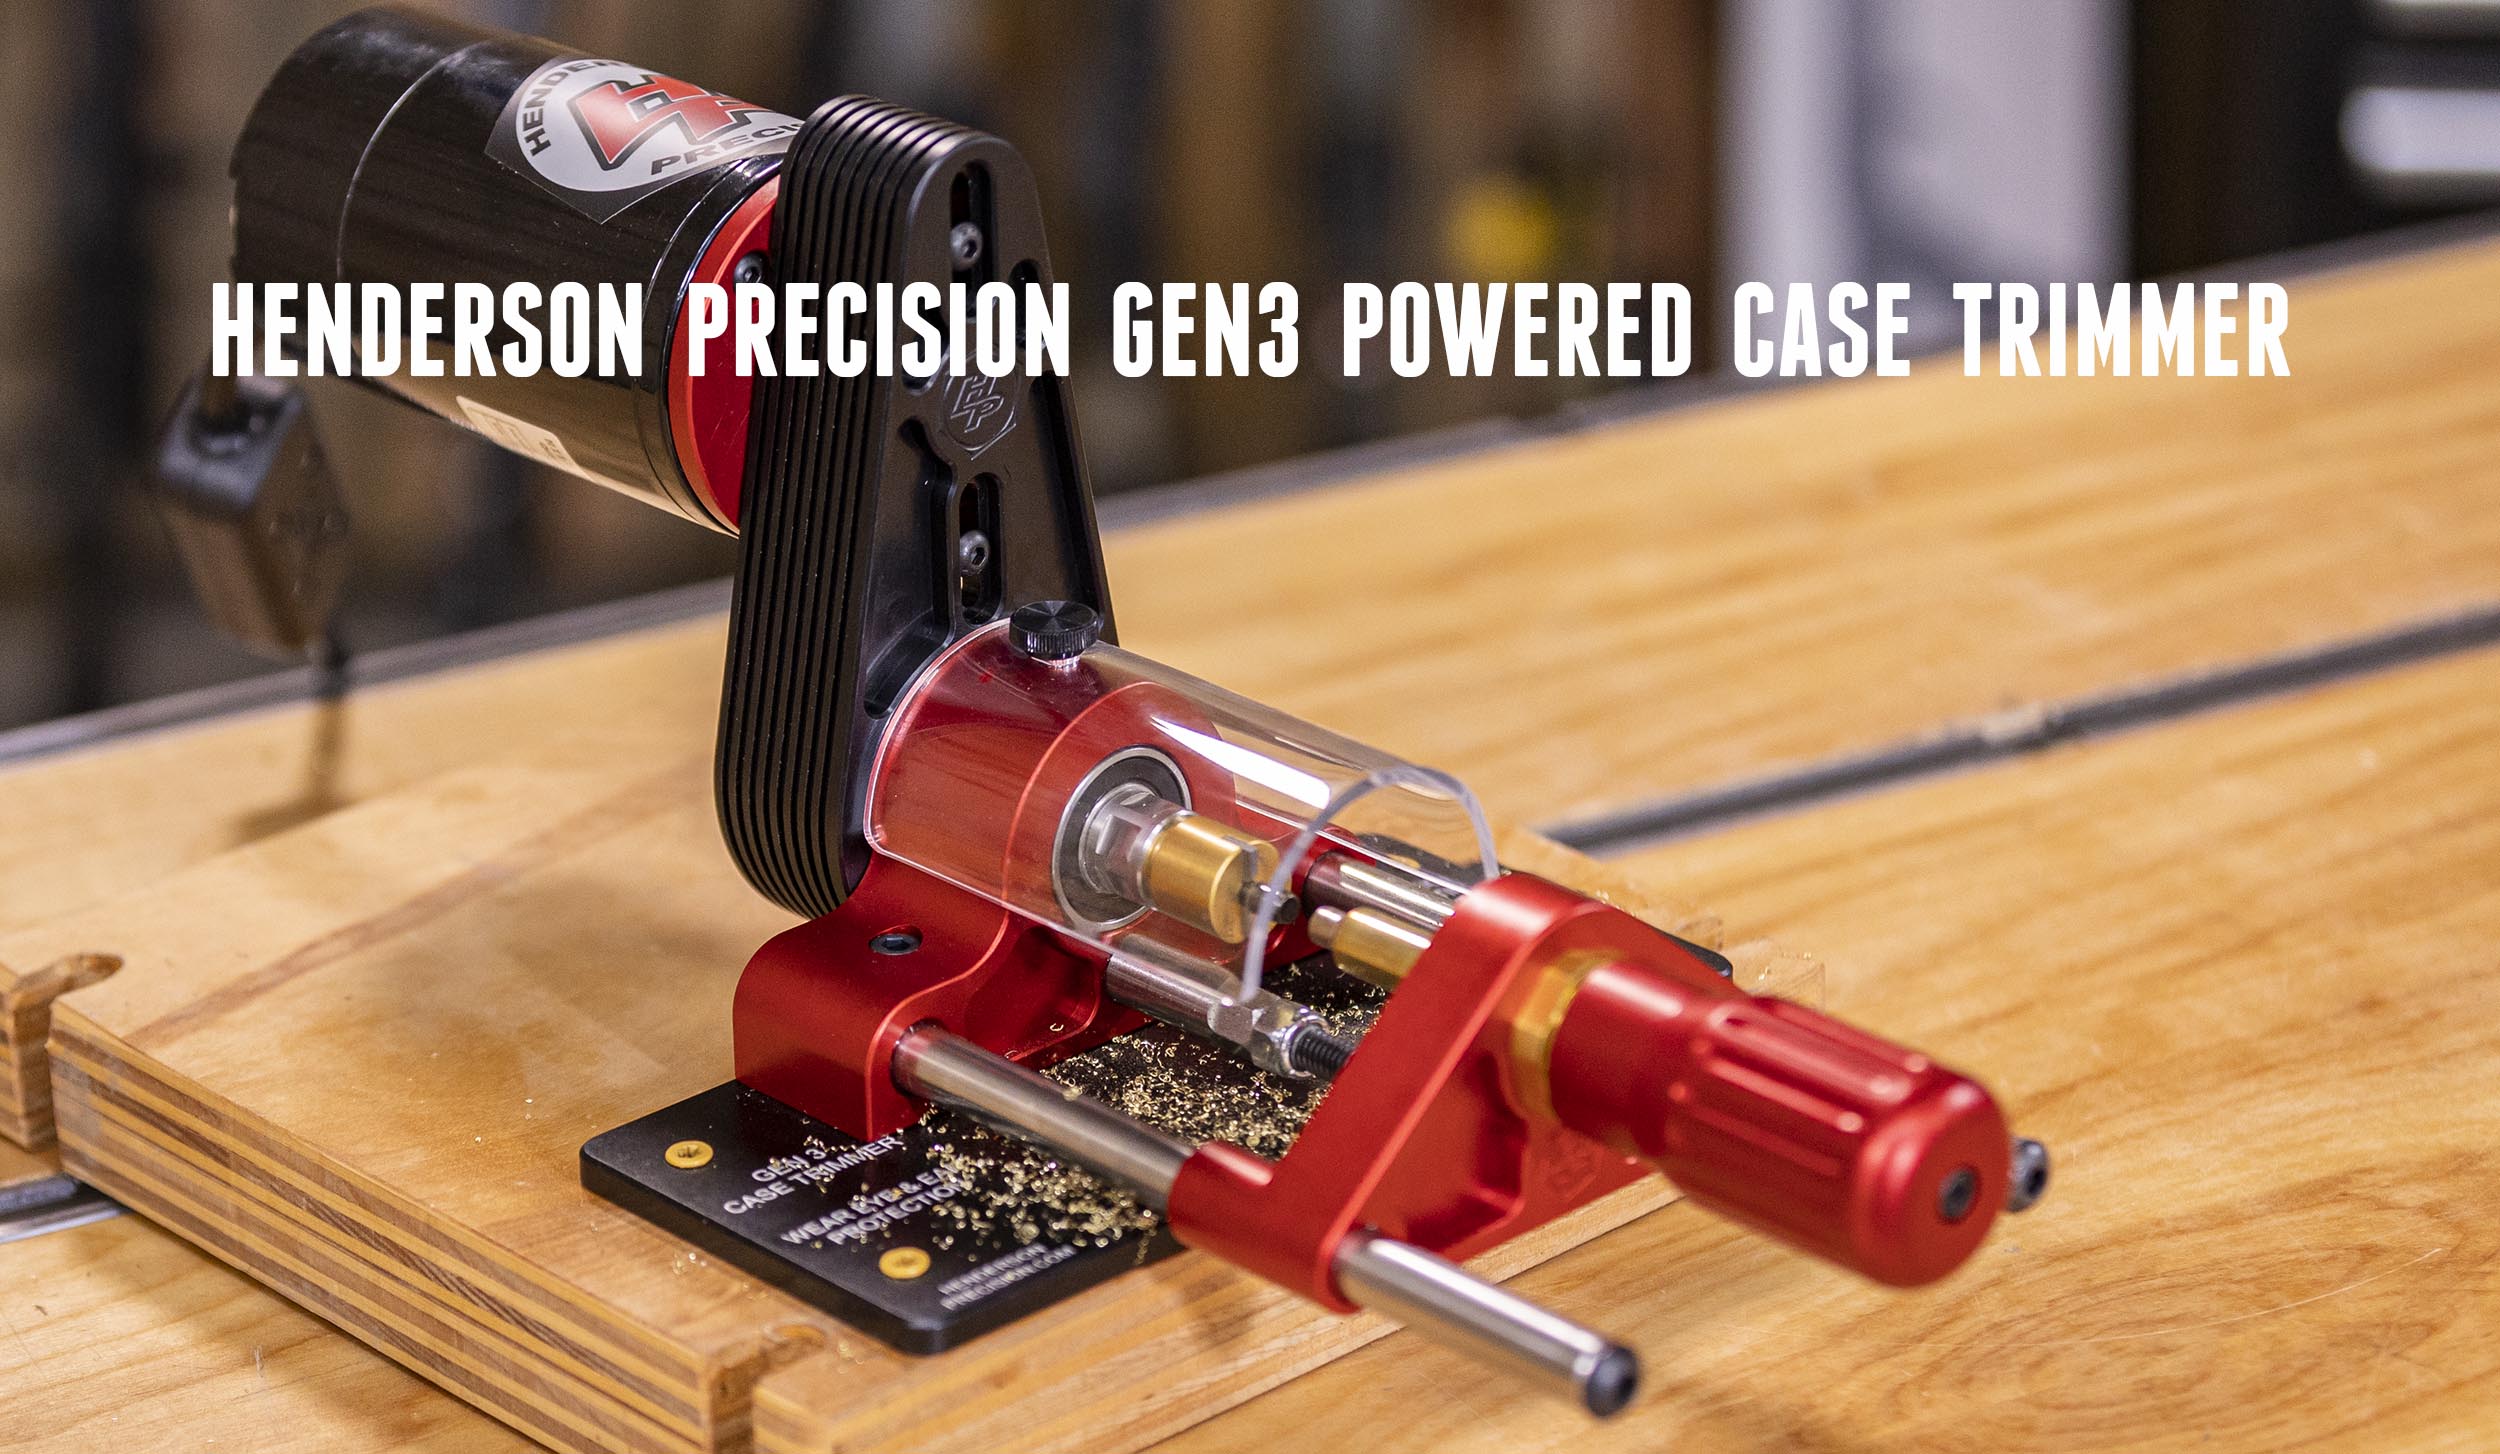
I’ve recently partnered with Henderson Precision and have been very impressed with their Gen 3 power case trimmer. In this story I’ll cover unboxing, overview, setup, and trimming some 6 Dasher brass!
Disclaimer
Ultimate Reloader LLC / Making with Metal Disclaimer: (by reading this article and/or watching video content you accept these terms). The content on this website (including videos, articles, ammunition reloading data, technical articles, gunsmithing and other information) is for demonstration purposes only. Do not attempt any of the processes or procedures shown or described on this website. All gunsmithing procedures should be carried out by a qualified and licensed gunsmith at their own risk. Do not attempt to repair or modify any firearms based on information on this website. Ultimate Reloader, LLC and Making With Metal can not be held liable for property or personal damage due to viewers/readers of this website performing activities, procedures, techniques, or practices described in whole or part on this website. By accepting these terms, you agree that you alone are solely responsible for your own safety and property as it pertains to activities, procedures, techniques, or practices described in whole or part on this website.
About the Henderson Precision Gen 3 Case Trimmer
Henderson Precision is a USA company, and they are very proud of the products they design and build. I met Todd Henderson at SHOT Show and it’s clear quality control and customer experience are extremely important to him. The Gen 3 case trimmer is built on an adjustable tri-trim 3-way cutter with different pilots to accommodate different case necks. Three way cutters trim to length and chamfer the inside and outside all at once.
From HendersonPrecision.com:
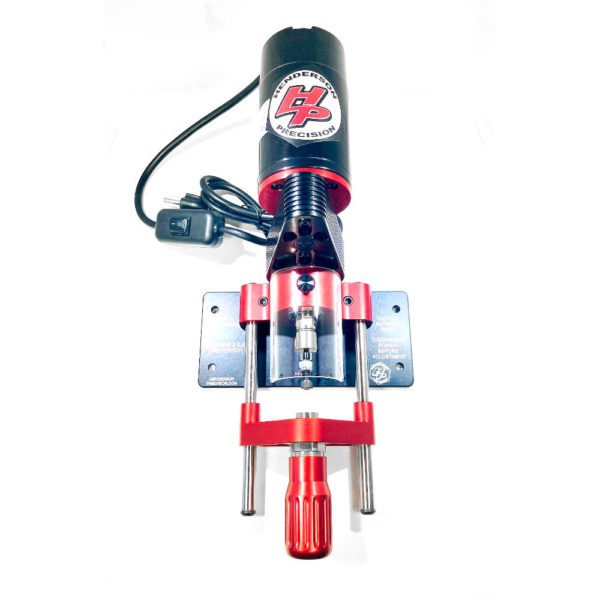
The Gen 3 powered case trimmer uses a powerful single speed 115v DC motor. The DC motor is extremely smooth and quiet and powers the spindle at around 1700rpms. Our enclosed aluminum motor mount shroud bolts directly to the bearing housing. We have also designed a custom machined pulley that is belt driven.
The DC motor offers maximum torque at 1700rps where you need it most. The DC motor also offers smoother and quieter operation. The motor has an in-line on/off switch for easy control.
What’s in the Box
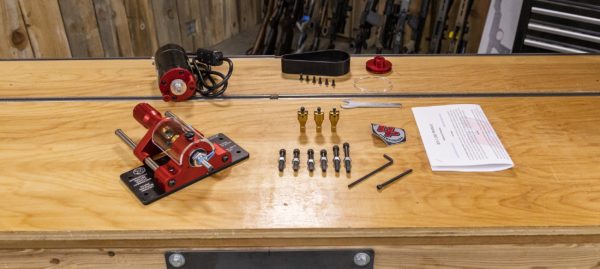
Above: Box contents: note that I have three extra cutter heads that are not included with the trimmer (one cutter head is included).
The trimmer arrived in three separate boxes inside one larger box. I received a few extra cutting heads for extra content, but ordering a Gen 3 Henderson Precision trimmer will include the following:
- Gen 3 Trimmer with pre-installed collet and cutter head
- Motor
- Belt guard
- Belt
- Spindle Pulley
- Screws
- Cutter Head Wrench
- Printed materials
- Extra draw bar screw and Allen key
- Depth stop bolts (one pre-installed)
- Mounting plate
- Sticker
This trimmer has a 1700 RPM spindle and a custom DC motor made in the U.S. It is made of billet aluminum and has a taper-lock cutting head and is consistent to 0.002” at least with the same brand of brass. As an aside, Henderson is currently working on an international motor.
All parts on this trimmer are made in the USA except the motor.
Collet and Cutter Head Systems
The collets are brown and sharpe style collets and are interchangeable with Forster case trimmer collets. Henderson currently offers four collets.
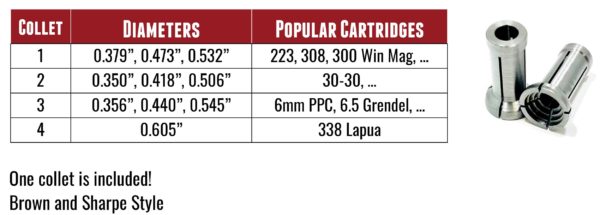
The case trimmer includes one collet. Another great feature of the Henderson trimmer is the taper-lock cutting head which trims, and chamfers inside and outside. The taper on the rear of the cutting head locates the cutting head. As a result, the pilot head and blades will revolve with very little run out. The taper will also handle the torque of the cutting process. The blades themselves are carbide and individually adjustable.
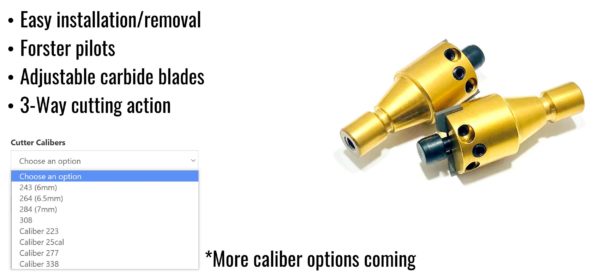
There are many caliber options available with more coming.
Set-up and Assembly
I started by installing the motor mount/belt guard. I secured it to the main trimmer body using three screws. I followed by torqueing them with a t-handle wrench. The next step is to install the spindle pulley and belt. I put the belt on the pulley and attached it using a 3/32 Allen key as a unit, pushing towards the middle of the unit as I did so.
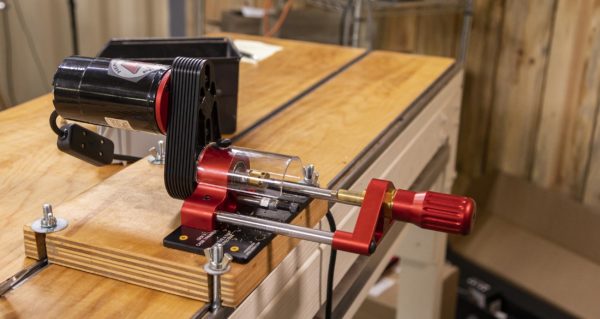
I then removed the safety shield from the motor and with the logo on top, attached the belt to the smaller of the two steps. Holding the motor in one hand, I attached the motor to the motor mount using a t-handle wrench and Allen key. At this point the trimmer just needs to be secured. Using some wood, screws and wing nuts, I attached the trimmer to the bench so it wouldn’t move but could be removed and relocated.
Trimming Test
I had some 6mm Dasher brass I’ve fired a few times and wanted to take down 5 or 10 thousandths. The Henderson trimmer works much like a milling machine. While a collet and trimmer head come pre-installed, I removed them to show caliber changes. Take a draw bar and insert in the back and the cutter head in the front. Turn the draw bar until finger tight and tighten with the included Allen key while using the wrench on the cutting head. You do not need much torque because of the way the taper works. The collet goes into the handle assembly which threads into the carriage. As you screw in the handle the collet pushes forward until it bottoms out. Loosen the collet until you can put a piece of brass in then tighten to secure it.
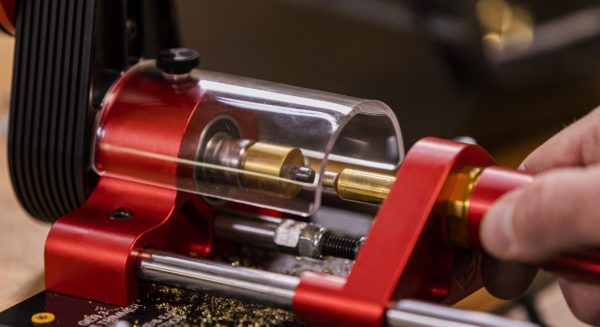
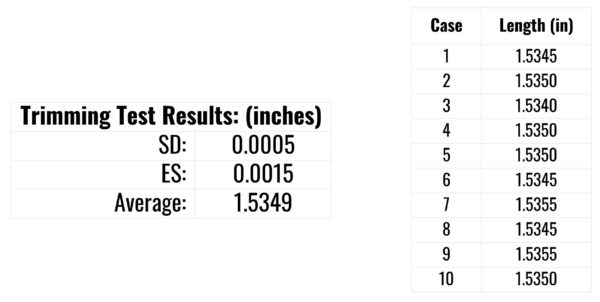
The next step is to adjust trim length. For .223 or .308 I’ll trim to suggested length minus 0.015” or so. My 6mm Dasher cases measured approximately 1.544” so I adjusted the unit to trim to 1.535”. My research revealed this should be a sweet spot. I placed the case back in the collet and made sure it rides over the .243 pilot. Next I pushed the carriage forward until I could see the case mouth rest against the covers. I then adjusted the screw underneath the cutter so it will keep that setting. To secure it I tightened the washer keeping care to not move the screw. It may take several iterations of this process to reach the desired trim length.
Don’t forget to resize before you trim. There should be 0.002 clearance between your pilot and case neck diameter.
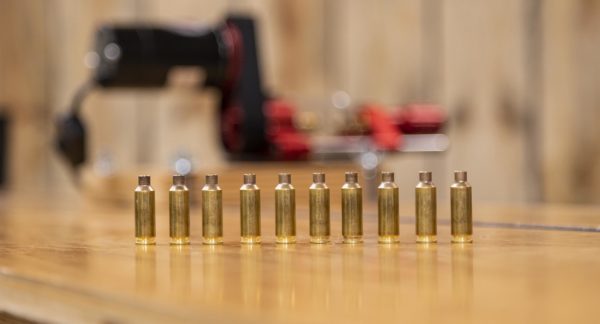
I was careful to ensure my trimming process was as consistent as possible. I measured the first ten cases I ever trimmed on the unit and found a standard deviation of 0.00047. The extreme spread is actually less than advertised.
This trimmer is fast and easy to use and most importantly, returns consistent results! More in-depth videos to come!
Get the Gear!
The Henderson Precision Gen 3 power trimmer is a top quality piece of gear and is available for $779 from HendersonPrecision.com.
Don’t miss out on Ultimate Reloader updates, make sure you’re subscribed!
Thanks,
Gavin Gear