My metal lathes are tools that I just can’t do without. I am frequently amazed at how often a metal lathe will come in handy around the house and shop, especially for gunsmithing and reloading accessories/tools. I’ve written several times about how I’ve machined shims for various reloading fixtures. Examples include calibrating my Hornady Lock-N-Load Classic single stage with my Hornady Lock-N-Load AP press, and powder measure shims for fast caliber/cartridge changeovers.
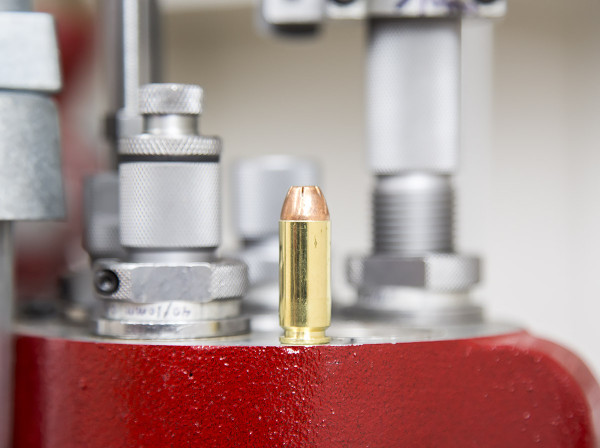
Like 44 Magnum and 357 Magnum, 10mm Auto is a longer version of a less powerful cartridge (40 S&W). Because all other external dimensions are the same, you can use the same dies for both 40 S&W and 10mm. When changing from 40 S&W to 10mm Auto, all dies must be “raised” by the difference in brass length *except* the sizing/depriming die which remains down in contact with the shellplate. This sounds like a great time to machine some shims on the metal lathe!
The first step in this project was to calculate the required thickness for the shims. This is a simple matter of taking the 10mm brass length and subtracting the 40 S&W brass length from it:
0.992″ – 0.850″ = 0.142″
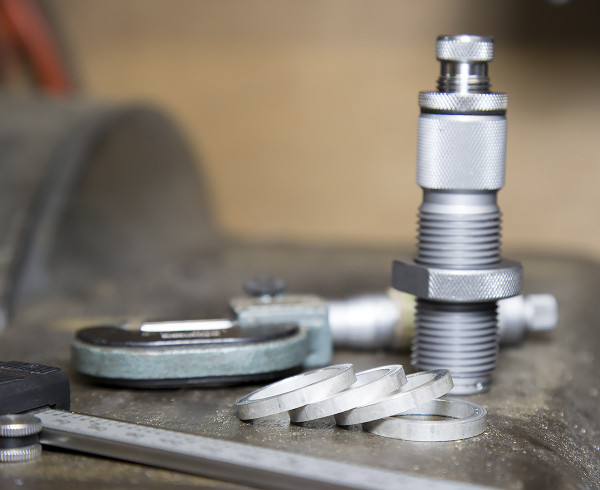
I took some measurements for the brass that I would be using (new Starline 10mm Auto, range pickup 40 S&W) and adjusted the shim thickness to 0.148″ based on my calculations. +/ .005-.010″ will be close enough to get most die settings within spec. You can then fine-tune bullet seating depth as needed. Next, I took some aluminum tubing (with ID of 7/8″, the same as the OD of reloading dies) and parted off some shims.

For a 5-station reloading press a total of four shims are needed if you plan on using all 5 stations (recall we don’t raise the sizing/depriming die). I was able to keep all of the shims I cut within about .002″ of each other, plenty consistent! After a bit of de-burring, I was ready to try them out.
The setup process is roughly as follows:
- Setup dies for loading 40 S&W – load some ammo and get everything “tuned” the way you want it.
- Ensure all lockrings are “locked down” – the Hornady die lockrings make this process easy and consistent- just tighten the allen screw. I’ve found they tighten better if you loosen the die very slightly first (otherwise it’s clamped down against the die bushing and the lockring can’t move as well).
- Slightly loosen each die from bushing while in press
- Remove dies from press (except sizing die)
- Spin dies out of bushings
- Insert spacer shims
- Spin bushings back onto dies
- Insert dies back into press
- Tighten dies (don’t have to be super tight)
If everything goes right, you’ll only have to make minor tweaks, and with any luck no adjustments are necessary. I’ll cover more details and show this setup in an upcoming video, so stay tuned.
Thanks,
Gavin


Redding sells spacers for .38 Spl/.357 Mag and .44 Spl/.44 Mag (http://www.midwayusa.com/find?userSearchQuery=die+spacer). I have these spacers and like ’em a lot.
But nobody seems to make ’em for .40 S&W/10mm Auto/10mm Mag or .32 S&W Long/.32 H&R/.327 Fed. I’d sure like spacers for the two latter sets of cartridges, but I don’t have a lathe.
I’ve got the same for 38/.357 from RCBS. They were included in the die set when I bought it. They work well and save a lot of time as I load both cartridges. Blaine is right, high time the die manufacturers included them in the .40 S&W/10mm and 44 Special/Magnum die sets or at least made them an option you can buy the way you do shell holders.