Continuing with our discussion on Pistol Brass Prep Basics, in this post I’ll cover the “other half” of brass prep, rifle brass prep basics! Rifle brass prep tends to be a bit more involved, to take longer, and also to be more critical to the reloading process for rifle cartridges than pistol brass prep is for pistol cartridges. We will explore rifle brass prep in more detail here on Ultimate Reloader, but for now, let’s start at the beginning.
The Goal
When your rifle brass prep is finished, you’ll be able to reload rifle cartridges that embody the following attributes:
- Optimized for the reloading process
- Reliable chambering
- Safe to shoot
- Enhanced/optimized accuracy
There’s plenty more to discuss when it comes to what you can accomplish by reloading your own rifle ammunition, but this list is a good starting point for understanding the importance of good rifle brass prep.
The Process
While there are many permutations and variations and even additions to these steps, this list gives you a good idea of what rifle brass prep consists of. Note that these steps don’t necessarily follow this ordering, and some steps are optional or dependent on the type of brass being reloaded.
- Sorting
- De-priming and cleaning primer pockets
- Swaging or reaming primer pockets (if once-fired military brass reloaded for the first time)
- Cleaning
- Lubricating
- Sizing (full length or neck-only)
- Trimming
- Chamfer/debur case mouth
- Cleaning
At this point, you’ll have brass that’s ready for the reloading press. This list sounds a bit daunting, and it can be quite involved (example: for benchrest competition), but much of this work can be assisted or simplified, and with the proper case prep equipment, these tasks can be streamlined.
Let’s briefly talk about each of these steps so that you can understand what’s involved.
Sorting
If you have mixed brass (from range pick-up or purchased once-fired sources for example), you may or may not want to sort the brass by headstamp. If you have once-fired military brass in your mix you will need to sort so that you can remove the primer pocket crimp (see “Swaging or reaming primer pockets” below). If you’re loading for hunting or precision shooting, you’ll want to sort. If you’re reloading for blasting/plinking, you may not want to sort.
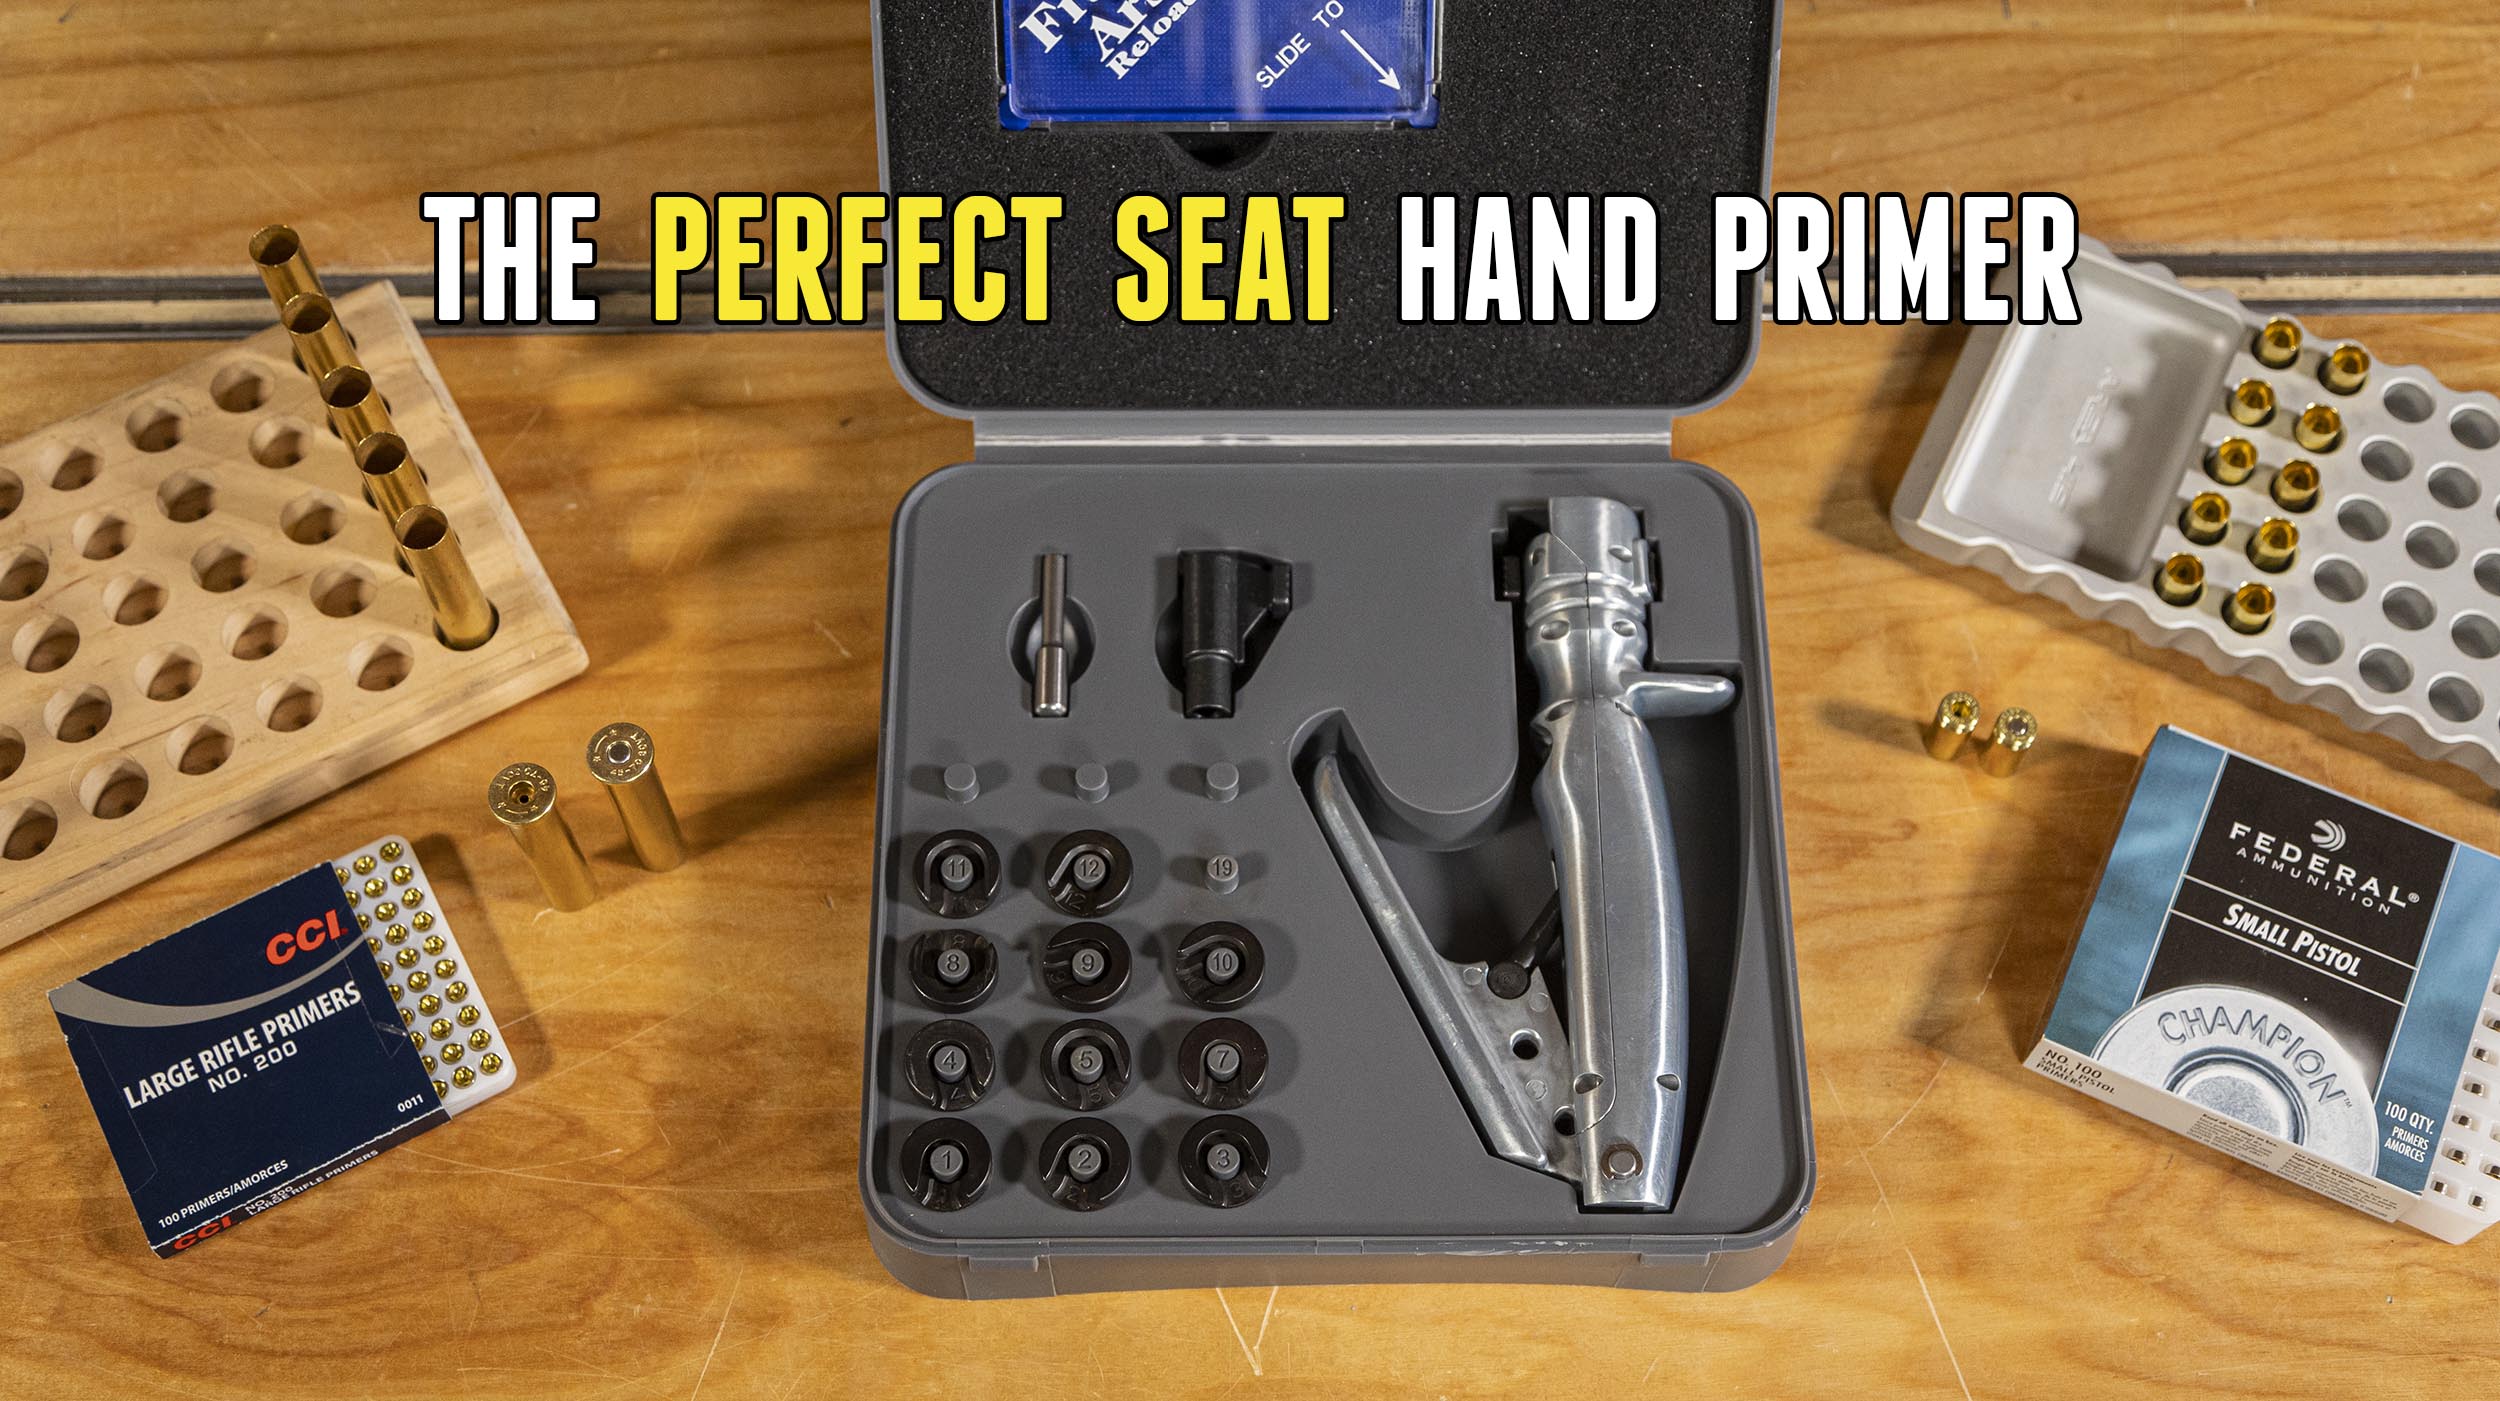
De-priming and cleaning primer pockets
Depending on your personal convictions (see the many online discussions on this topic) and your goals, you may want to deprime your brass and clean the primer pockets. This would be primarily for precision shooting competition and similar applications. I won’t ignite the debate here, just know that this is a common step for the “white lab coat” variety of reloading individual.
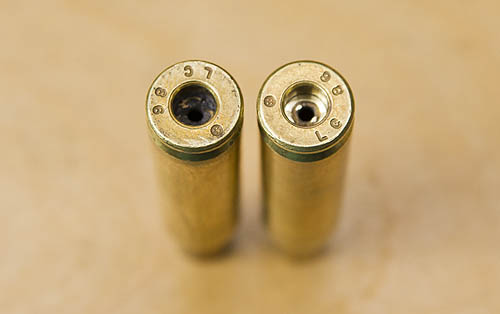
Swaging or reaming primer pockets
If you are shooting once-fired military brass (such as 5.56 NATO or 7.62x51mm) you will need to deprime the brass and then either swage the primer pocket (press a plug into the primer pocket to remove the crimped area) or ream the primer pocket (cut out the crimp). If you are reaming the primer crimp, you will also perform some level of cleaning (carbon removal). Reaming the primer pocket has the advantage that you can also chamfer the primer pocket for enhanced priming. This crimp removal is a required step for this type of brass, so don’t overlook it!
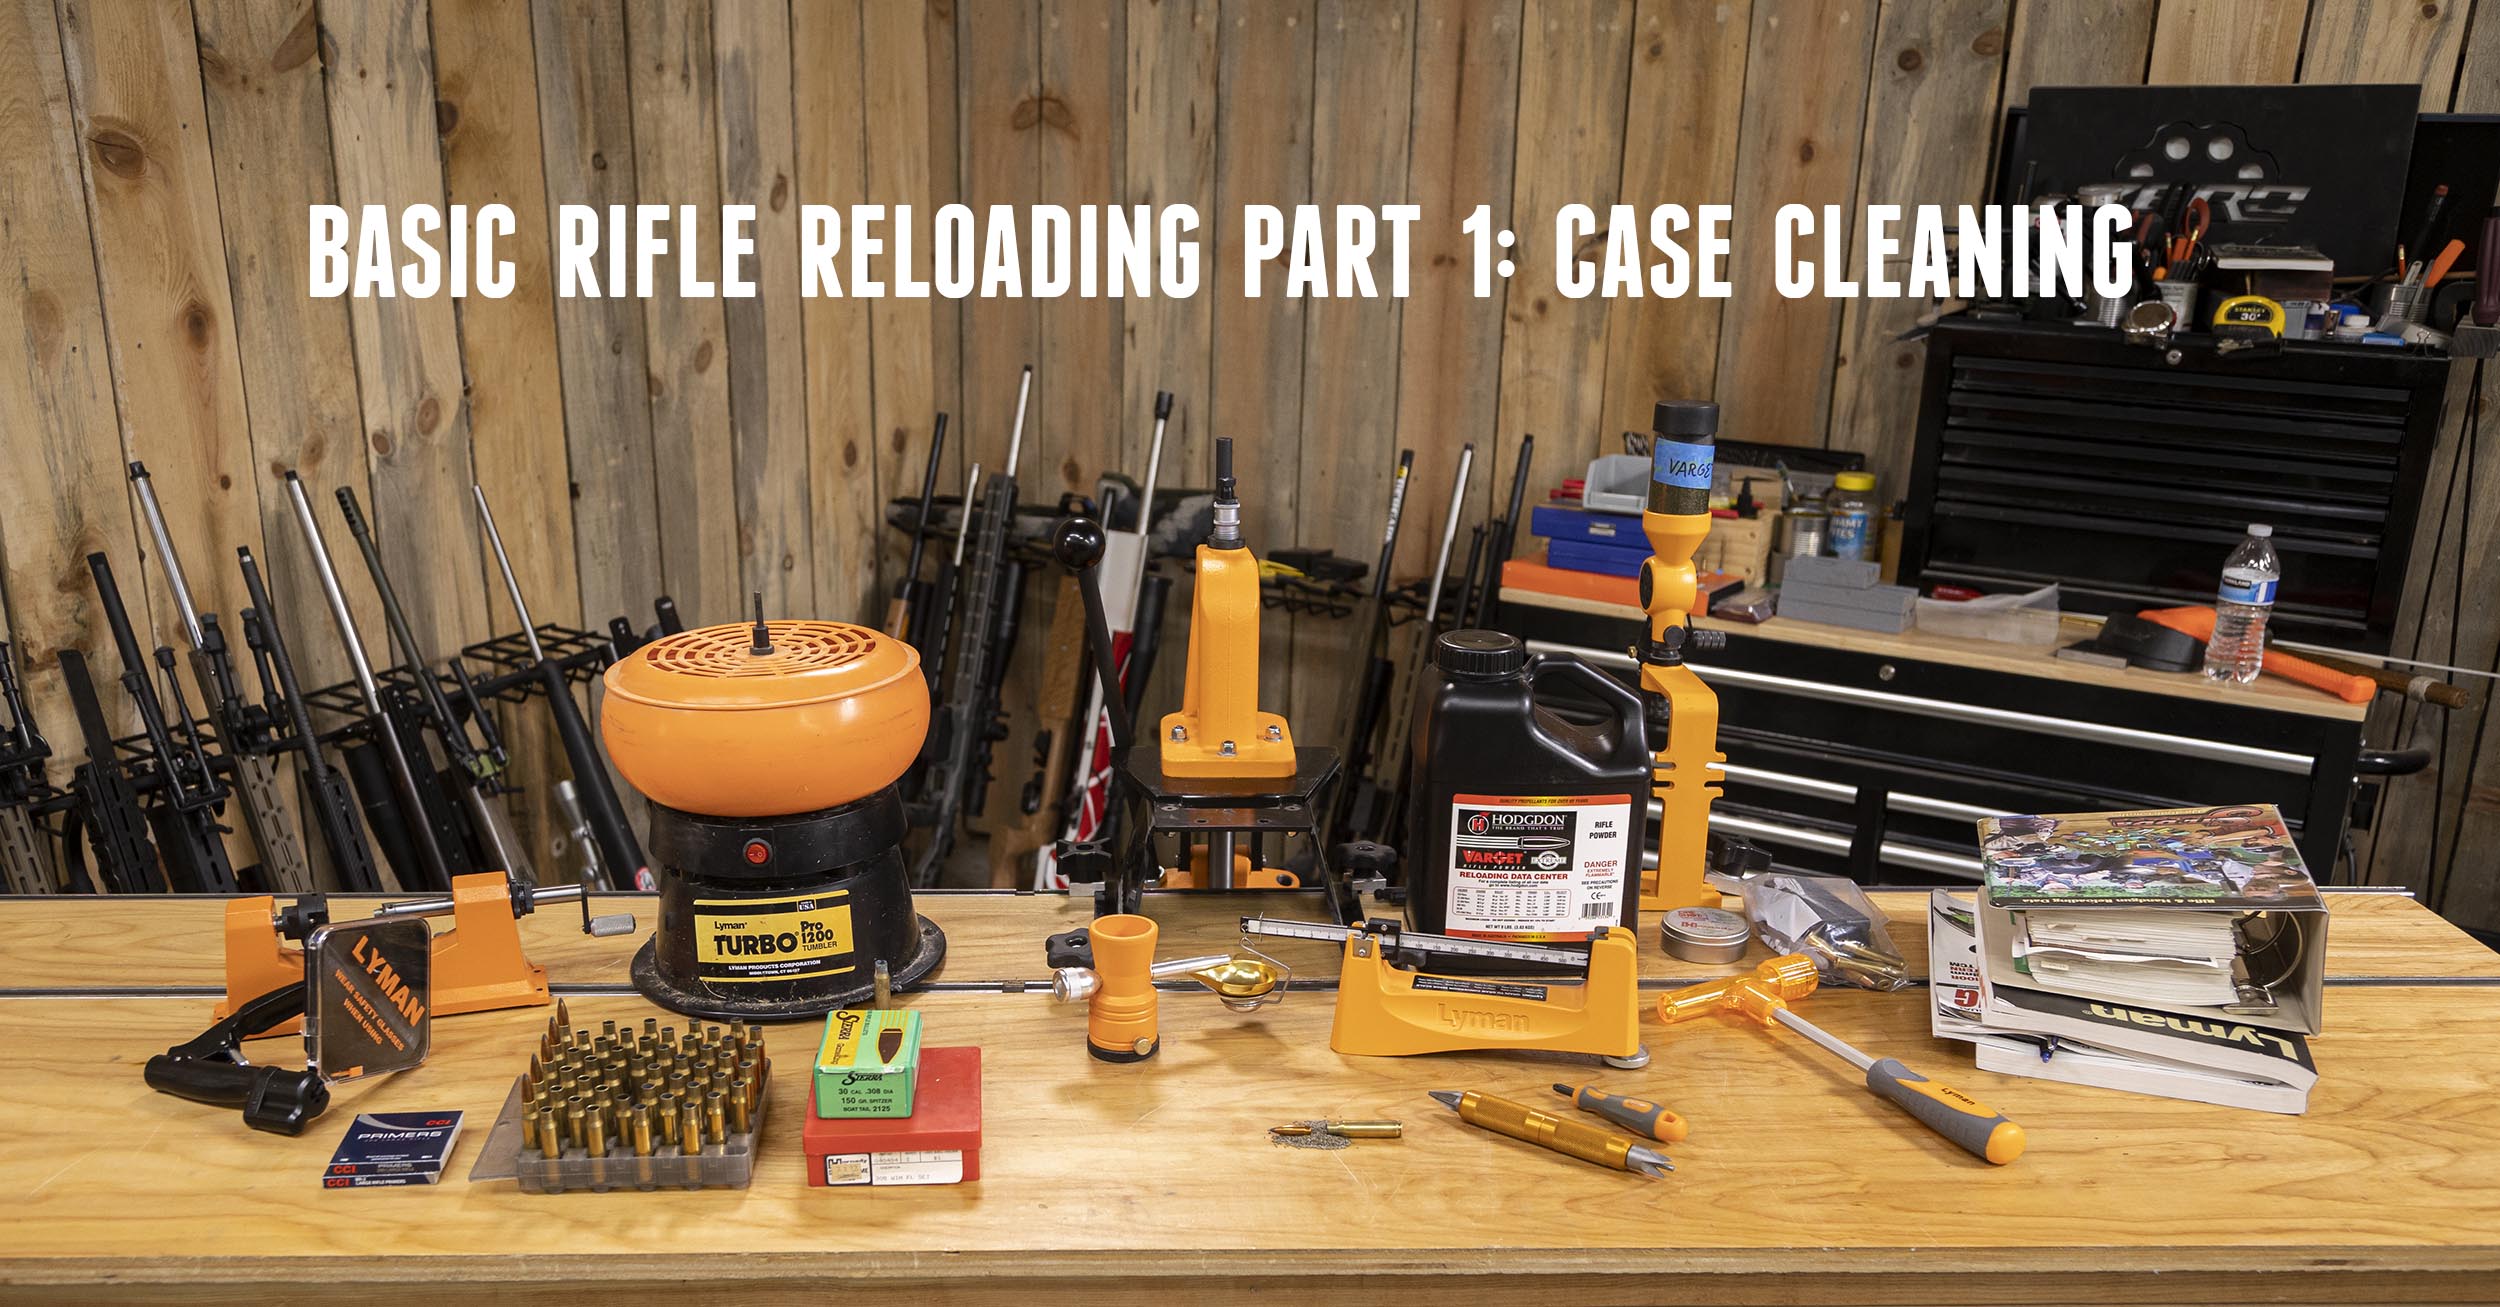
Cleaning
Before we size the brass, we need to clean it so as to not damage our dies. You can use a dry media tumbler, wet media tumbler, ultrasonic cleaner, and other types of processes/equipment for this step. You need to remove the bulk of the carbon from the case, but depending on the method and additives used, you may also end up with brass that’s “shiny new” looking.
Lubricating
Lubrication is critical for rifle reloading, especially for full-length sizing. Because of the sizing process and the dynamics of rifle brass, this translates to *much* more force and friction compared to pistol loading. Rifle lube methods and products include but are not limited to:
- Dry media dip
- Spray-on media
- Lubrication pads
- Lube dies (such as the RCBS lube die)
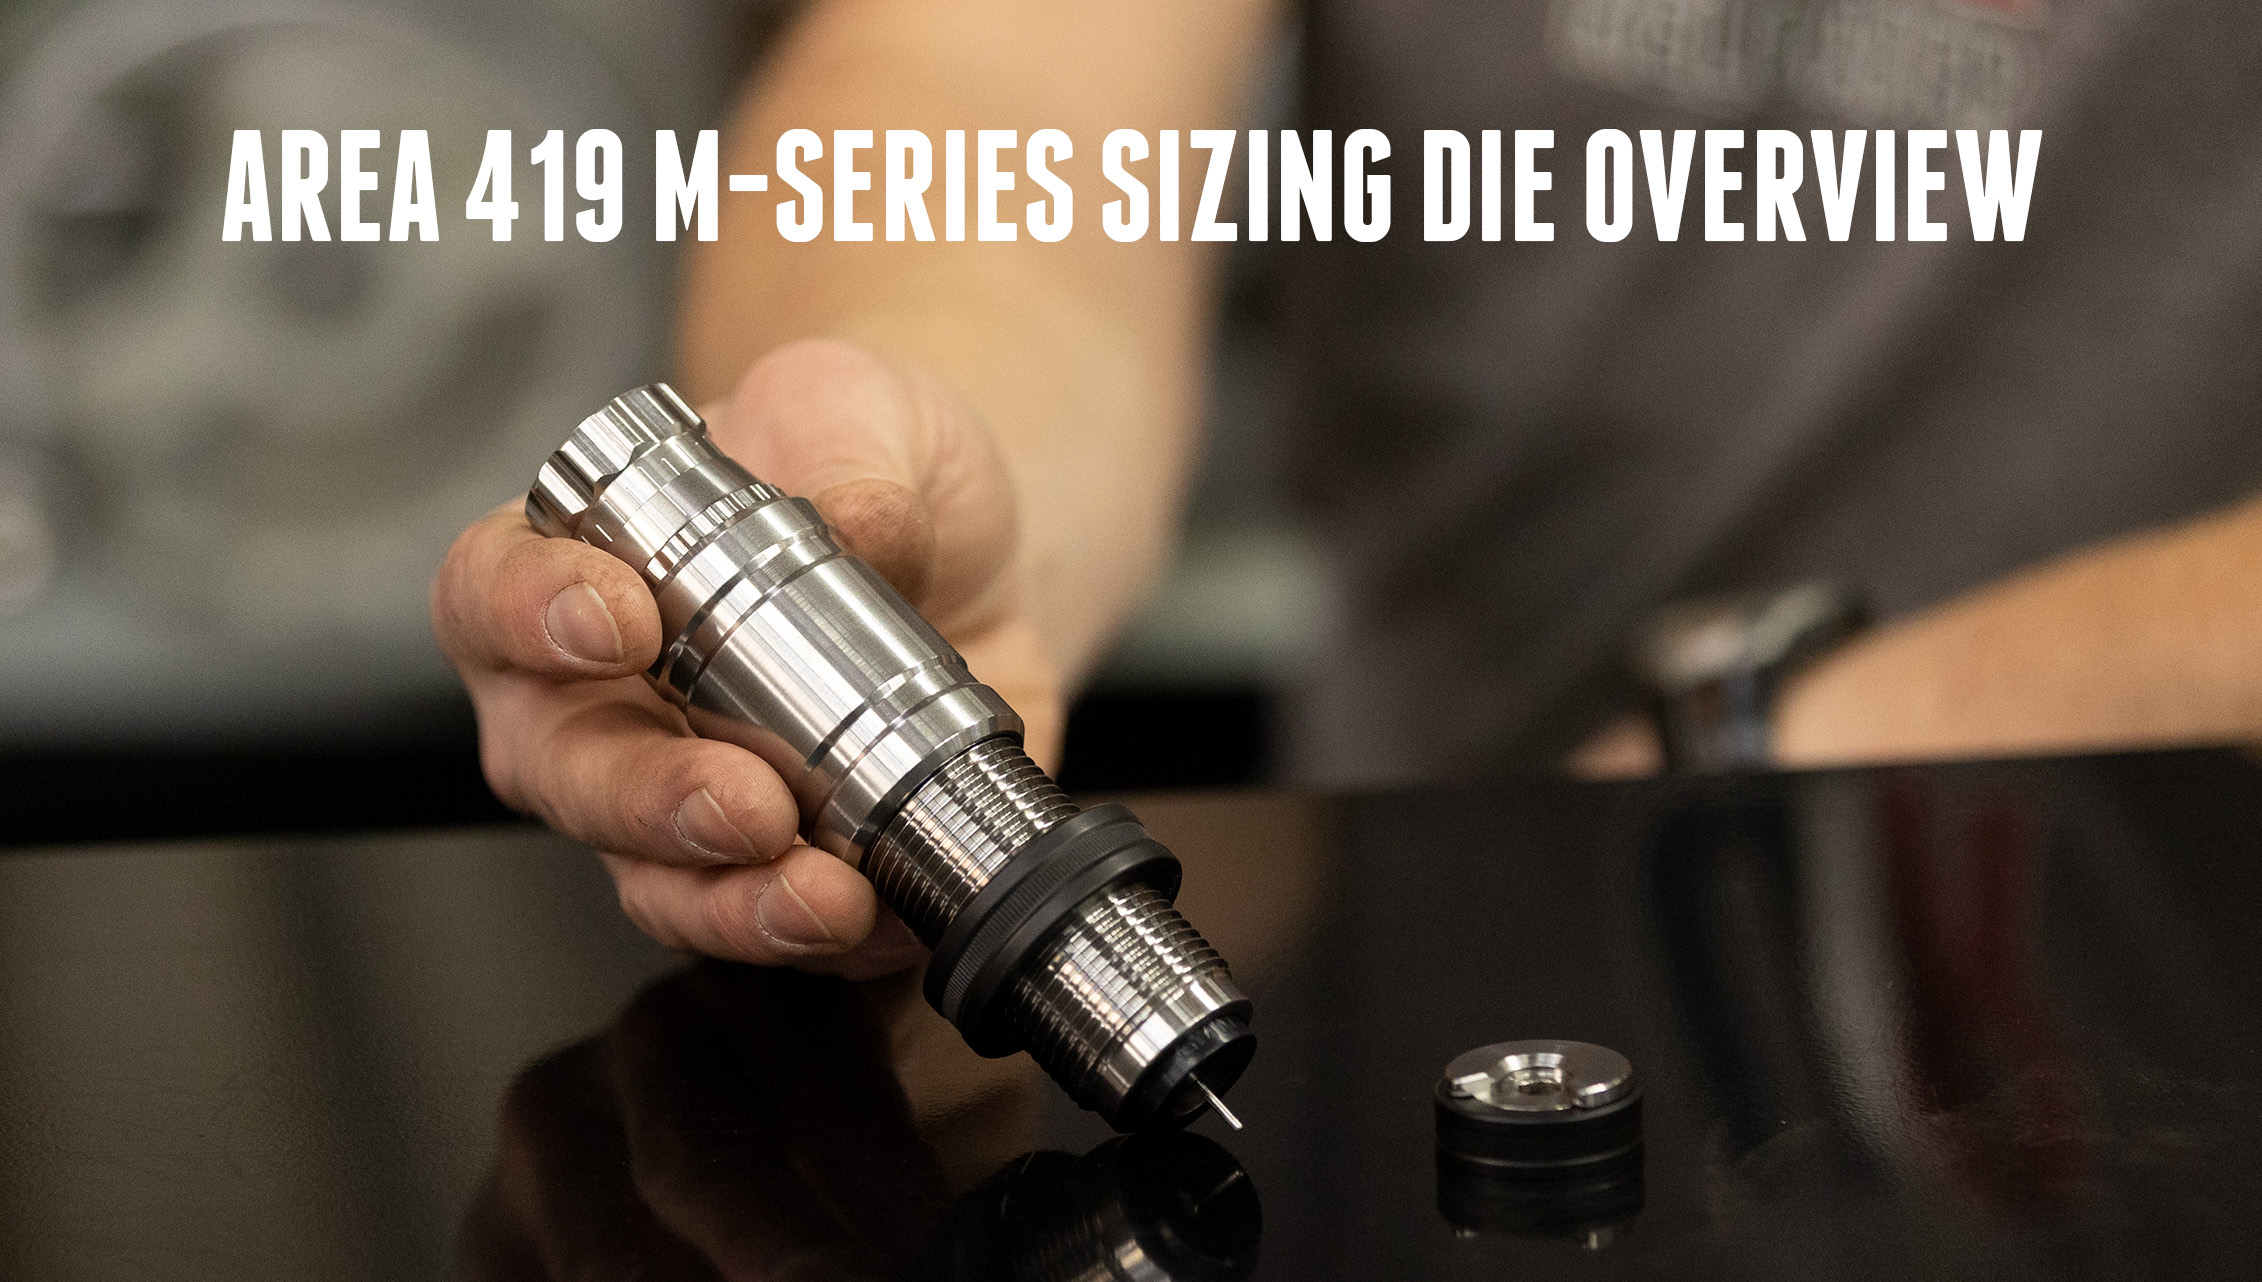
Sizing (full length or neck-only)
If we are going to need to trim our brass, it’s important to size it first. The sizing process will re-form the brass, and that usually translates to increased overall brass length. Once we’ve sized the brass, we can measure the overall length and decide whether or not to trim.
Trimming
Trimming is an important part of the rifle brass prep process. We need to ensure that our brass length is at or less than the specification for the cartridge in question. If you do need to trim, you can usually trim to the case length spec minus about .020″. That will give you a few loadings until you have to trim again. There are several different types of trimmers from hand-operated units to dedicated machines, to on-press trimmers. If we don’t trim over-length brass, the cartridges will not chamber well, and may also impose a dangerous over-pressure condition! Always check your brass length after sizing!
Chamfer/debur case mouth
If you’ve trimmed the brass, and if the trimming process did not include a chamfer/debur capability, then you’ll need to take off the rough edges with a machine or hand tool. This accomplishes two things: first, your bullets will seat better with less scoring of the bullet, and second, you’ll have a slight improvement on chambering reliability in your rifle.
Before loading, now may be a good time to clean again. It all depends on the process you’re using.
Here are some videos that I’ve put together for various projects that illustrate various steps for rifle brass prep:
Precision Brass Prep for .308:
Hornady Case Prep Center – Prepping 30-06:
Part I:
Part II:
There you go, now you understand the high-level processes, steps and considerations for rifle brass prep. If this article was helpful, please consider sharing with your forum friends, or via the sharing buttons here!
Thanks,
Gavin


Awesome segment Gavin, I think this will help all reloaders if your brushing up on the basics or improving your skill level. Hope others will post the tips, trick and tool choices as well.
My personal choices
Cleaning
walnutshell media.
Lubricating
Can’t say enough about Hornady One Shot case lube.
Sizing
I prefer Dillon carbide die sets they are pricy but worth it in the long run.
Trimming
It’s time consuming bench mounted hand powered, just less mistakes.
Chamfer/debur
Againg time consuming hand tool, but there are a lot of attachments for bench mounted trimmers.
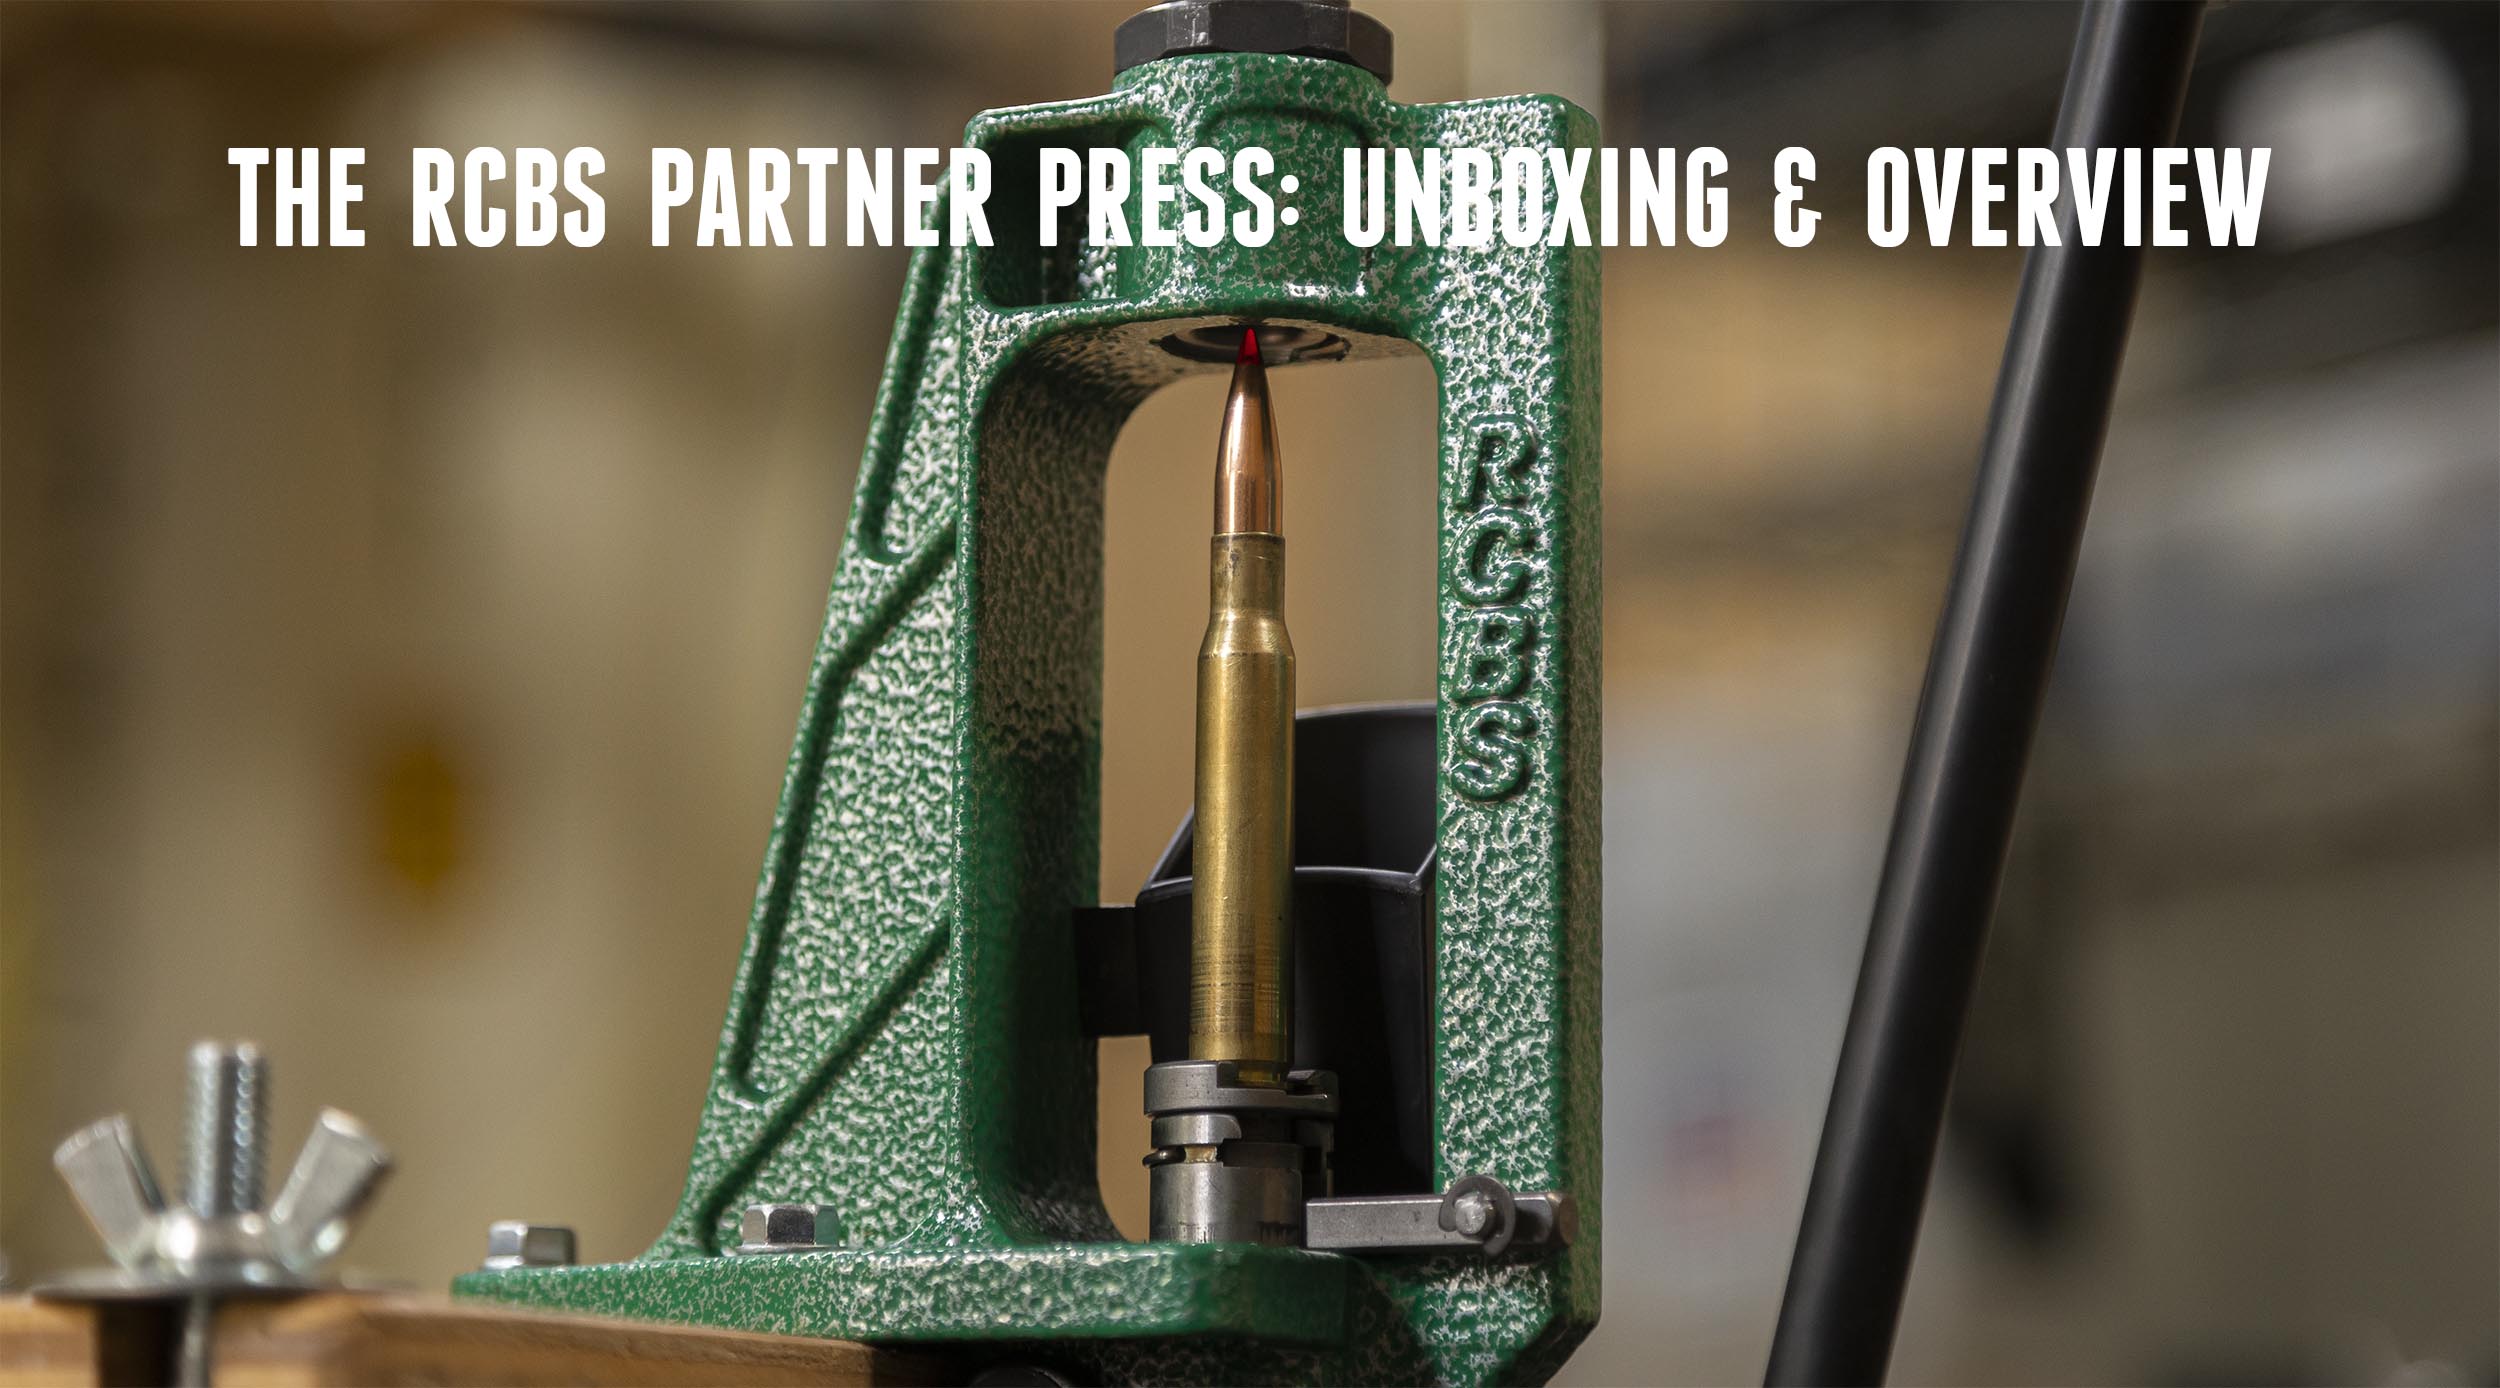
Gavin,
I really appreciate the videos. Reading the printed instructions is O.K. but actually seeing the press, and accessories being used makes it much easier to understand. Thank you for the time and effort it takes to produce these fine quality videos. Please keep making them.
Being new to reloading I have learned a lot from your posts and from other sites. One thing that I as a beginner wish was emphasized a little more when using unfamiliar brass is the use of Berdan primers. I squired a few thousand rounds of misc rifle and pistol brass from my father. As I was decapping and resizing 308 and 223 I kept breaking pins and bending rods on what I later found to be Berdan primed brass. I did my best to sort it it all out but would sometimes miss a few. I found the LEE universal decapping die is a great solution. The pin retracts instead of breaking when it encounters too much resistance.
“This would be primarily for precision shooting competition and similar applications”
I don’t agree, read that
http://ultimatereloader.com/2013/01/04/5-tips-for-reloading-accurate-rifle-ammunition/
My husband is a huge fan of guns, and I want to learn more about the brass preparation basics. It’s interesting to know what the process of prepping it is, especially because you listed the process from 1 to 9. Thank you for writing this article I will definitely have it in mind, and I will try to do it with him next time he does it.